User guide for speakers and room hosts
Virtual Lobby is a tool that allows events to happen virtually. As a speaker, you will be able to screen share, answers the participant's questions, create polls, upload files, and networking with other presenters and attendees. As a room host, you will be able to not only control the layout of the session but also to start and stop the streaming.
First steps
It is important for you to get familiarized with the Virtual Lobby and ensure your computer meets all the requirements of the platform.
How can I access the Virtual Lobby?
As a speaker or room host of an event, you will be able to access the Virtual Lobby by receiving an email with your magic link.
How do I navigate the Virtual Lobby?
InEvent offers two different layout options:
- Classic
- Neo
In this article, we will show you what you will see when navigating the Virtual Lobby in the Neo layout.
Click here to check what you will see if your event is using the Classic layout.
When using the Neo layout, The Virtual Lobby will appear as below.
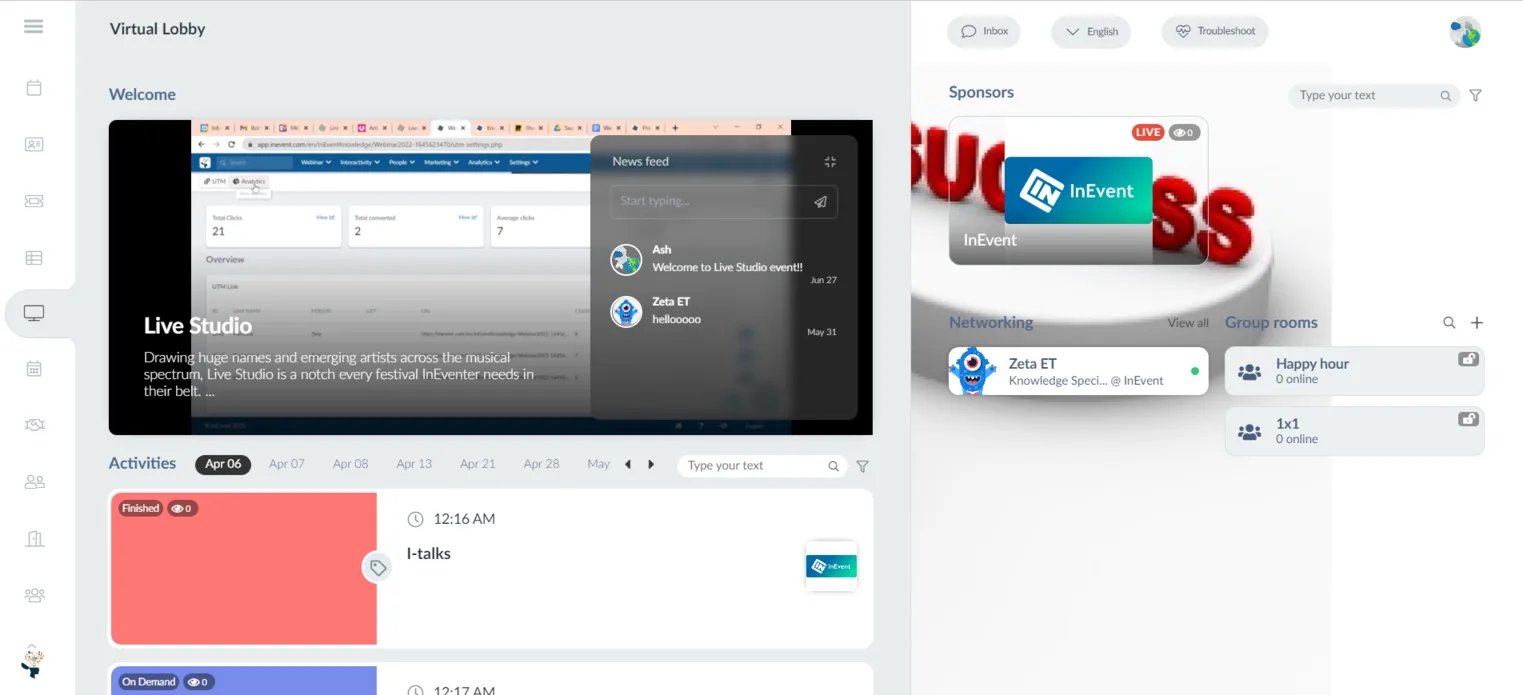
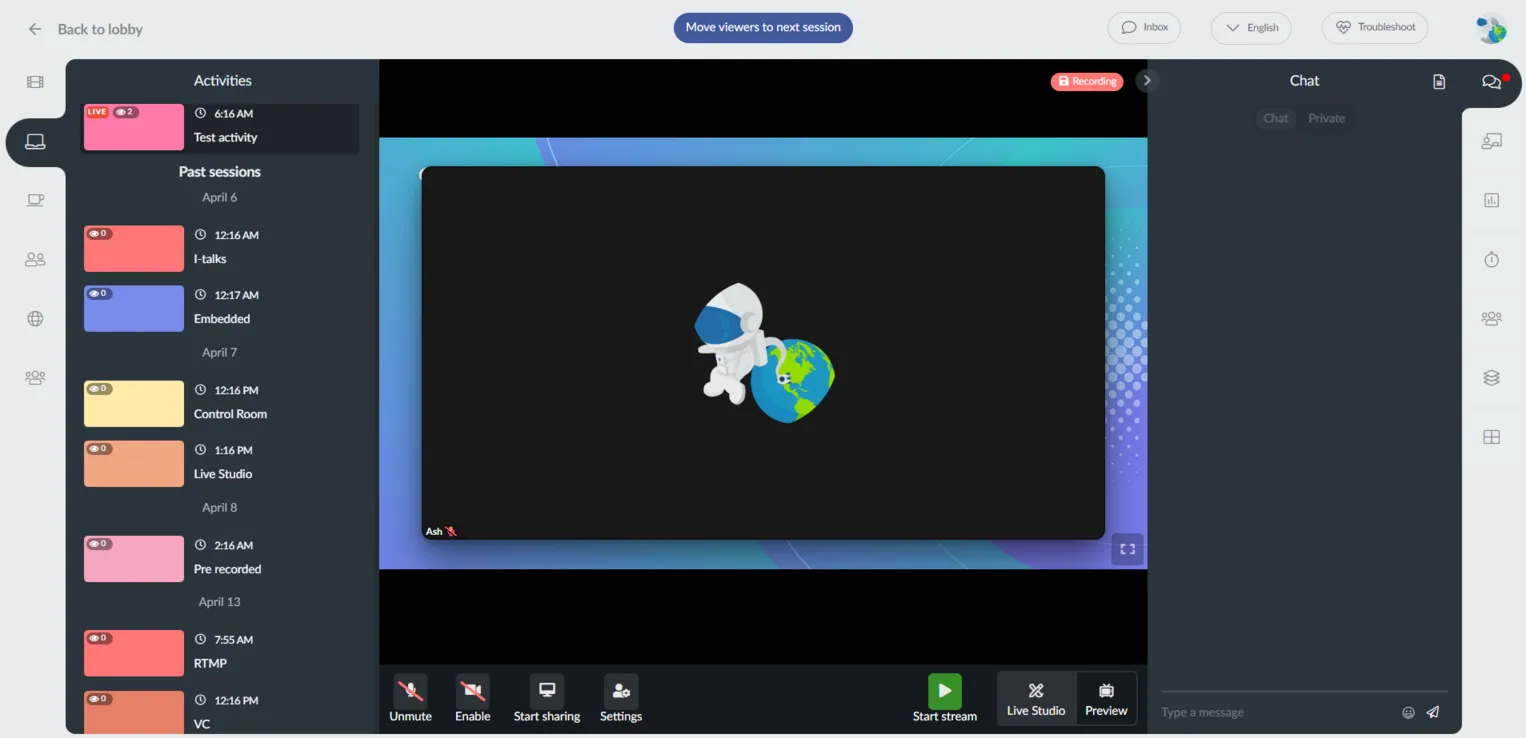
Once you access it, you can select a session you wish to join. Once you are in, you'll see a screen similar to this one:
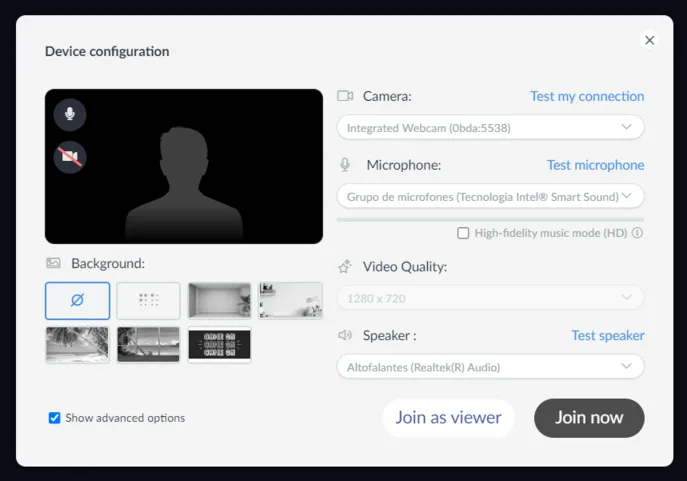
Device configuration
Once you enter an activity, you should see a pop-up to configure your devices such as camera, microphone, video quality, and speaker. You can also choose one of the Background options made available by the event organizer or even download a third-party virtual webcam.
Press Join now to join with the camera and microphone on. Click here for further information on how to give InEvent access to your camera and microphone.
Once you are inside the room, you should see different buttons depending on if you are a guest speaker or the room host.
A guest speaker of your event can enter an activity with control of their camera and microphone, have screen sharing capabilities and use the private chat when presenting. The room host can do the same and besides that, they will also be responsible for starting the stream.
Advanced options
When joining a session, the Device configuration pop-up will appear and you can choose to enable the 'Show advanced options' checkbox. This option is recommended if you as a host/speaker possess high-end video and audio devices asides from the laptop computers, it allows you to enjoy better audio processing than using the default options on the platform alone.
The features included when selecting this option are:
Speaker Control bar
When entering an activity, all those speaking in the session will see the speaker control bar.
All speakers will see the device configuration settings and the Live Studio view; the host will see one additional setting.

In the Live Studio, your own video is not highlighted for you; all videos will be mixed together. The controls for your video are also visible below your video, creating much more space and easier-to-use controls.
I'm a speaker
As a speaker, you don’t need to wait for the host to give you access to exhibit.
Once you are inside the room, at the bottom of the page, you should see the buttons shown below:
- Mute: you should click here to enable or disable your microphone
- Enable: you should click here to enable or disable your camera
- Start sharing: you should click here to screen share. You will have this button enabled only if no one else is sharing their screen. Click here to learn how to share slide presentations in the Virtual Lobby
- Settings: you should click here to configure your device
I'm the room host
Only one host is allowed per room. The room hosts can also join the private chat even when not presenting.
Live Studio
If the room video mode set for the activity is the Live Studio, the room host will also be responsible for starting and stopping the streaming, for the recording of the session, and will be able to change the Studio settings such as the layout, chyrons, and background. To learn more about the Live Studio features and possibilities click here.
Interactions in the Virtual Lobby
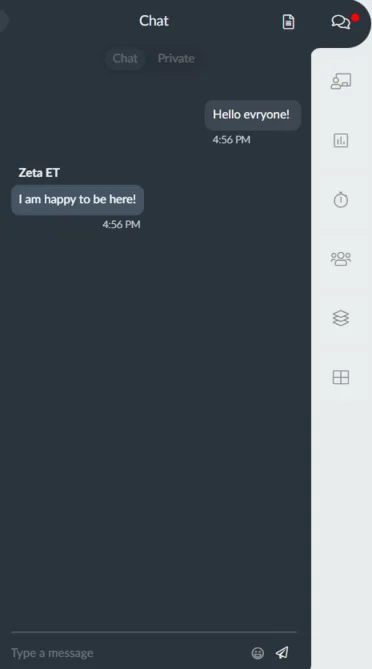
On the right-hand side, you'll see seven tabs:
- Chat: Participants will be able to chat during sessions using the public chat. InEvent also offers a private chat inside activities and sponsor rooms. To learn more about the private chat click here.
- People: All participants who are online in this session will be listed.
- Questions: All participants who are online in this session will be able to ask questions and vote for them.
- Polls: All participants who are online in this session will be able to answer polls. Click here to learn how to create polls during a session.
- Quiz: All participants who are online in this session will be able to answer quiz questions. Click here to learn how to create quizzes during a session.
- Files: Participants will be able to view and download the available files. Click here to learn how to upload files during a session.
- Breakout rooms: Participants will be able to switch from the activity to the breakout rooms without leaving the room session. Click here to learn more.
How do I change rooms?
On the left of the screen, you can scroll between the sessions and enter another just by clicking on the chosen session and pressing Yes to confirm that you do want to change rooms.
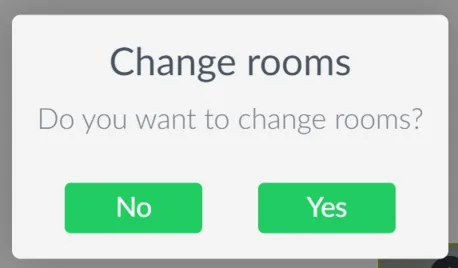
If you want to leave the sessions and go back to the Lobby main page, press the Back to Lobby icon on the top left-hand corner above the sessions. Then, press Yes to leave.

Networking
On the Virtual Lobby main page, there is a Networking space, in which you can simply click on a person's name and create a Group room or have individual meetings. Once you send someone an invite, they will receive a video request and they will be able to either accept it or decline it.
To learn more about Networking, click here
