How to migrate all your Zoom Events to InEvent quickly
To create TV-like experiences for your live events, broadcasts, or virtual events, there is nothing better than shifting to the InEvent platform. Moving from Zoom to InEvent couldn't be simpler, and for more assistance, check out your Help Center to contact our 24/7 support team!
Exporting data from Zoom Event
- Firstly, you need to sign in at Zoom events and access the Account Management menu on the left, click on Reports.
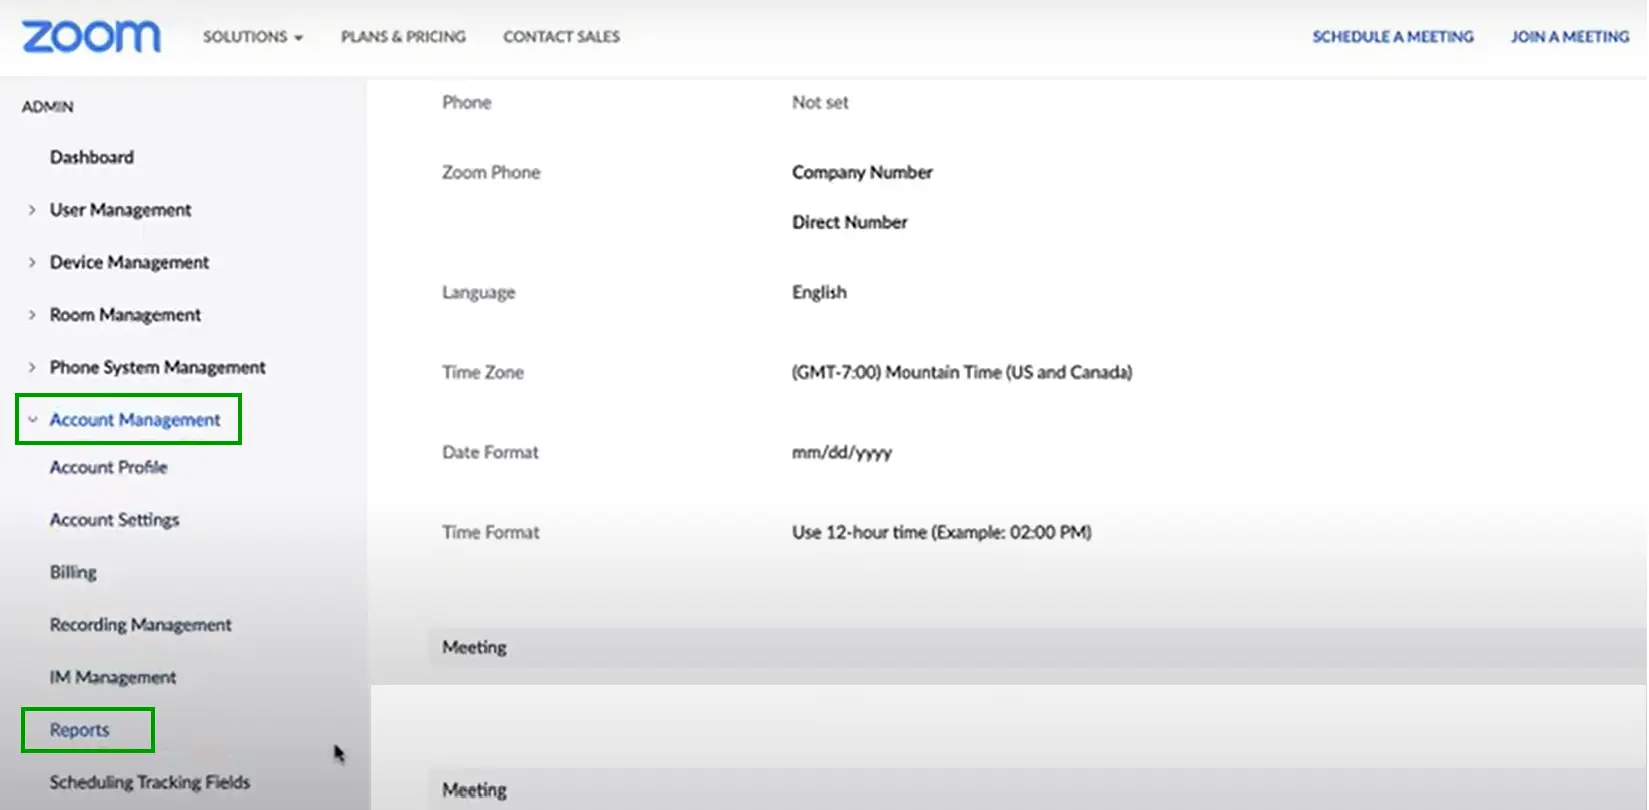
- Next, go to the page you wish to extract data from. For example Usage reports, Daily reports, etc.
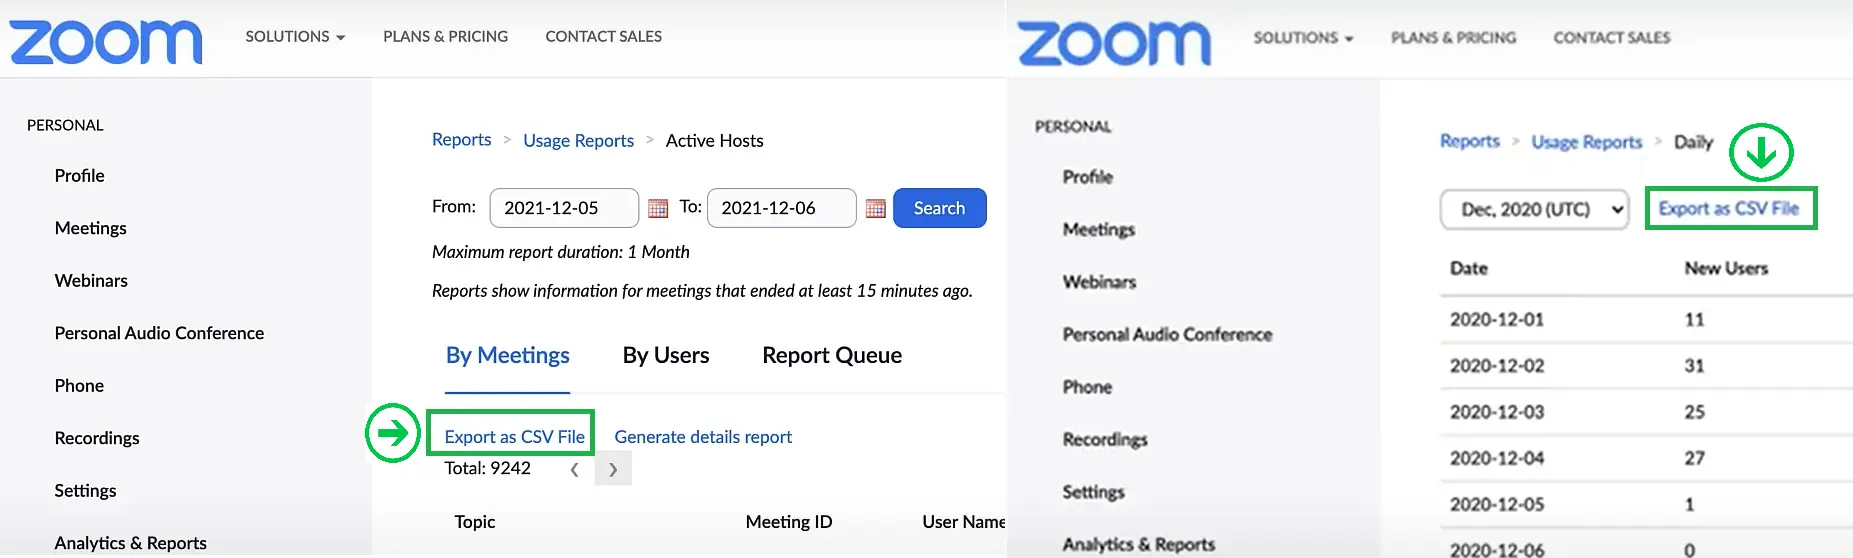
- Use the filters and Search buttons to help tailor the report with the exact information you need.
- Look for the Export as CSV file button as it may vary the location depending on which page you are, as displayed in the image below:
- Once you collect the necessary data from Zoom, it's time to migrate to InEvent!
Setting up your event
To help you set up the event let's take a look at this step-by-step. In this article you will learn how to:
- Create an event and add information on the Details page
- Add Sponsors, Speakers, and Content
- Create activities and choose the settings for the Virtual Lobby
- Learn more about Customization, Communication, and Registration
- Add Attendees, Invitees, and Leads
- Learn about the Interactions with attendees and finally Dry run
Importing data to InEvent
After checking the article mentioned above, you can take a look at this section in case you are planning on importing data in bulk.
Importing attendees, invitees and leads
InEvent provides its own Excel demo file to make it easier the use of spreadsheets. The good news is, when importing Attendees, Invitees, and Leads you can use your own file! The file formats accepted are .xls and .xlsx.
Sponsors and Speakers
To add Sponsors and Speakers using the InEvent spreadsheet, keep in mind a couple of particularities when uploading your file. I.e: when filling up a column with a question such as: 'Should ignore previous entries?' use '0' for NO and '1' for YES.
For more information click here.
Activities, Tags and Tracks, Tickets
There is also a possibility to upload in bulk the Activities, Tags and Tracks, and Tickets.
Activities
Go to Agenda > Activities > Edit > Import and download the demo file.
To set up the activity, take a look at this article that will assist you with the configuration.
To troubleshoot possible import errors, check this section.
Tags and tracks
There are two different ways to import tags and tracks and associate them with Activites, Attendees, Speakers, and Sponsors. Click on Agenda > Tracks or go to Settings > Tags, either way you will see the same spreadsheet. Follow the instructions here.
Tickets
Similarly to the Tags and Tracks, you can also find two ways to download the Tickets demo file. Click on Marketing > Registration > Tickets or go to Marketing > Tickets > Tickets. Either way, once you're at the Tickets page, click on Edit > Import > Download demo file.
For more information about Ticket Management, click here.