Event accessibility
 Updated 1 month ago
by
Faisal Durrani
Updated 1 month ago
by
Faisal Durrani
At InEvent, accessibility is a fundamental principle that guides our designs and functionality. InEvent prioritizes intuitive navigation which ensures easy keyboard access and compatibility with screen readers access throughout the platform and app. We offer customizable accessibility options and a commitment to a minimum contrast ratio of 4:5:1 (regular and large texts). Our goal is to provide an inclusive experience for all users, regardless of their abilities or preferences.
This article highlights some of the accessibility features offered by InEvent, empowering you to create inclusive virtual or hybrid events that cater to diverse audiences
Closed captions
Closed Captions
When using the Live Studio as your room video mode, you can enable the Automatic closed captions and make the content of the sessions accessible!
Enabling closed captions in your event
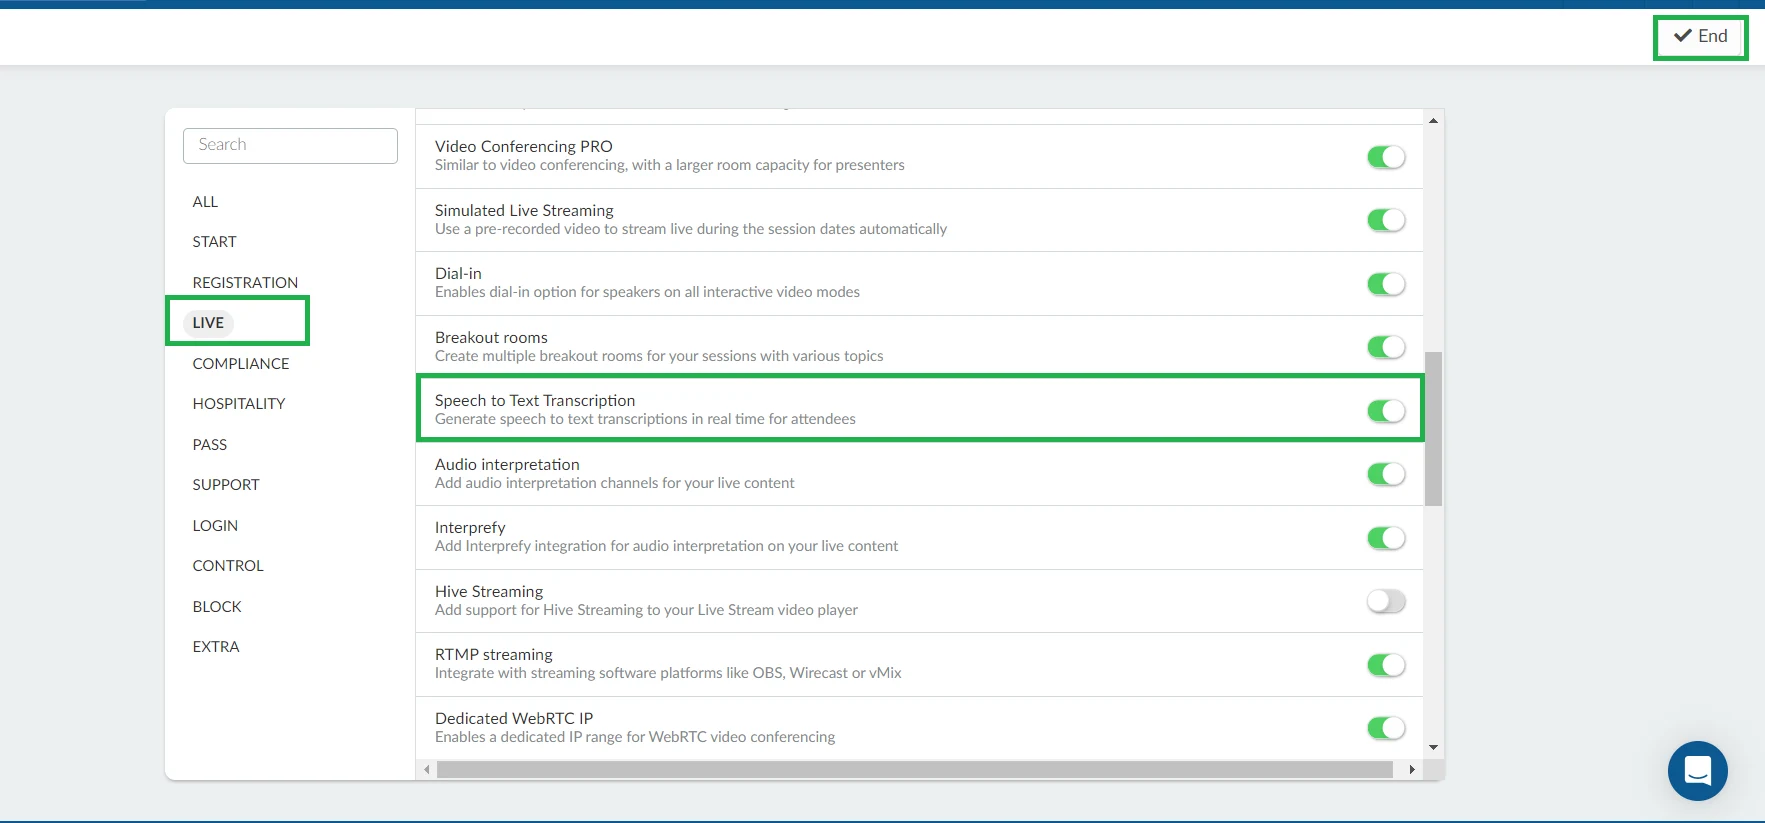
To enable speech this feature, go to Settings > Tools > Live section. Click on Edit and scroll down until you see the Speech to Text Transcription tool. Toggle its corresponding button on, and press End to save the changes.
If you are unable to enable this feature from the event level, you will need to enable it first from the company level tools.
Enabling the automatic closed captions function in your activity
To enable the automatic closed caption function in an activity, follow the steps in the gif below:
- Navigate to Agenda > Activities.
- Choose an activity and click the Edit button located in the top right corner.
- Scroll down to the Closed Captions feature and check the box to enable it.
- Select the desired speech language from the drop-down menu labeled Select the desired speech language.
- In the Select a translation field, choose the desired language(s) for translating the speech.
- Press End to save your changes.
Closed captions and subtitles inside the activity
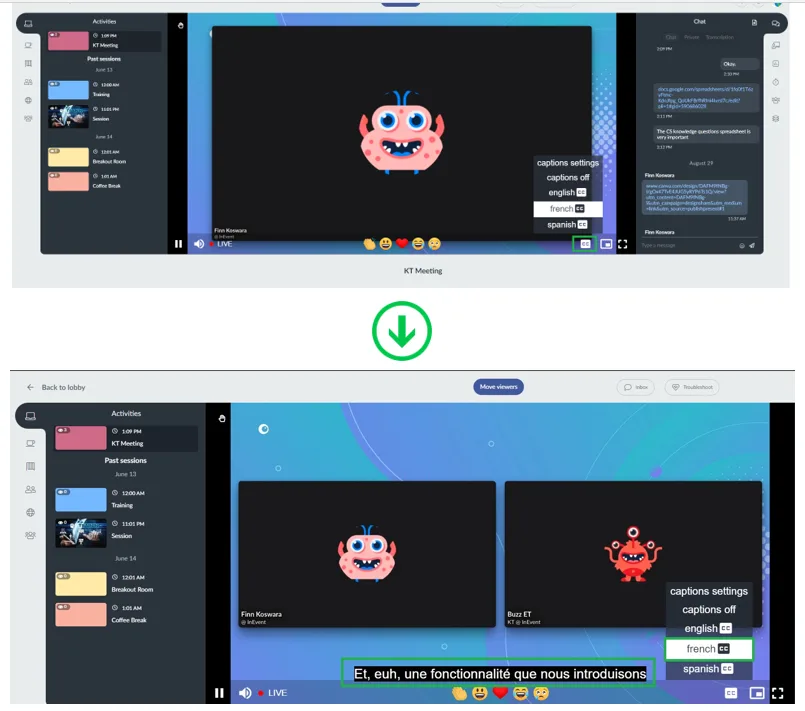
Once you have activated the Closed Captions feature on the platform, attendees can enable the captions when logged into the activity. To do this, click on the CC icon in the lower right corner of the activity screen, and choose the desired language for speech translation (if more than one language has been added).
In addition to activating captions/subtitles, you can customize the text's appearance in the captions settings. To disable captions, simply click on captions off.
Automatic transcriptions and translations
Another alternative to closed captions is live AI-generated transcriptions based on speech recognition. Our Speech to Text Transcription feature combines speech recognition and live translation, so your virtual events can have real-time subtitles in multiple languages during your sessions.
Sign-language interpreter
ASL
Sign language interpreters can use our language interpretation channel to make your event more inclusive, delivering an engaging experience for everyone. Ensure the interpreters check out this article before going live.
Tabbing Navigation
Keyboard accessibility
Navigating between focusable elements (or modals) using the tab key is straightforward in our platform and app. Here's a breakdown of key actions:
- Press the Tab key to focus on the next element.
- Press the Space bar to activate buttons and checkboxes.
- Press Shift + Tab to focus on the previous element.
- Press Enter to activate the selected element.
- Press Esc to exit the modal being explored.
- Use the arrow keys (up/down/left/right) to scroll through pages.
Skip to content navigation
Skip to content navigation allows users, especially those using screen readers or keyboard navigation, to bypass repetitive elements such as navigation menus and head directly to the main content within page. It helps improve user experience by avoiding repetitive information and facilitating quicker access to the primary content of a page.
To use the Skip to content navigation in any page of the Virtual Lobby, simply press the Tab key of your keyboard and the Skip to Content button will appear highlighted in a blue box at the top left corner of the page. Press the Enter key of your keyboard and the internal or main content of the page will be outlined in black forming a box shape. Use the Tab key to continue navigating through the internal content of the page.
Accessibility menu
If this feature is enabled in your event, attendees can adjust contrast, change color schemes, disable animations, mute sounds and change the font size on all pages of the Virtual Lobby.
Enabling the accessibility menu feature
To enable the Accessibility menu feature, carry out the following steps:
- Go to Settings > Tools.
- Click on Extra from the left menu.
- Press Edit, and scroll down to locate the Accessibility menu tool.
- Toggle the corresponding button on.
- Press End to save your changes.

Once you enable the Accessibility menu, an Accessibility icon will appear in the bottom right corner of all Virtual Lobby pages. Click on the icon to view the Accessibility options.
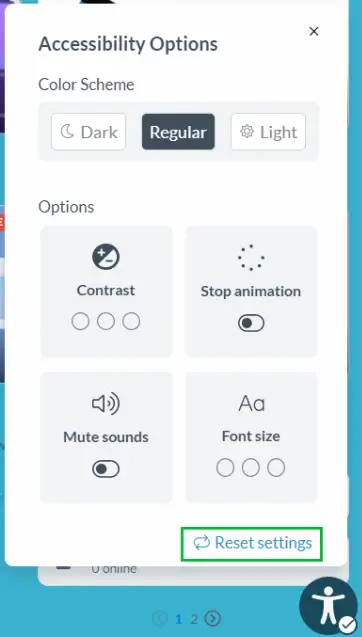
Accessibility options
You will find the following options in the accessibility menu to meet all your attendees' needs.
Color scheme
There are three color schemes for attendees to choose from:
- Dark: This option displays white text against a black screen. The dark option helps to reduce light emitted by device screens while maintaining the minimum color contrast ratios required for readability.
- Regular: Enabled by default, the regular option shows the original colors the event organizer chose for the Virtual Lobby using the Virtual Lobby editor tool.
- Light: The Light option displays black text against a white screen. It provides maximal value contrast and, therefore, optimal readability for body text.
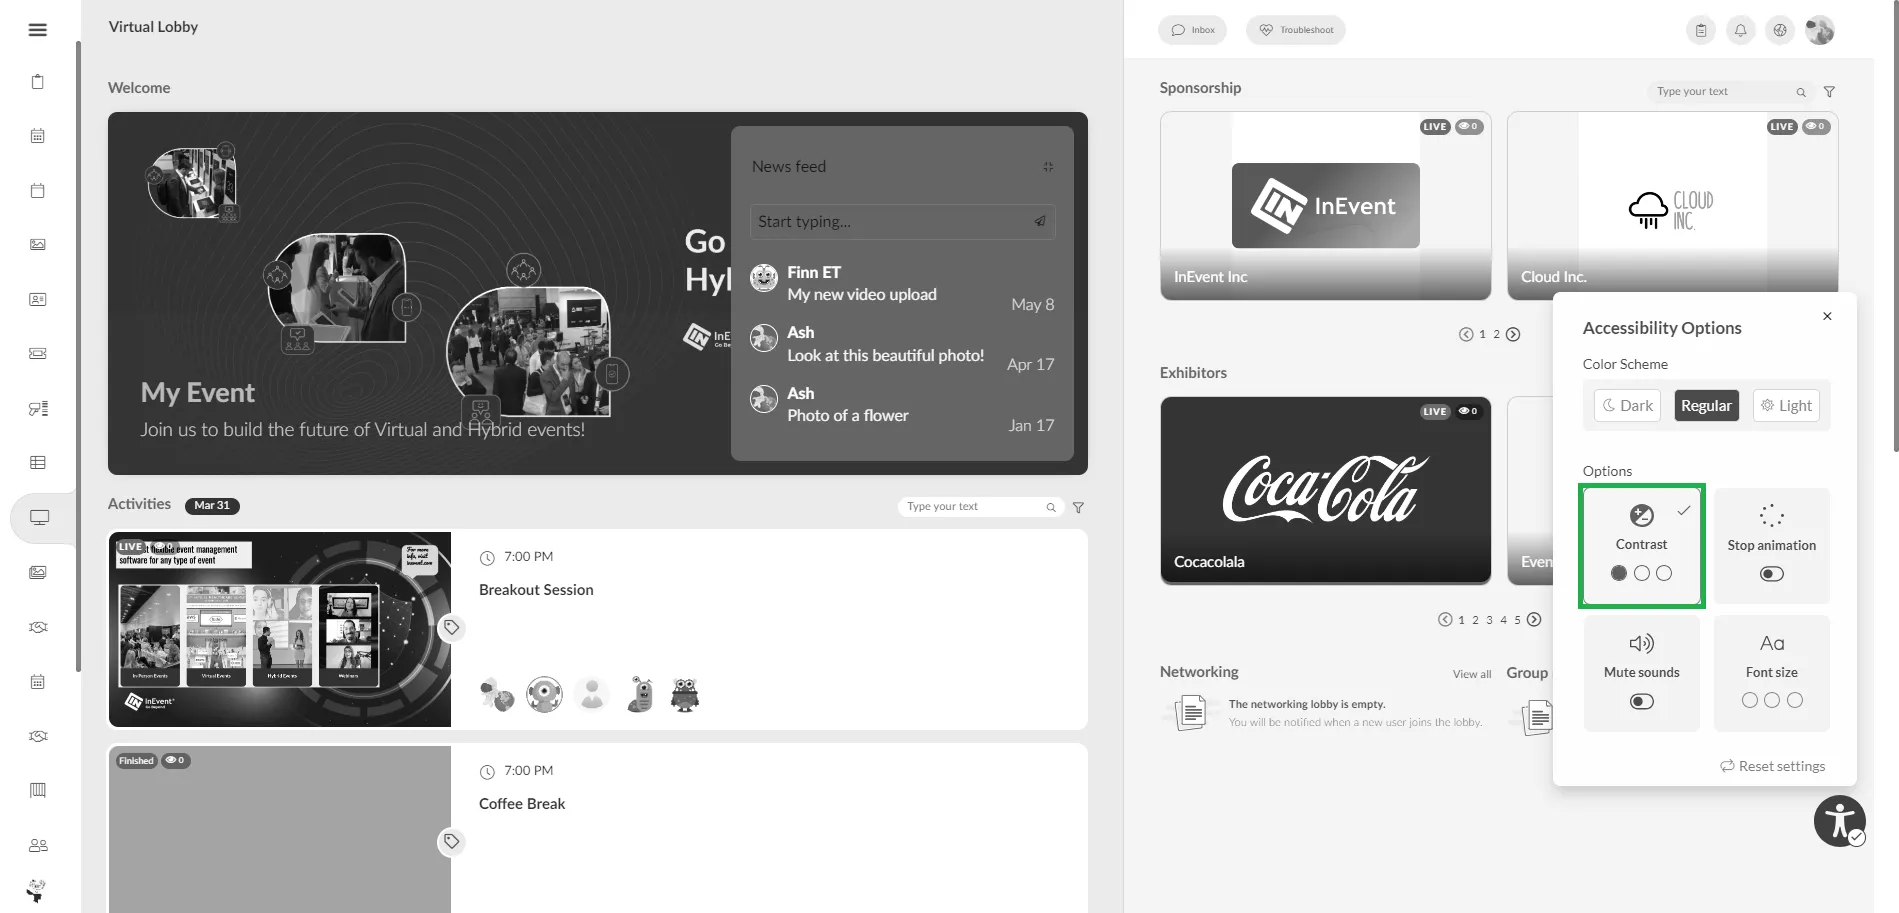
Contrast
Attendees can choose from three different contrast options using the contrast box.
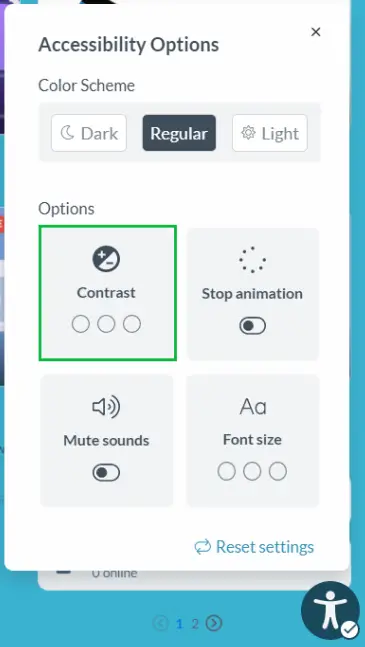
- If you click on the contrast box once, the Virtual Lobby colors will turn to grayscale.
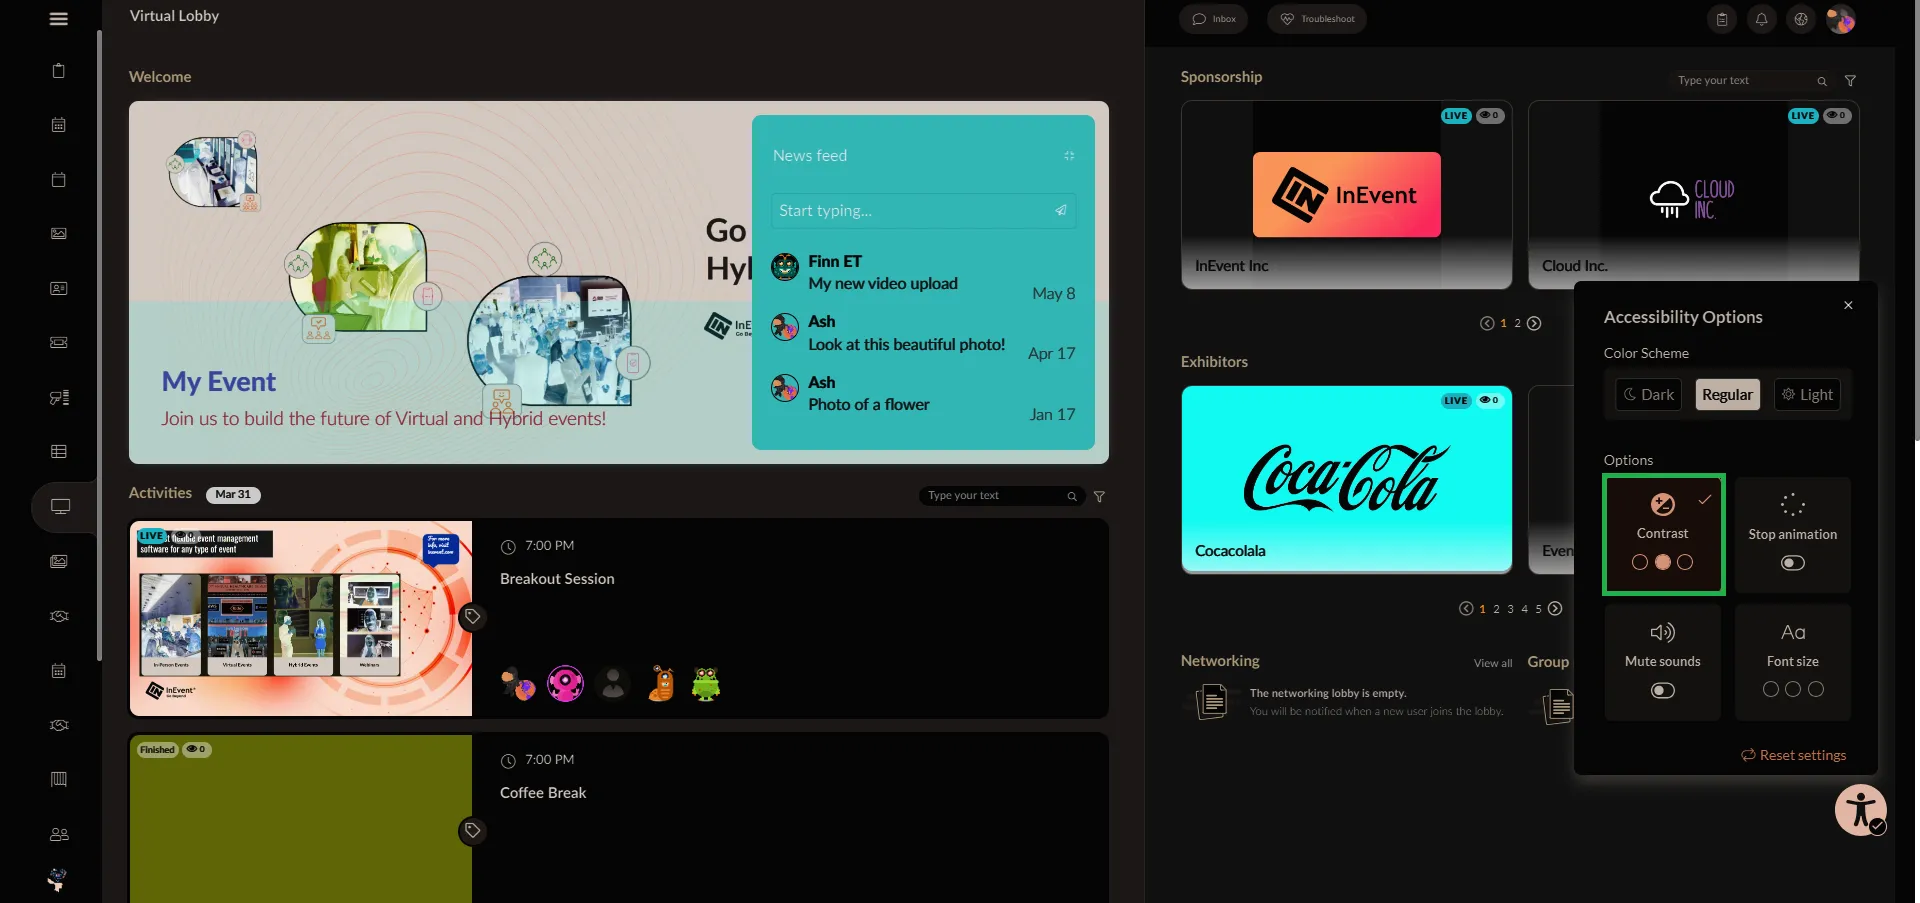
- If you click again, you will enable a warm fader for the Virtual Lobby colors.
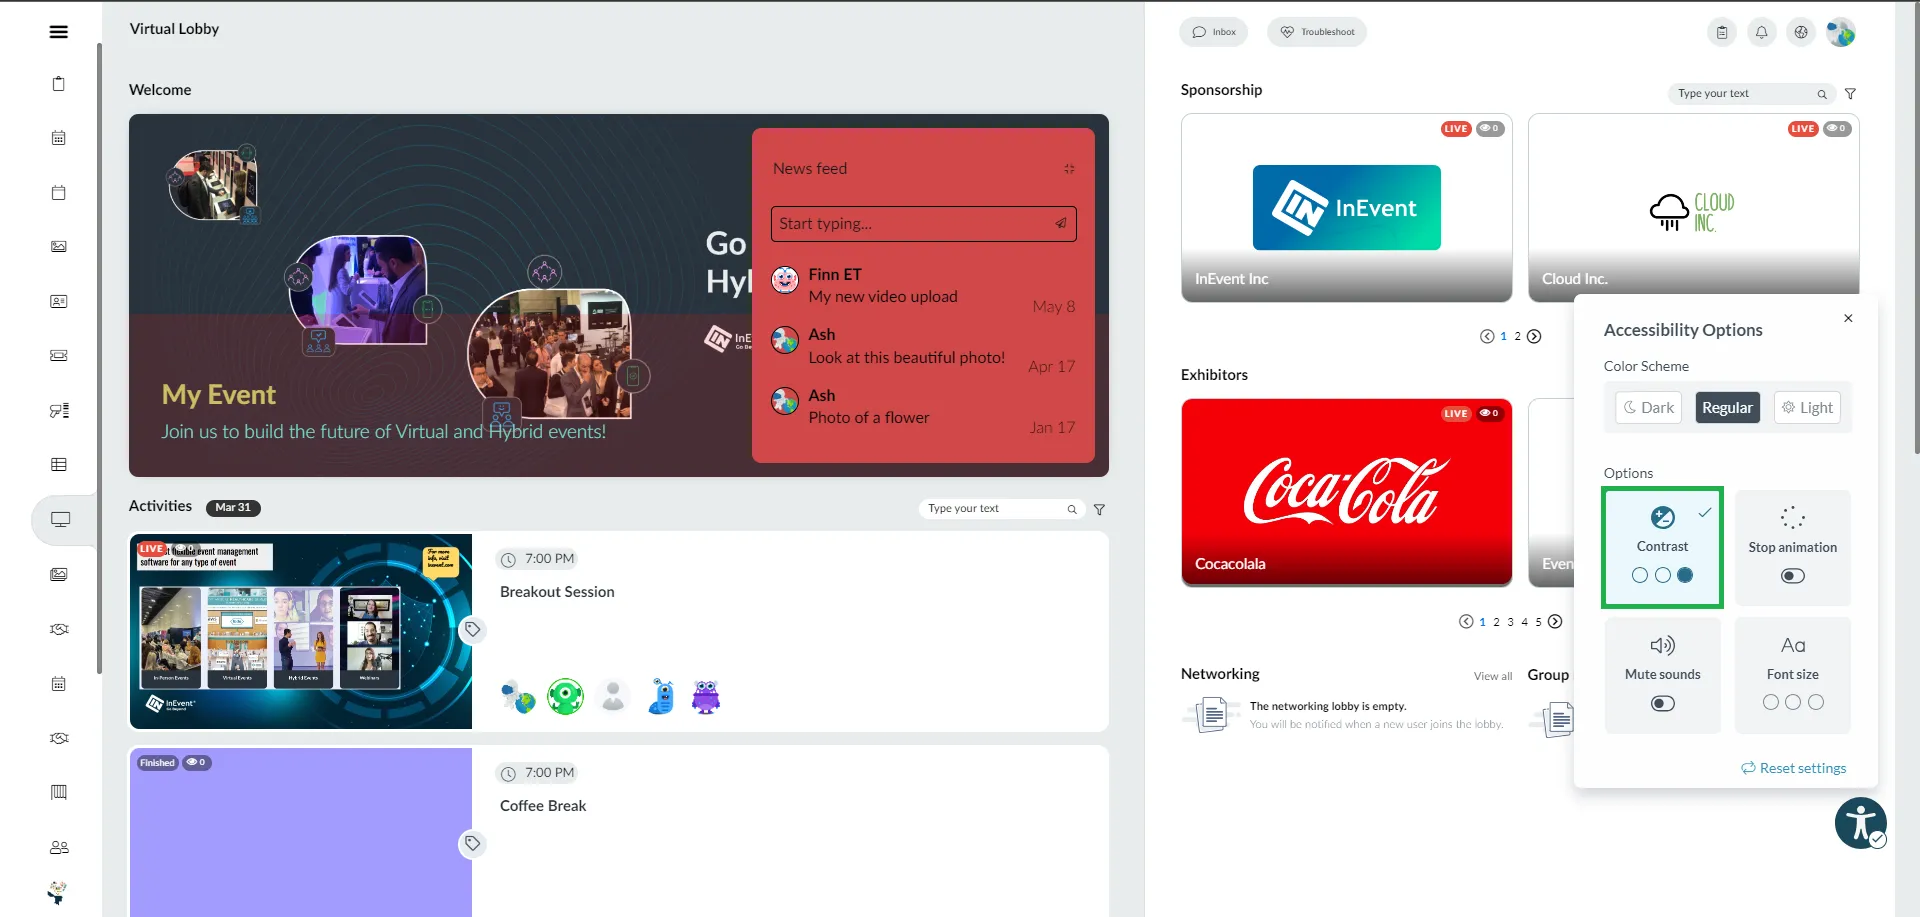
- If you click one more time, you will enable a cold fader for the Virtual Lobby colors.
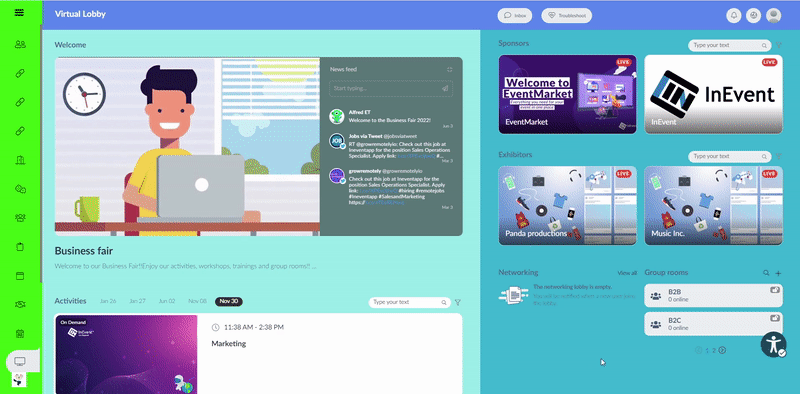
Stop animation
If there are animations on the Virtual Lobby page, you can stop them all at once. Click on the Stop animation button, and they will stop, as shown below:
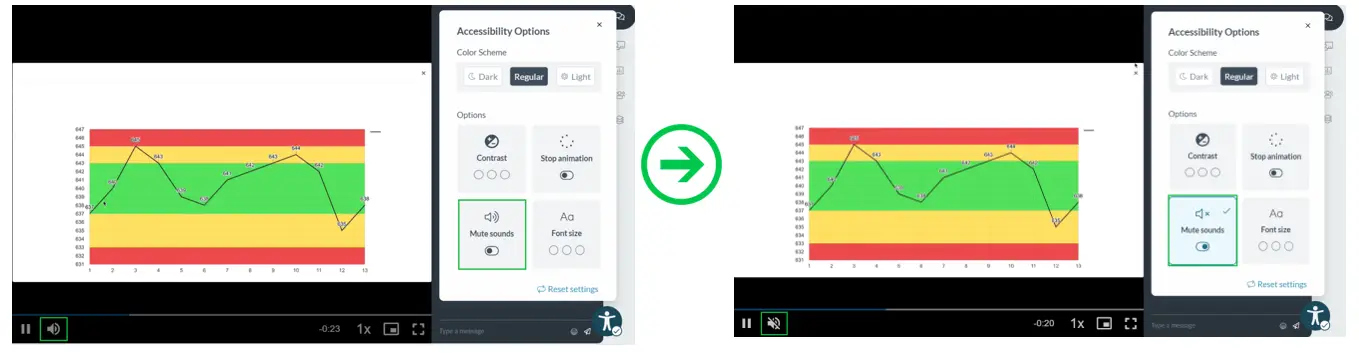
Mute sounds
You can mute sounds on all pages of the Virtual Lobby. To do so, follow these steps:
- Click on the Mute sounds box. The pop up window below will appear:
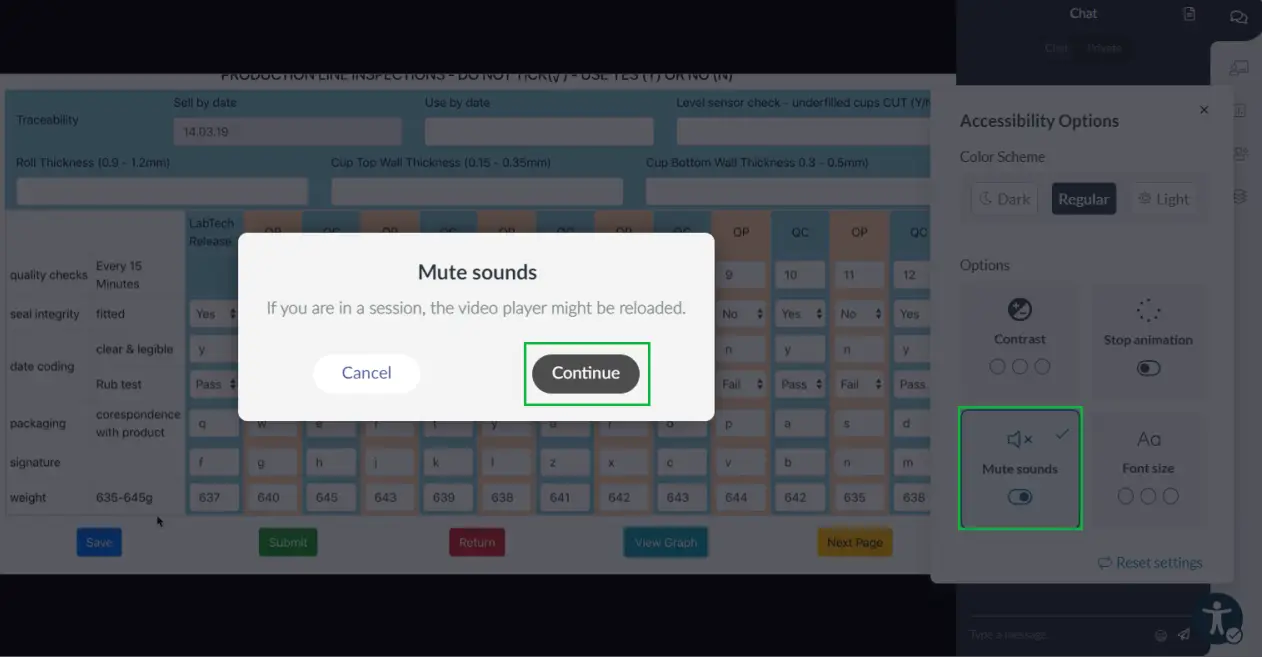
- Click on Continue and all sounds will be muted. These include:
- Video sounds
- Notification sounds (receiving messages, meeting invites and speed networking)
Font Size
The virtual lobby accessibility menu provides three font size options. The Virtual Lobby font size will increase as you press the Font size box. A fourth click will return the font to the original size.
Reset settings
If attendees press Reset settings, the Virtual Lobby will change to the template mode (Normal, Dark or Light) set by the event organizer on the backend.
Best Practices for speakers
- Ensure Clarity of Visuals and Sounds: Ensuring audio-visual quality is a key part of accessibility. Speakers should be well-lit and have their microphones tested beforehand. Also, keep background noise to a minimum and avoid speakers talking over each other.
- Read polls, chats, and questions out loud: Guarantee speakers read questions and replies for other attendees aloud. Also, ensure plenty of time is given to their answers.
- Describe your slides: Ask speakers to take a moment to describe their slides to the audience, making sure they summarize key graphs, images, and videos.
- Check the color contrast of slides: Ensure your speaker's slides have enough color contrast between text and background. Using a contrast checker tool may be helpful here. Ask Google to search for available options, many of them are free.
- Provide your slides ahead of time: Providing your slides before the presentation can be of great help to participants. Check the Files and documents article for more information on how to share files with your participants before, during, and after your sessions.
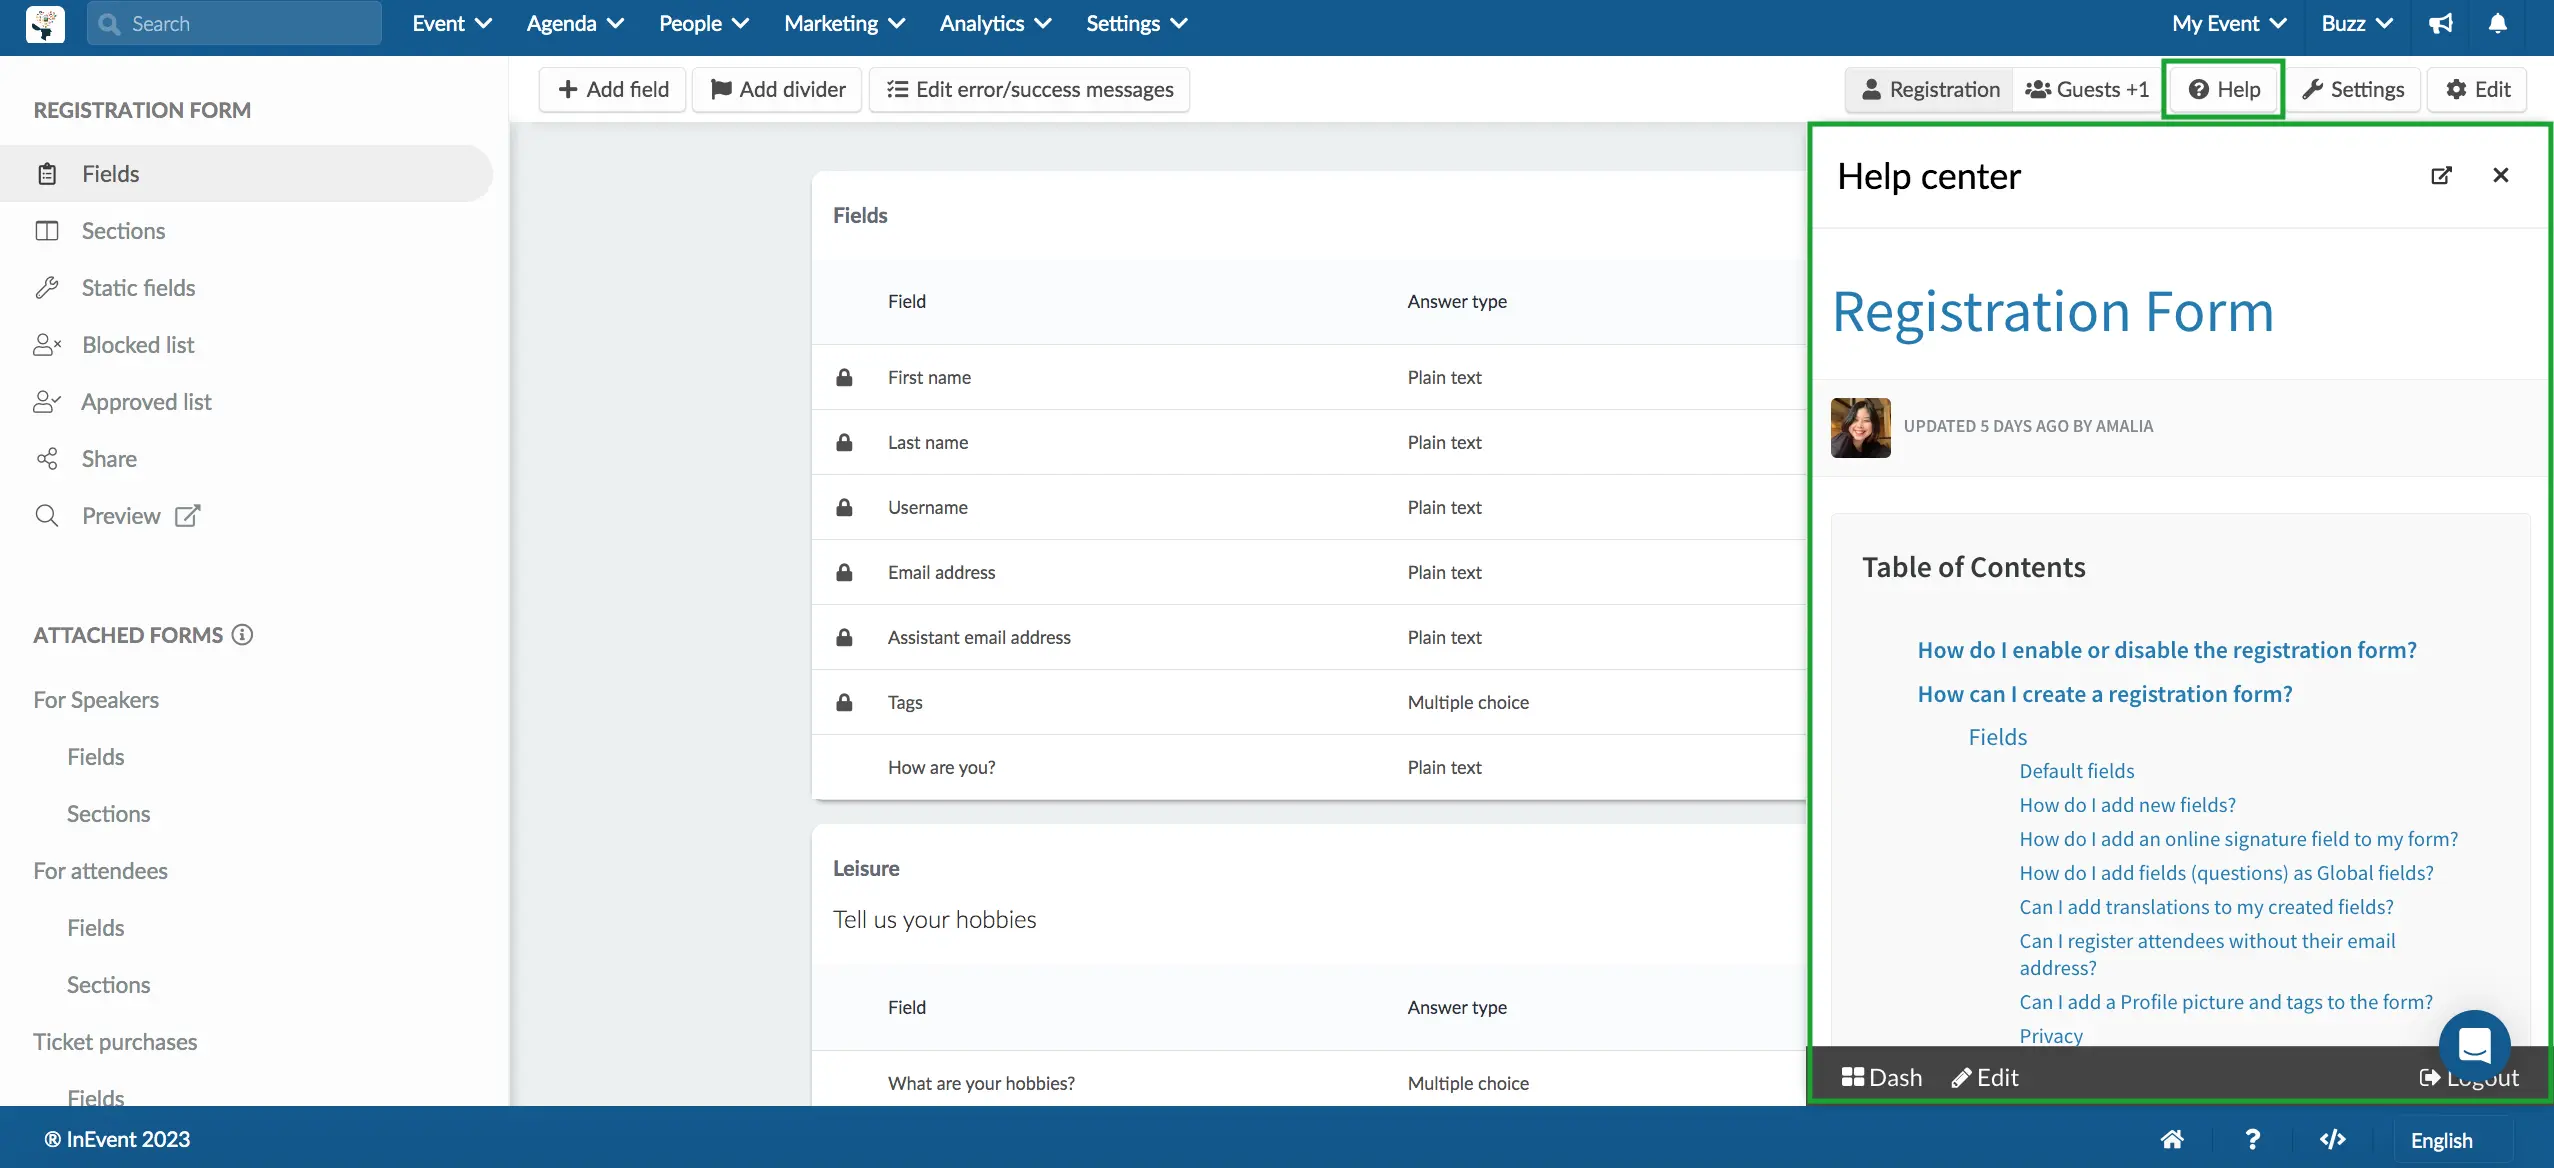
Help button
The Help button is available on every page of the InEvent platform. It helps admins to navigate setting up your event. It is located on the top right corner of every page between the Settings and Edit buttons. Once you click on it, it will share InEvent's FAQ article that concerns the particular page you are on as shown below: