Sponsors
 Updated 1 week ago
by
Amalia
Updated 1 week ago
by
Amalia
- Adding sponsors
- Checklist of information
- Linking sponsors to activities
- Viewing sponsors
You can create dedicated virtual rooms for each company supporting your event. Using the InEvent Virtual Lobby, sponsors can engage and network with attendees on 1-1 and group meetings; increasing brand awareness, building relationships, and expanding their reach in their target audience. Between branded covers, ads, files, and engaging features, sponsors have plenty of options to get the most out of their investment.
Adding sponsors
There are 2 ways to add sponsors to the platform: Manually and via spreadsheet.
Manually
To manually add sponsors to your event, go to Event > Sponsor and click +Add Sponsor. Once you do that, click on the Sponsor’s name and the Details page will be displayed to start adding the information after pressing Edit.
Via spreadsheet
You can add sponsors to your event using the demo file provided by InEvent. To do this, click on Edit > Import > Download demo file.

After downloading the file, fill the spreadsheet providing the information corresponding to each column.

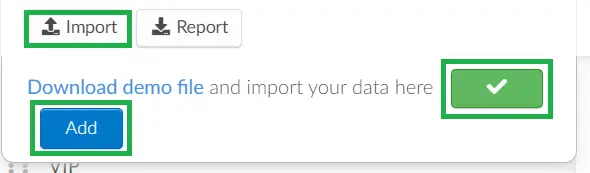
After filling the demo file, click on Edit > Import, and then click the green folder icon button and select the spreadsheet from your computer. The button will appear with a check mark when this is done, and you should click on the Add button to import the spreadsheet into the platform.
Checklist of information
- Logo
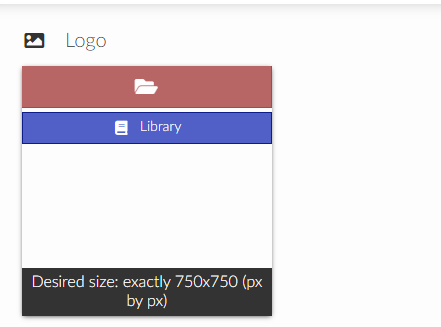
To add an image to the Sponsor, click on the Red tab with the file icon under the word Logo. The desirable image size is 750 x 750 (px by px).
- Company Information
You will be able to add more information about the Sponsor such as company name, contact name, telephone, email, website, and social media links such as Twitter, Instagram, LinkedIn and Facebook.
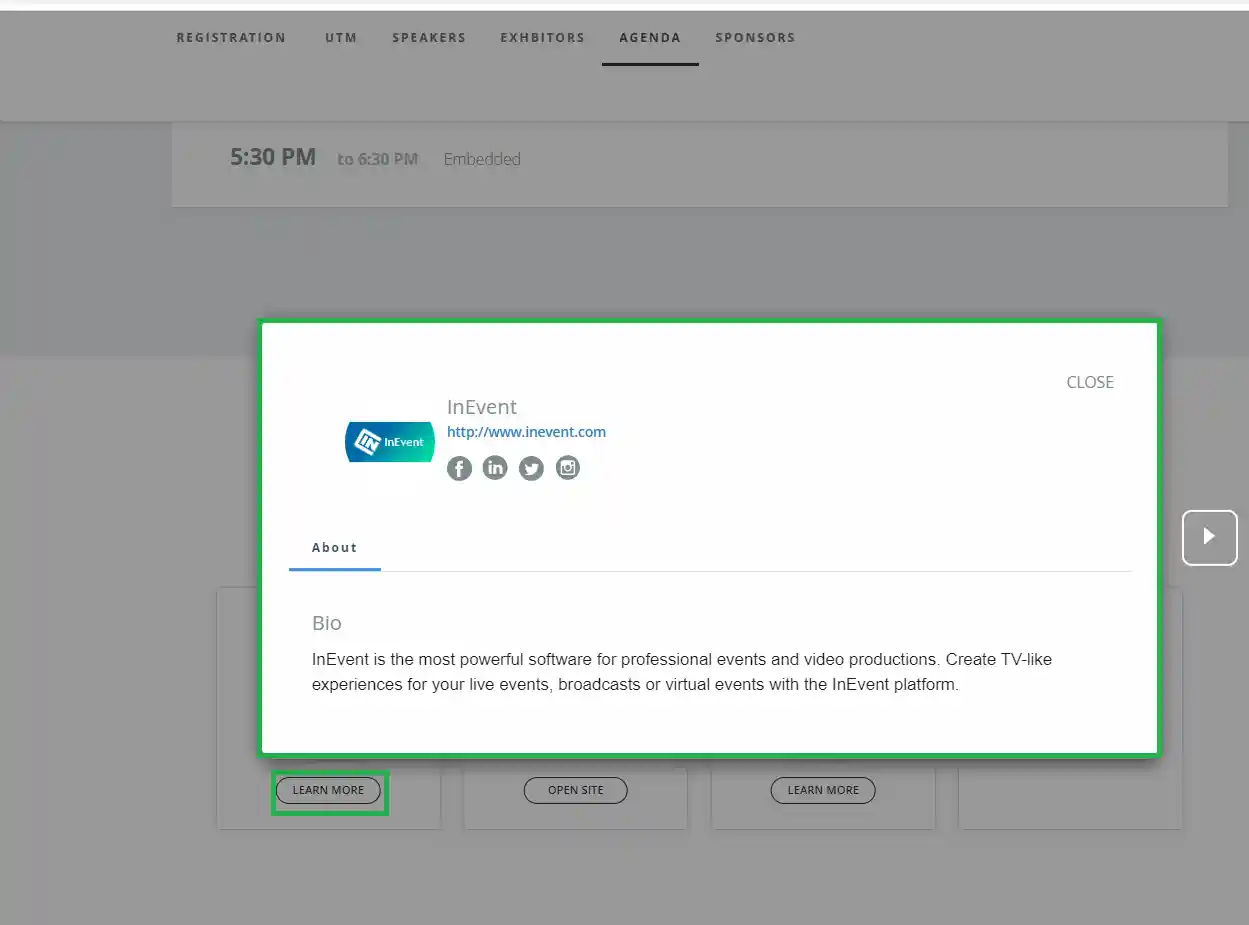
On the event's website, attendees will be able to see the website, social media links and mini-bio of the Sponsor by clicking on Learn more.
Attendees can also view this information in Sponsor rooms, and activities being sponsored by the Sponsors.
- Categories
Categories are a key component of a powerful marketing strategy. You can create categories to define the value of the influence of each sponsor. To create a category, enter its name in the designated Category field of the sponsor. If you wish to assign a sponsor to an existing category, simply type the category name in the field.
The Sponsor can be displayed by categories in the Sponsor tab at the Virtual Lobby, the App, the Website. The category can also be seen when you click on the sponsor's name inside the Sponsor's room and activities in which they are sponsoring when using Neo layout.
- Virtual Room and Room Video Mode
To learn how to create a virtual room for your sponsors and how to select between the different available video modes please refer to our Sponsor and exhibitor rooms article.
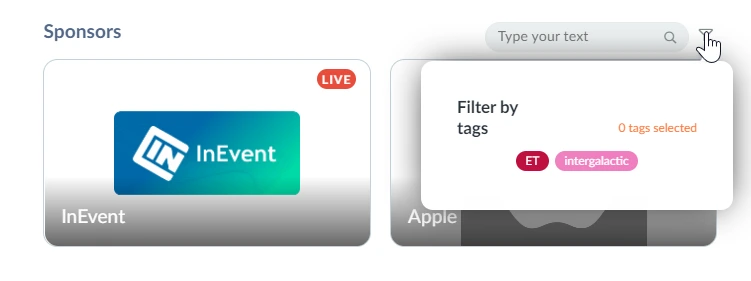
- Tags
If you wish to have a Sponsor tag click here to learn how to create Tags. Once the tag is created, you just need to associate them under the Details of the selected Sponsor.
- Visibility
You can set your sponsor booth to be visible/ invisible according to the agreement made. If for example the event lasts multiple days and one of the Sponsors agreed to have their brand exposed for only one day, you can simply set the Sponsor to be invisible.
- Data Collector
This feature allows exhibitors and sponsors to obtain data from participants who visited their booths. For more information, refer to our Lead Retrieval: Data Collector for sponsors and exhibitors article.
- Mini biography
This field is dedicated to adding a brief information about the Sponsor. You can add links, media, and also customize the information using the tools available in the text box. You can also add translation(s) by clicking the Translate icon, selecting a language from the window that appears.
The mini-bio can be viewed by attendees beside the Sponsor logo inside the Sponsor room, in a sponsored activity or website.
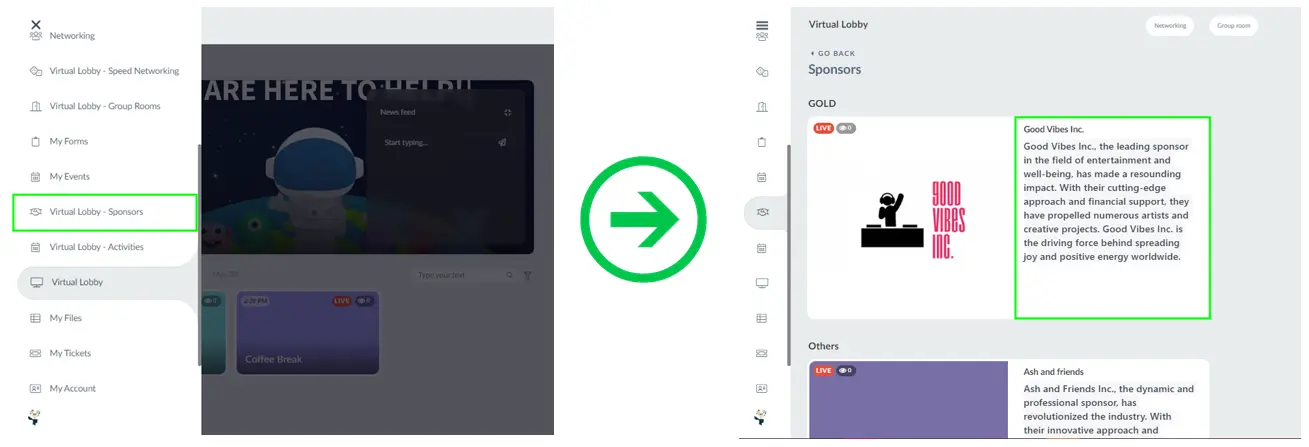
If you activate the Sponsor tile show 'Description' tool, Attendees will also be able to view the mini-bio of the Sponsor without entering the Sponsor room. To do this, they should navigate to the tab bar of the Virtual Lobby and click on Virtual Lobby-Sponsors. Then, they will be able to view the mini-bio on the Sponsor's tile as shown below.
Linking sponsors to activities
You can link sponsors to activities by following the instructions below.
- Go to Agenda > Activities.
- Select the activity to which you want to link a sponsor.
- Click on the Sponsors tab.
- Select one of your existing sponsors using the Select a sponsor drop-down box.
- Click on Add sponsor.
- Press End to finish.
After completing the steps above, the sponsor(s) will be linked to your activity.
Setting start end end time for sponsors in activities
You can set start and end time for each sponsor in an activity by using the time and date selector which corresponds to the sponsor after linking them to your activity.
The sponsors' start and end time will be reflected in the Grouped logs of the Checklog reports.
Viewing sponsors
Sponsors can be viewed on the event Website, in the Virtual Lobby, and in the mobile app.
In the app
To view an event's sponsors in the app, navigate to Menu > Sponsors. To see more information about a Sponsor including activities they are sponsoring, click on the sponsor entry.
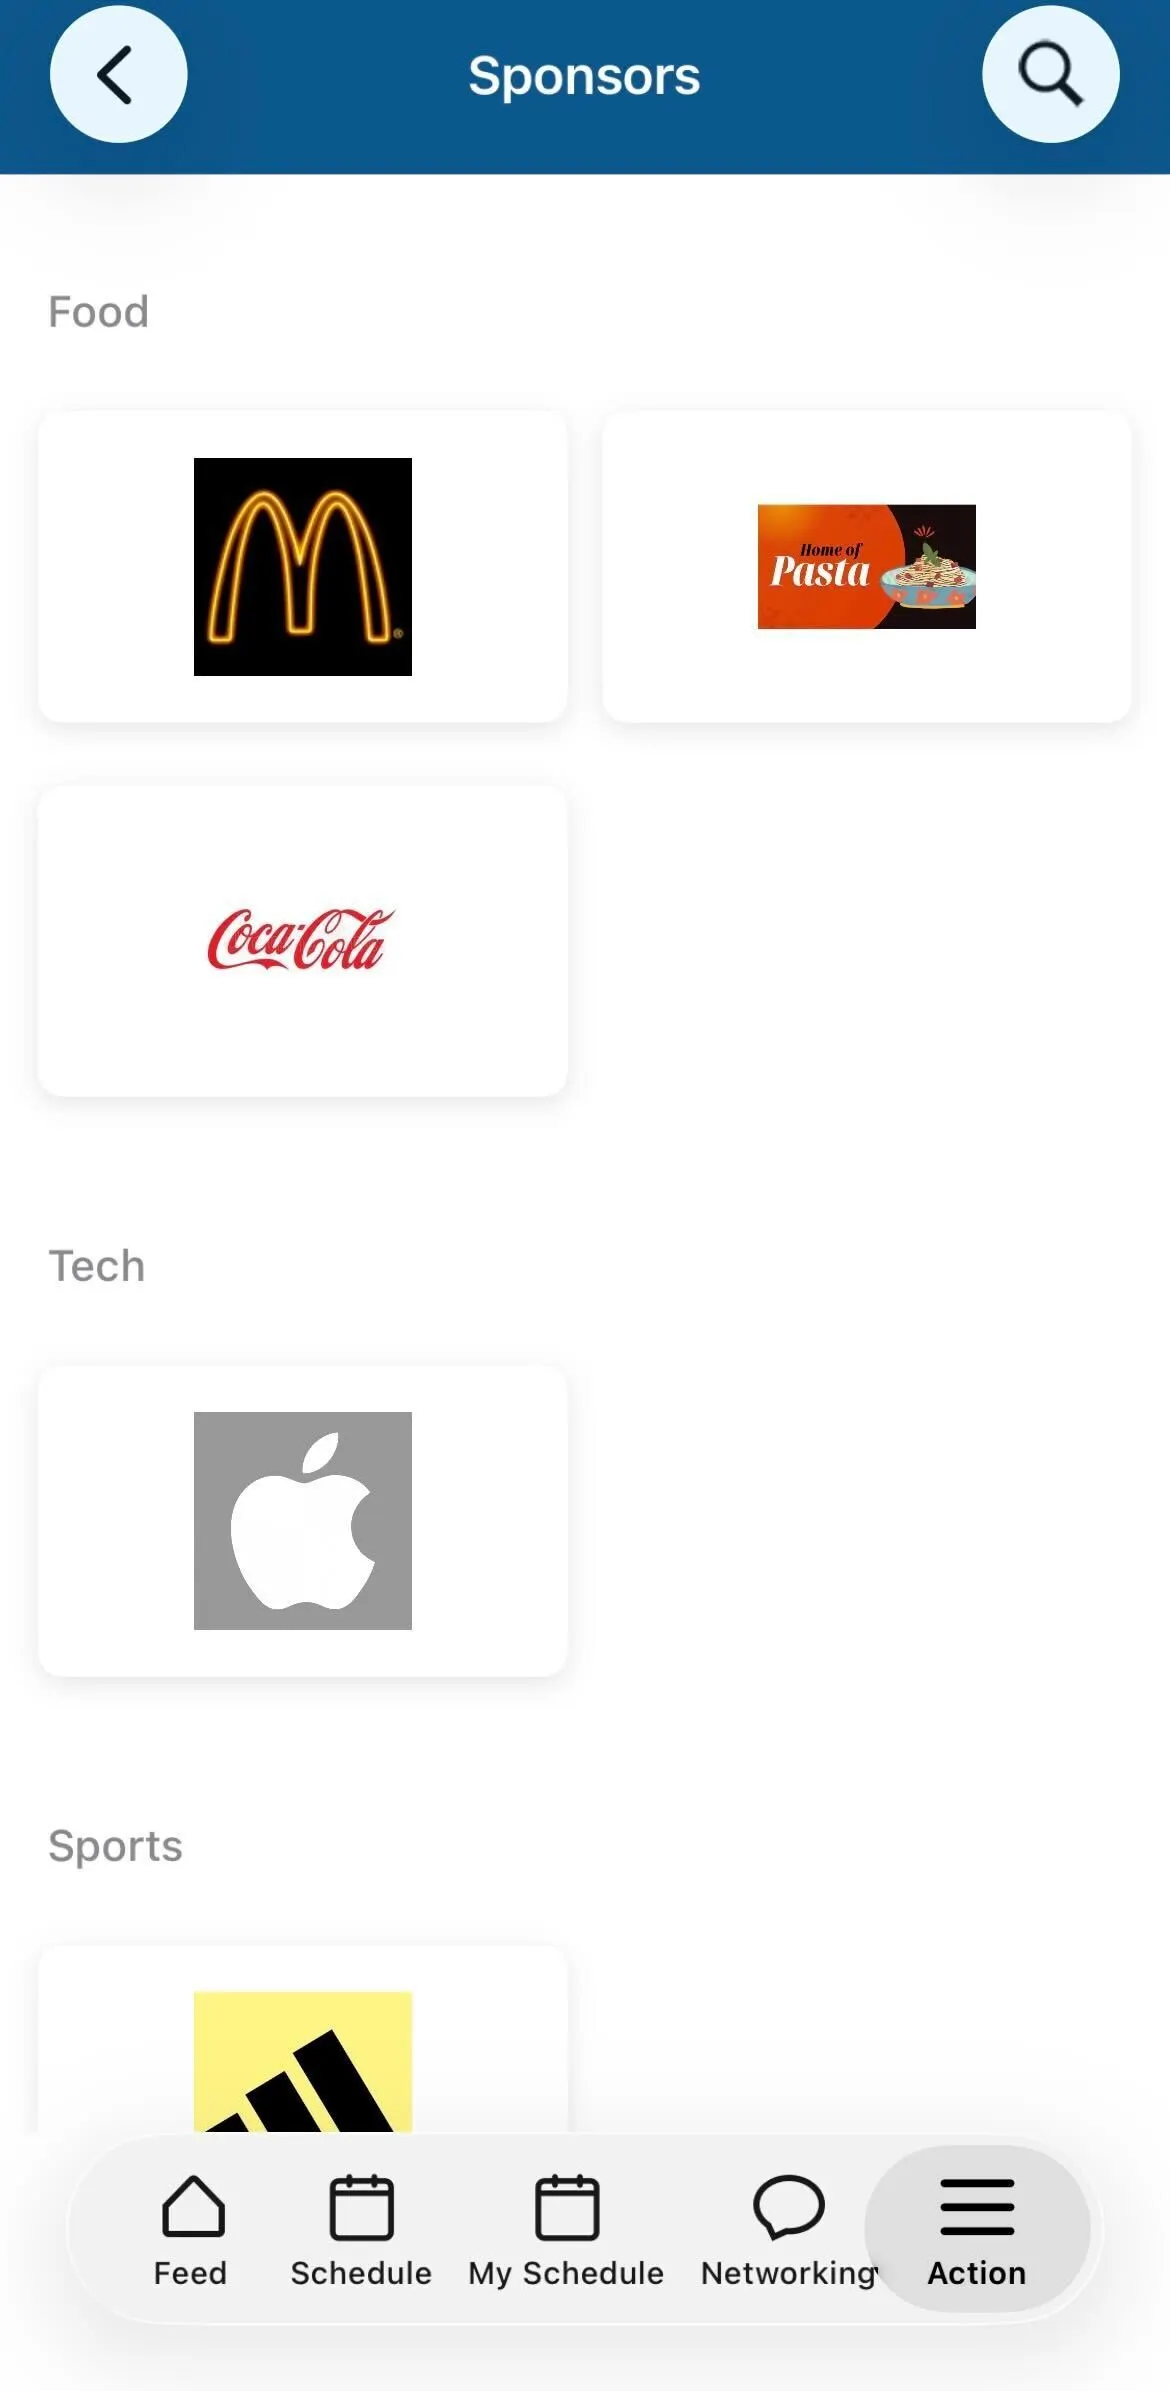
The sponsor page is as shown in the following screenshot.
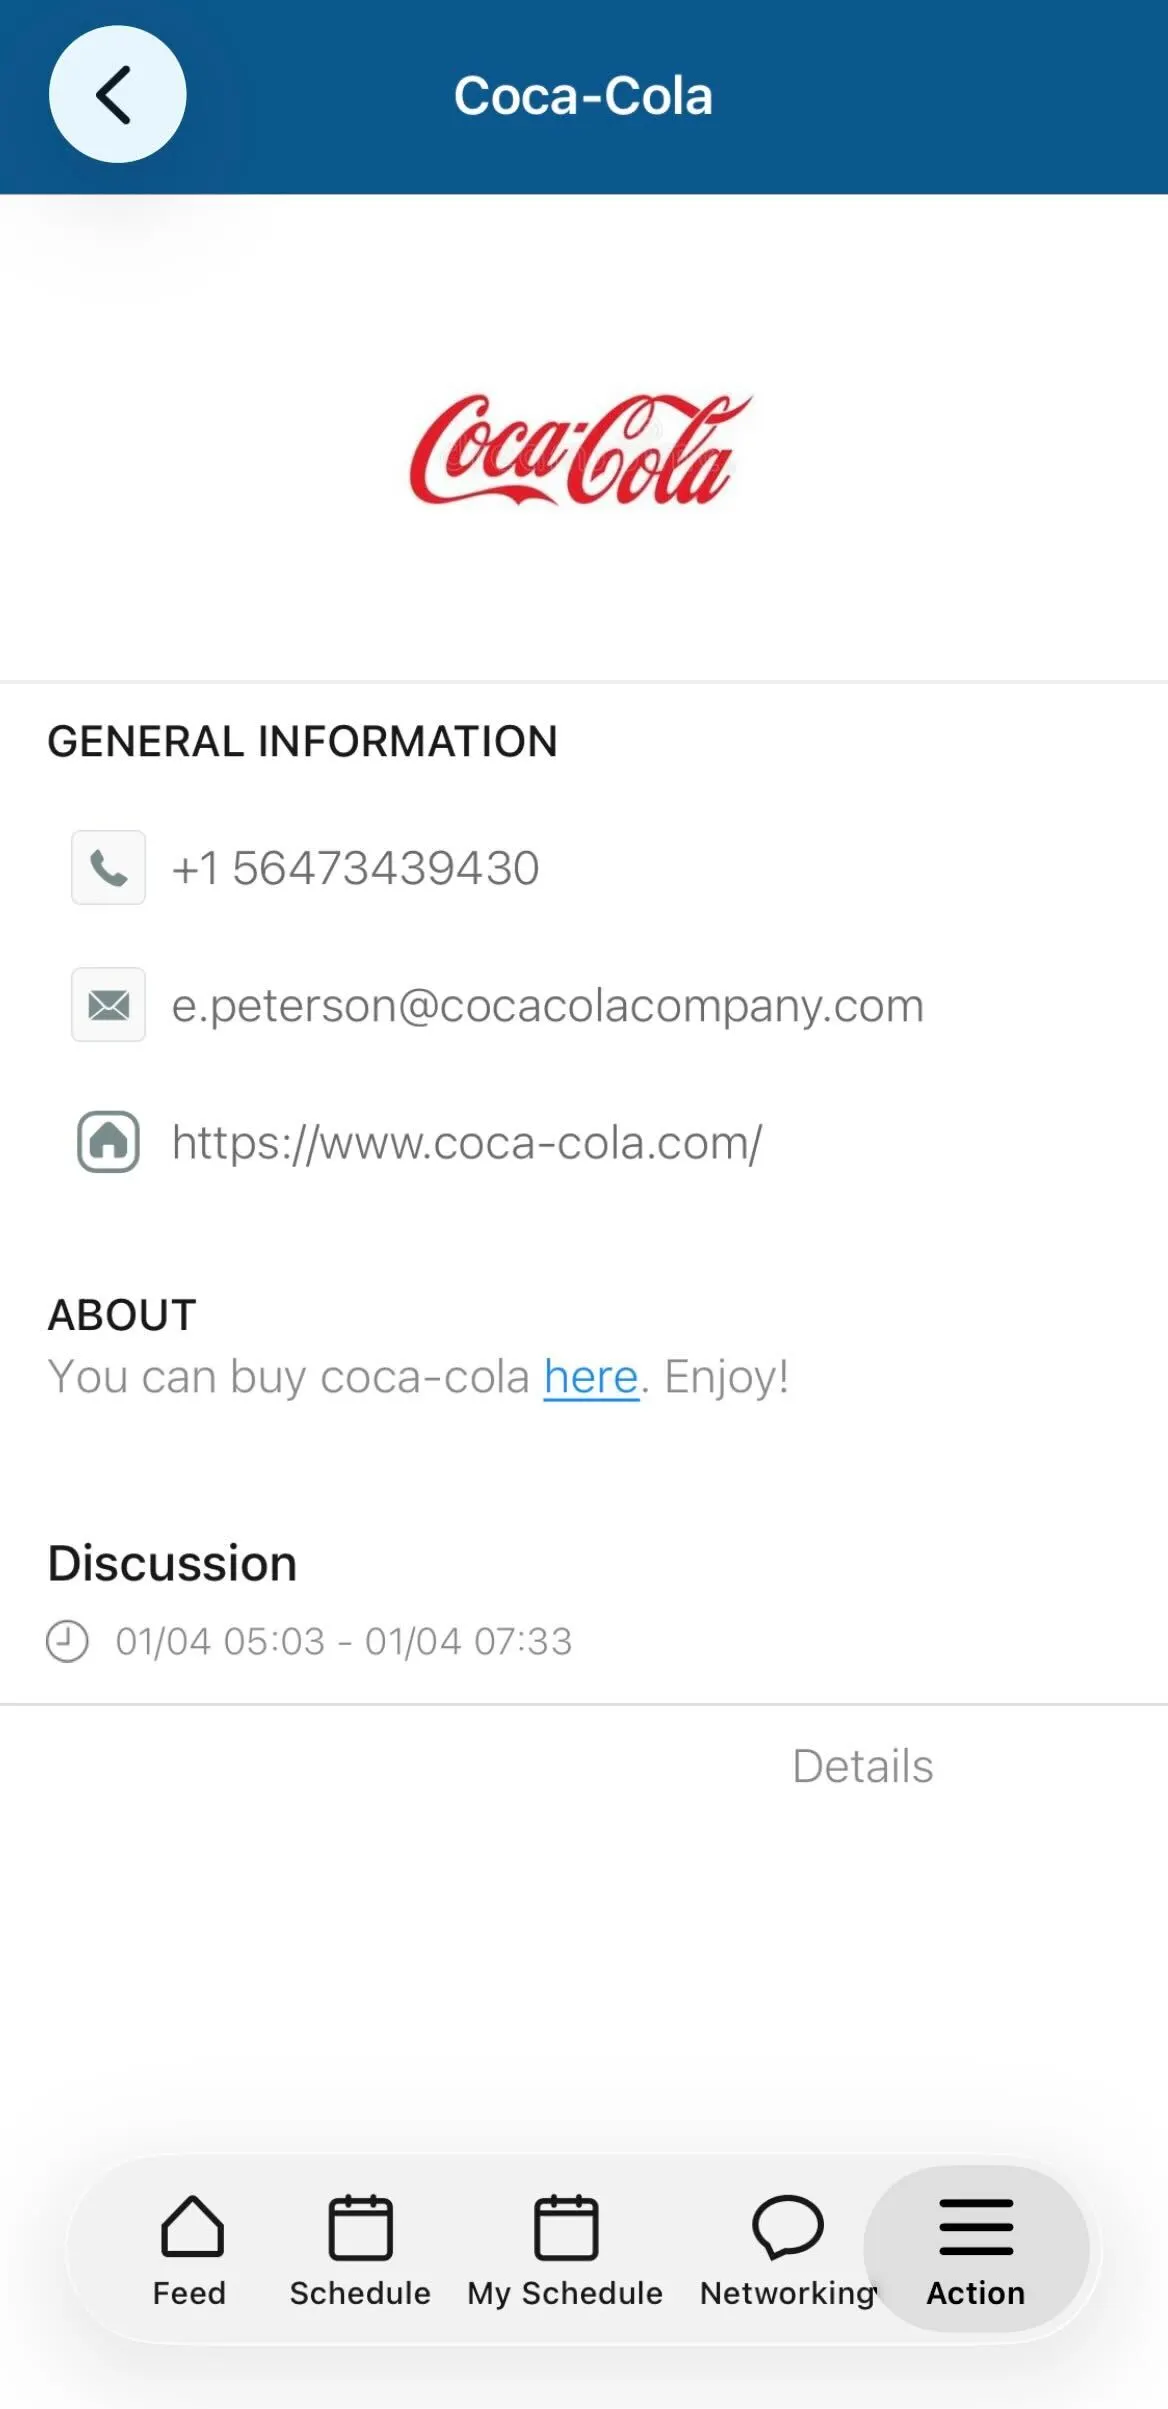
Sponsors are also visible within the details page of an associated activity.
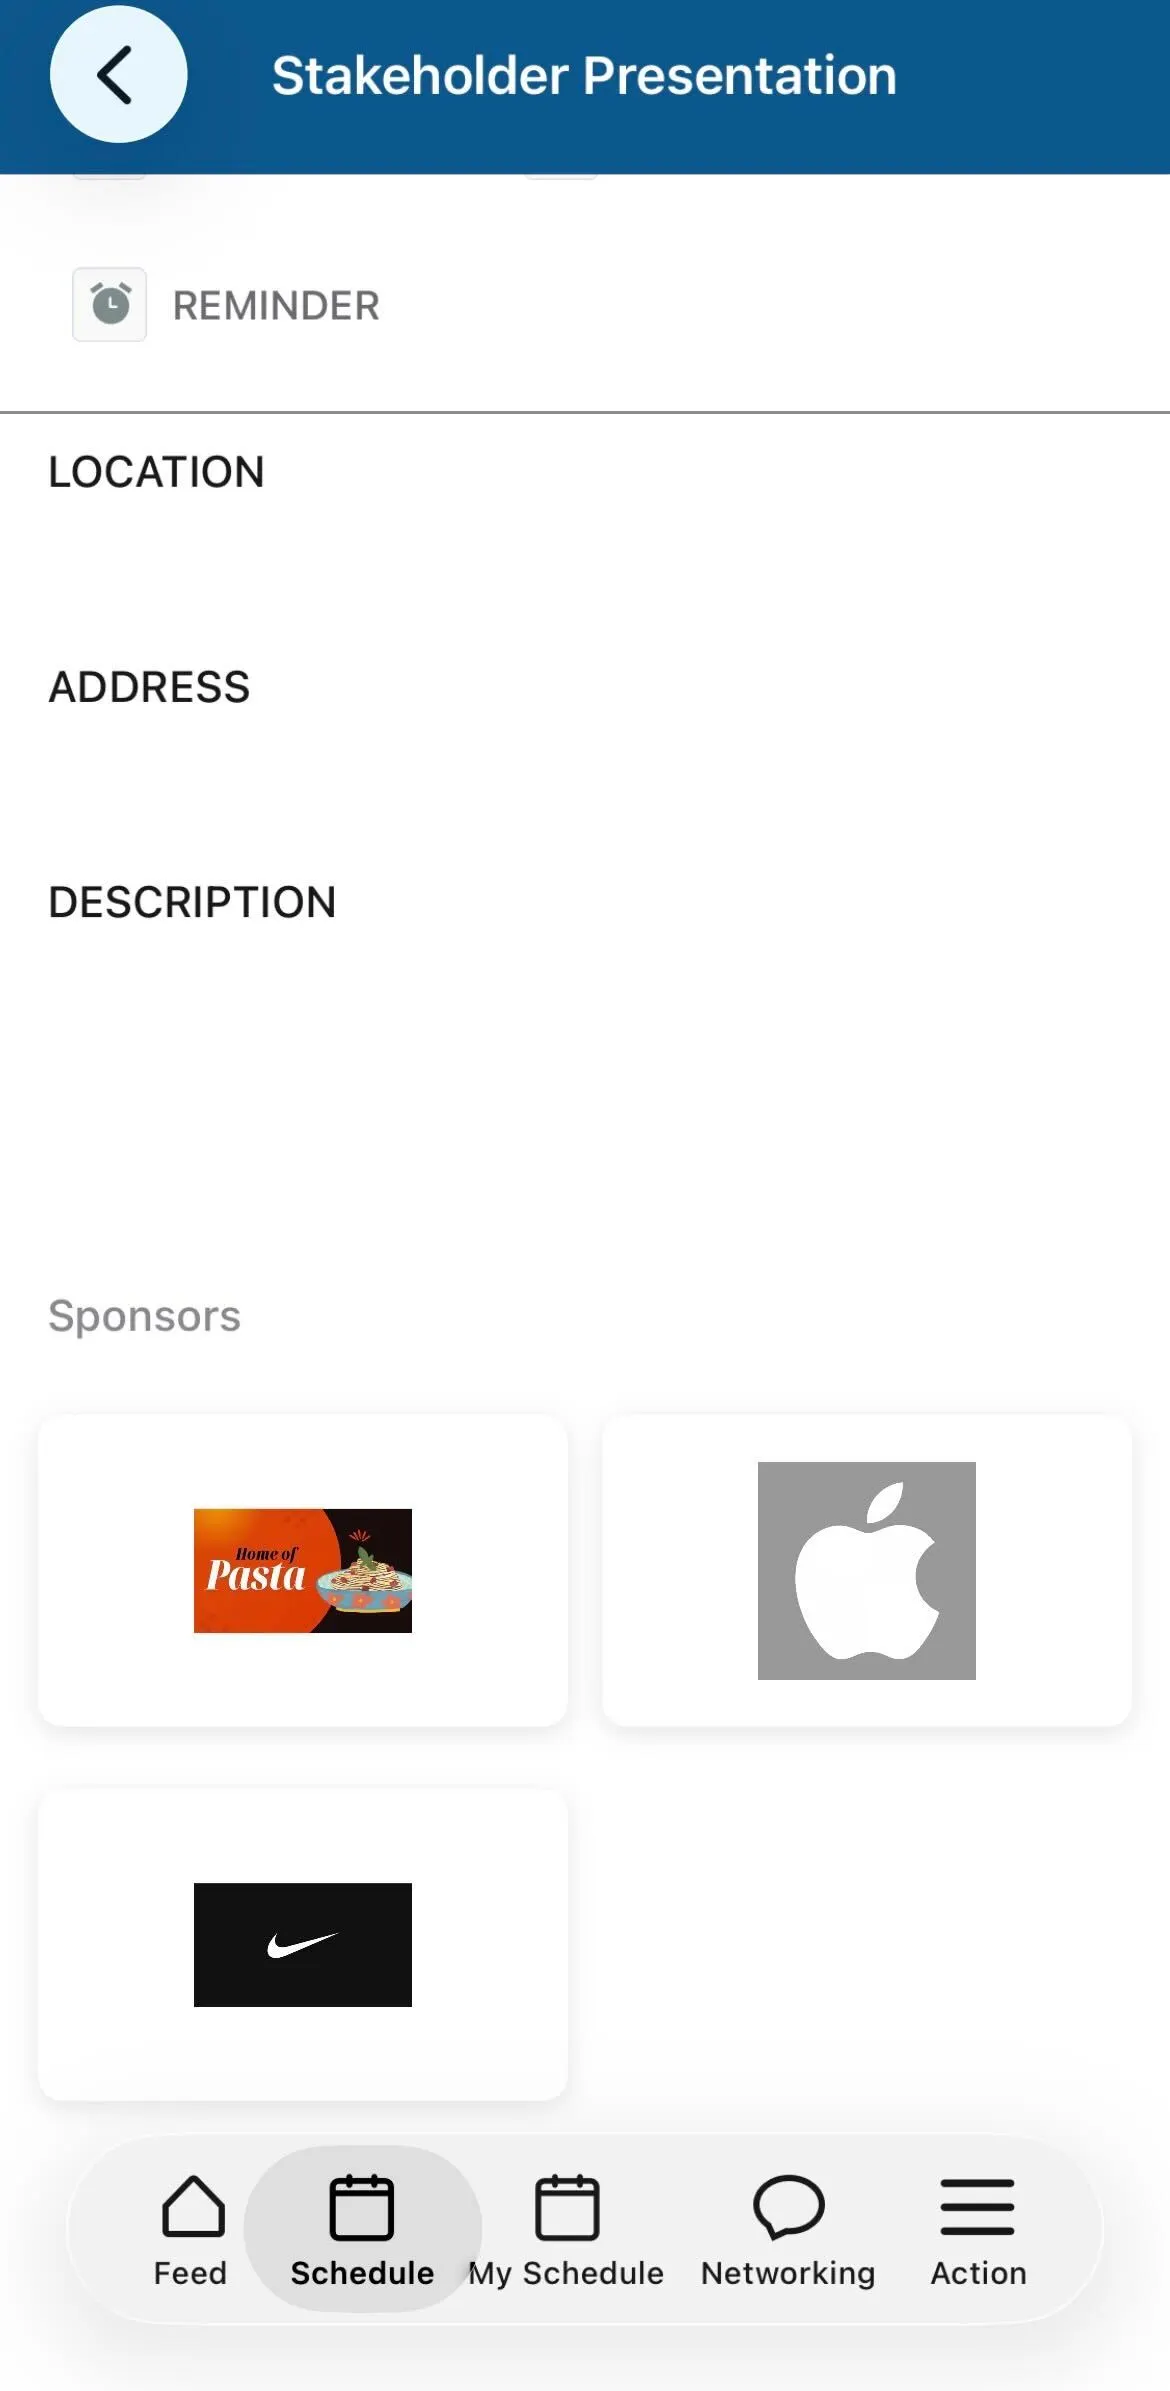
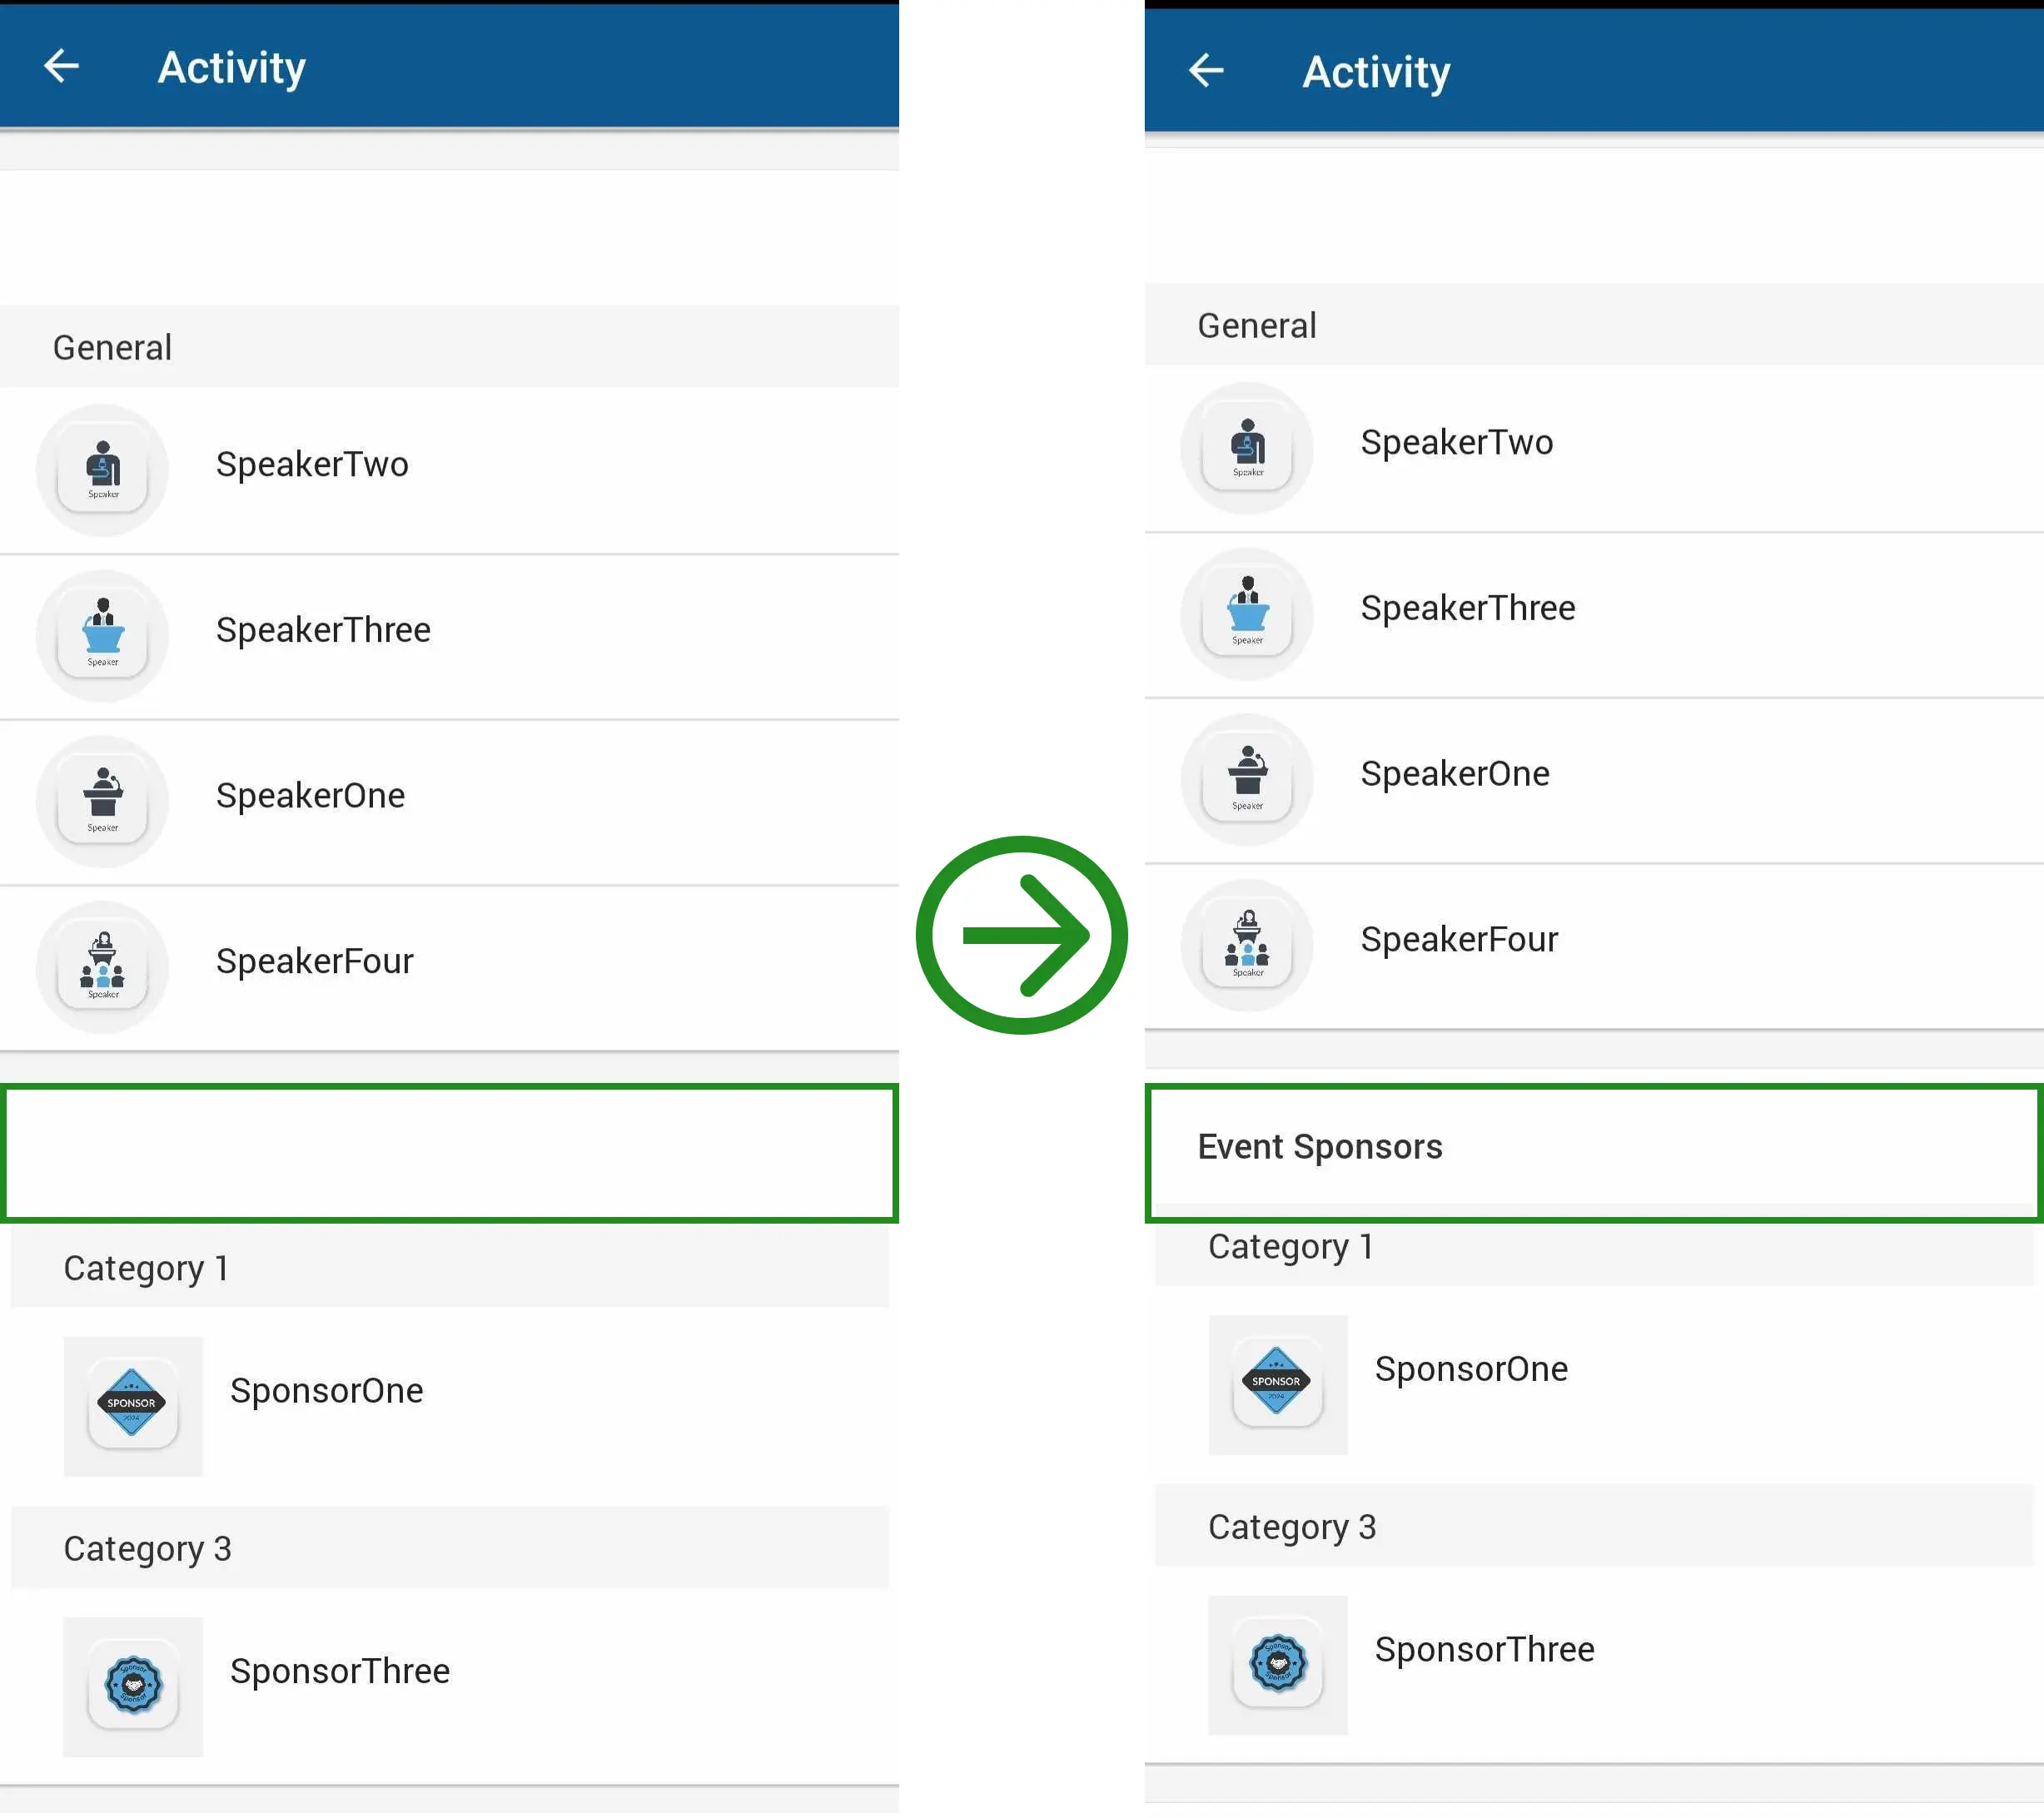
Creating placeholders for sponsors in the app
Placeholders for sponsors can be created, and they will appear within the agenda’s activity details.
To create a sponsor placeholder follow the steps below:
- Go to Settings > Headings.
- Click on Add Heading.
- In the new heading pop up, select Agenda Label - Sponsors as the heading type.
- Enter your desired Heading Value.
- Click Create to set up the sponsor placeholder.
This allows you to organize and display sponsors for your activity effectively.
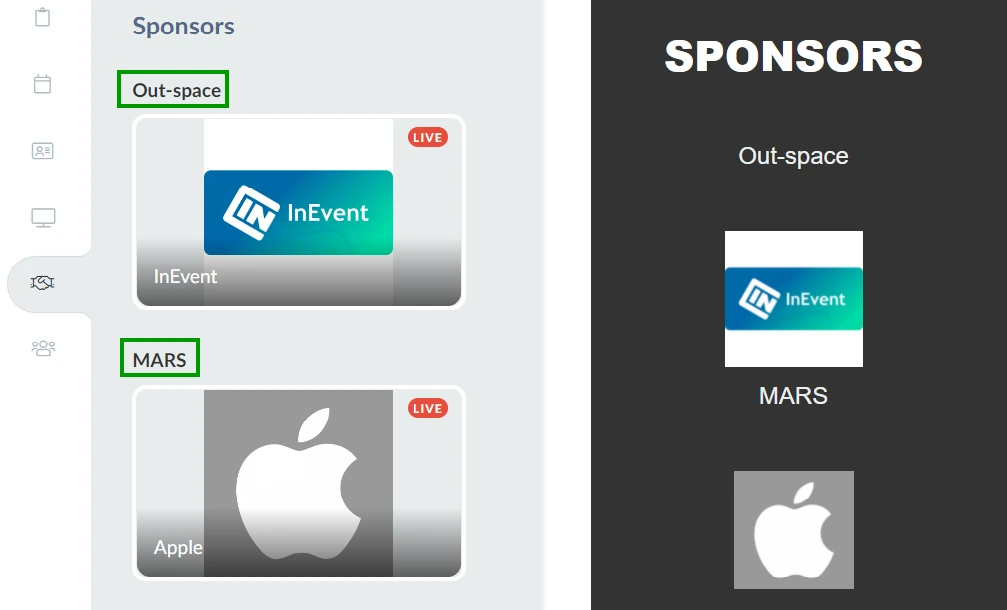
In the Virtual Lobby
Main page: sponsor rooms and sponsored activities
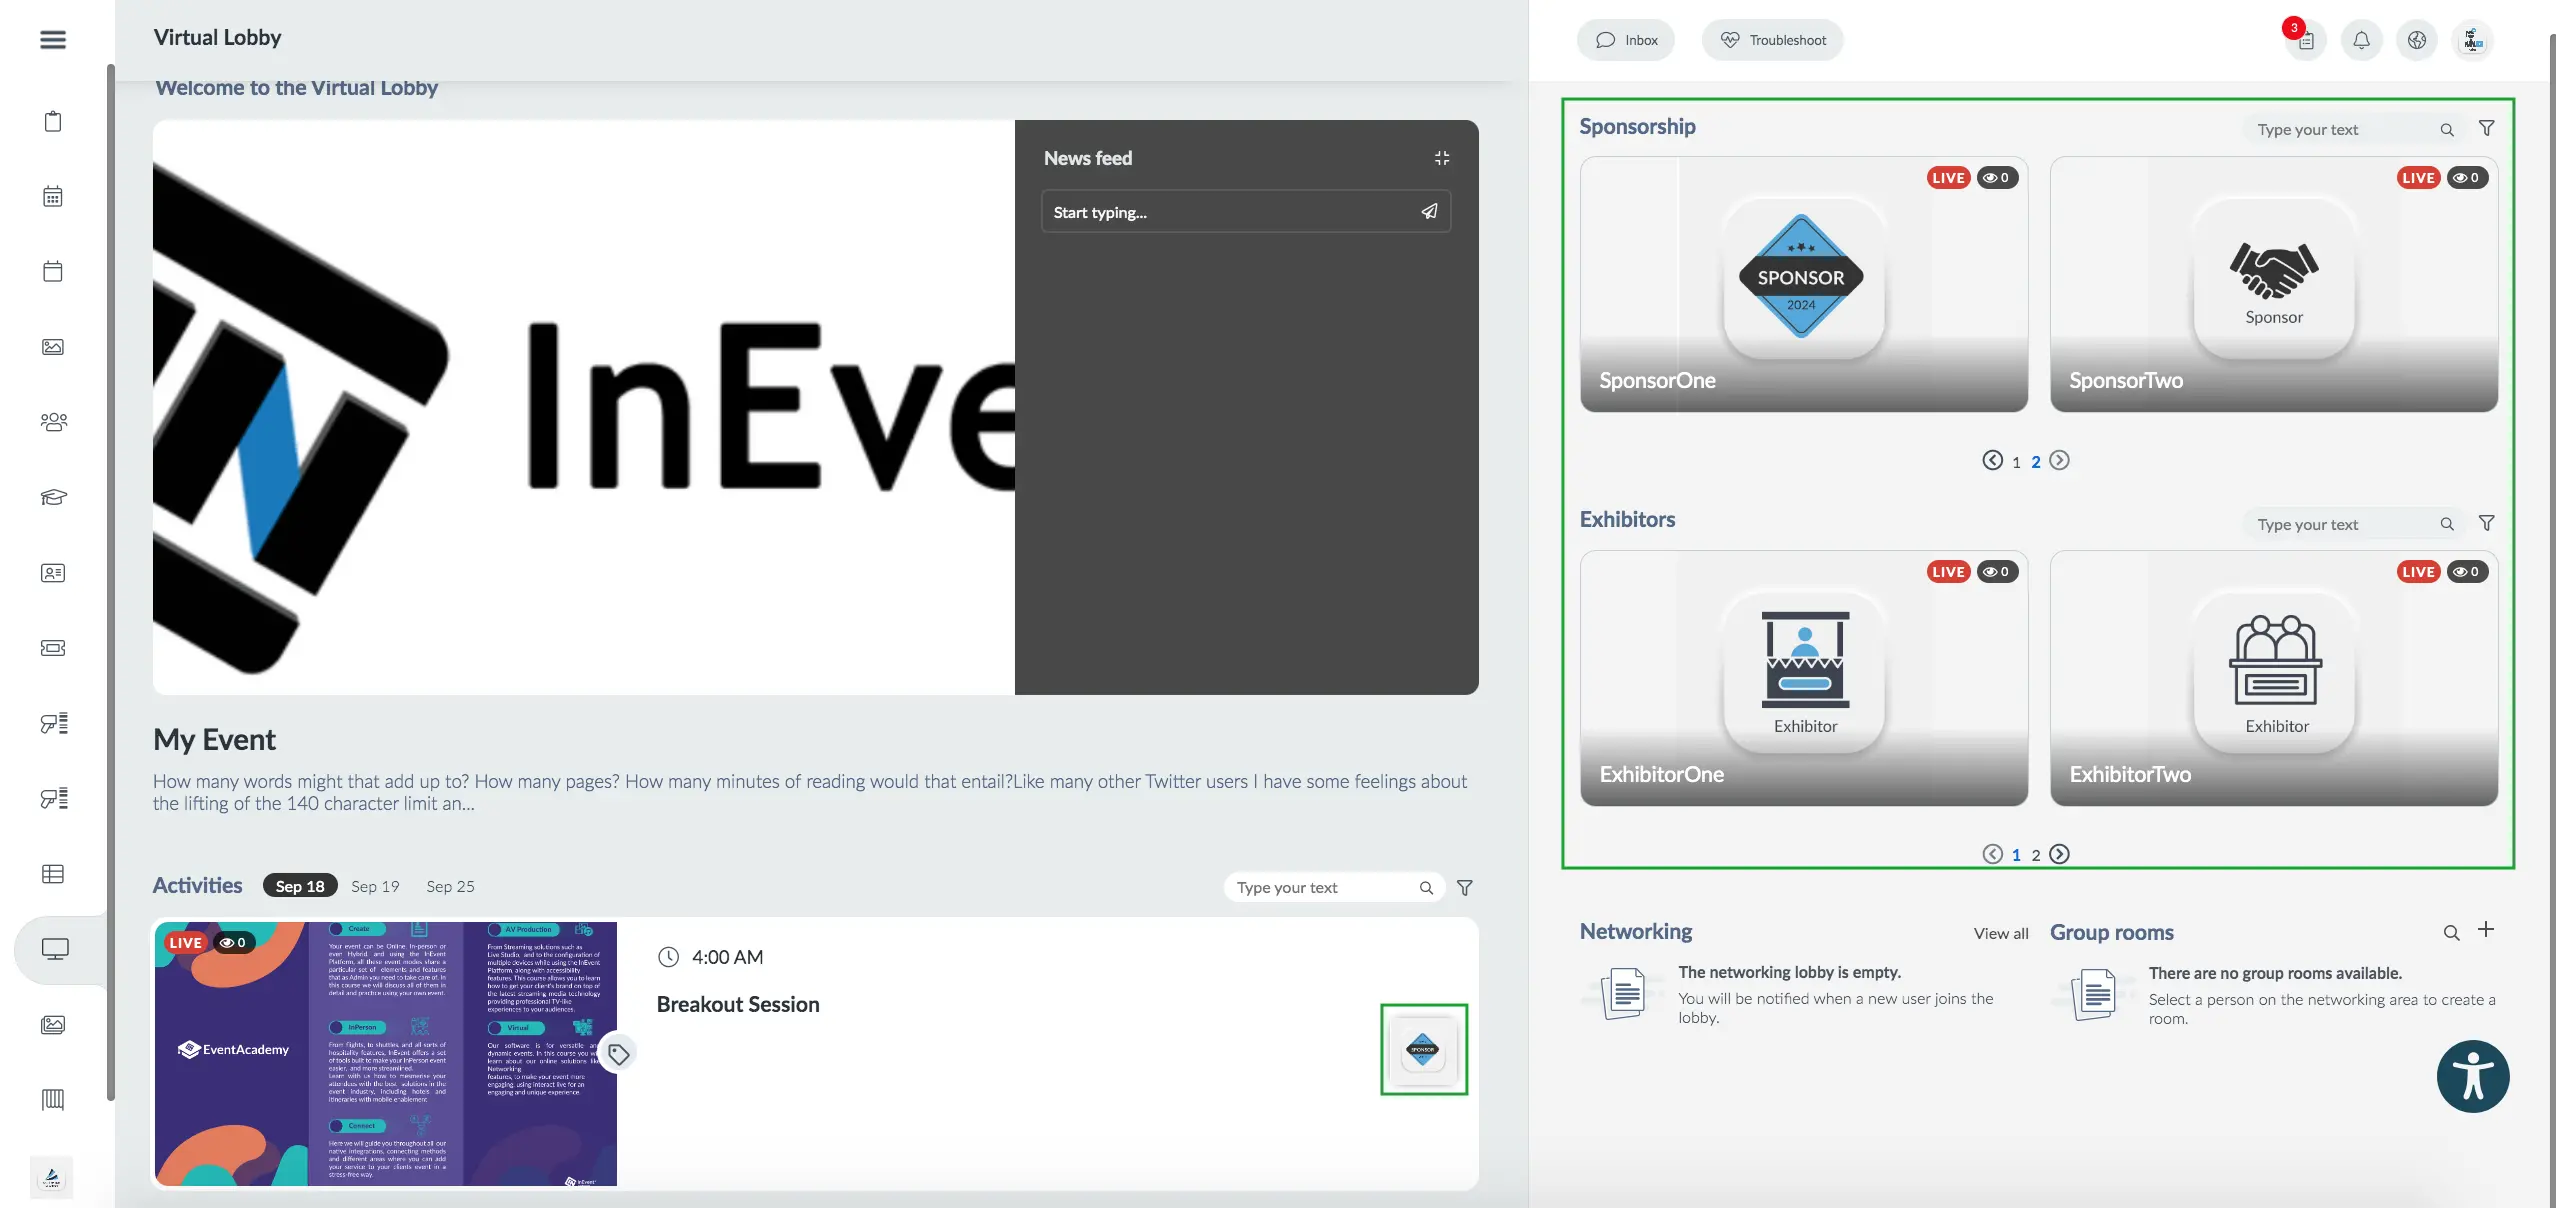
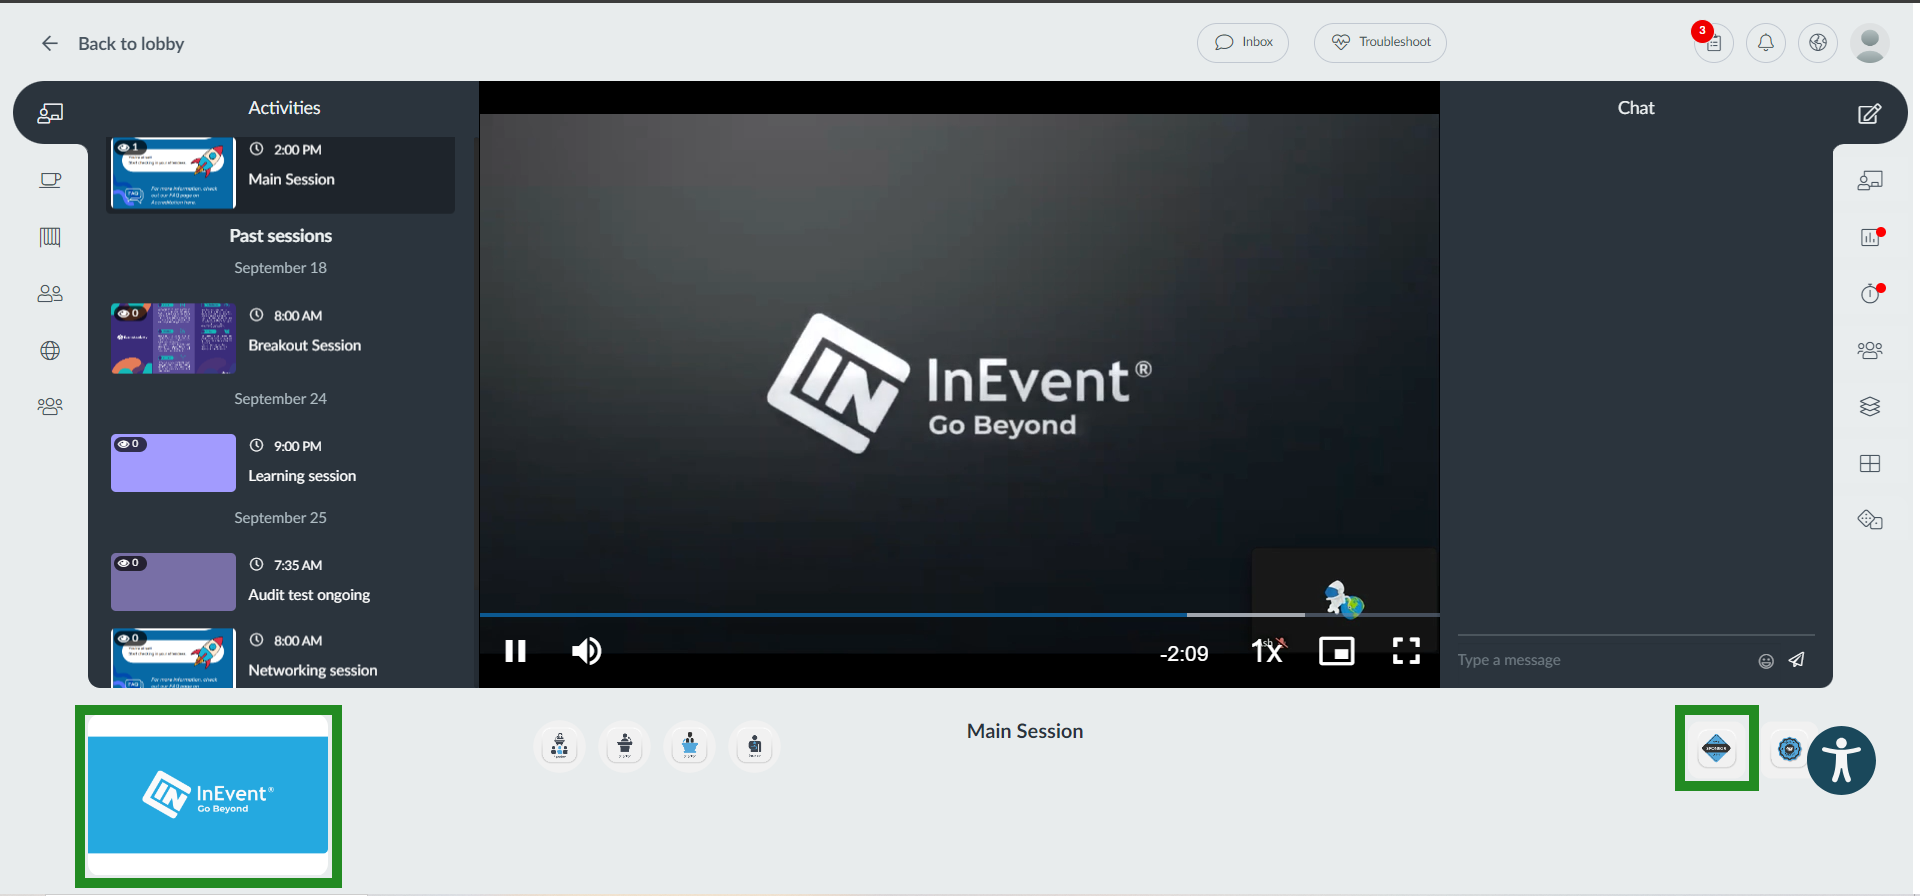
In the Virtual Lobby, you'll see the sponsor rooms of the Sponsors at the right-hand side and on the left-hand side, you will see their logos on the room cover of activities in which they are sponsoring.
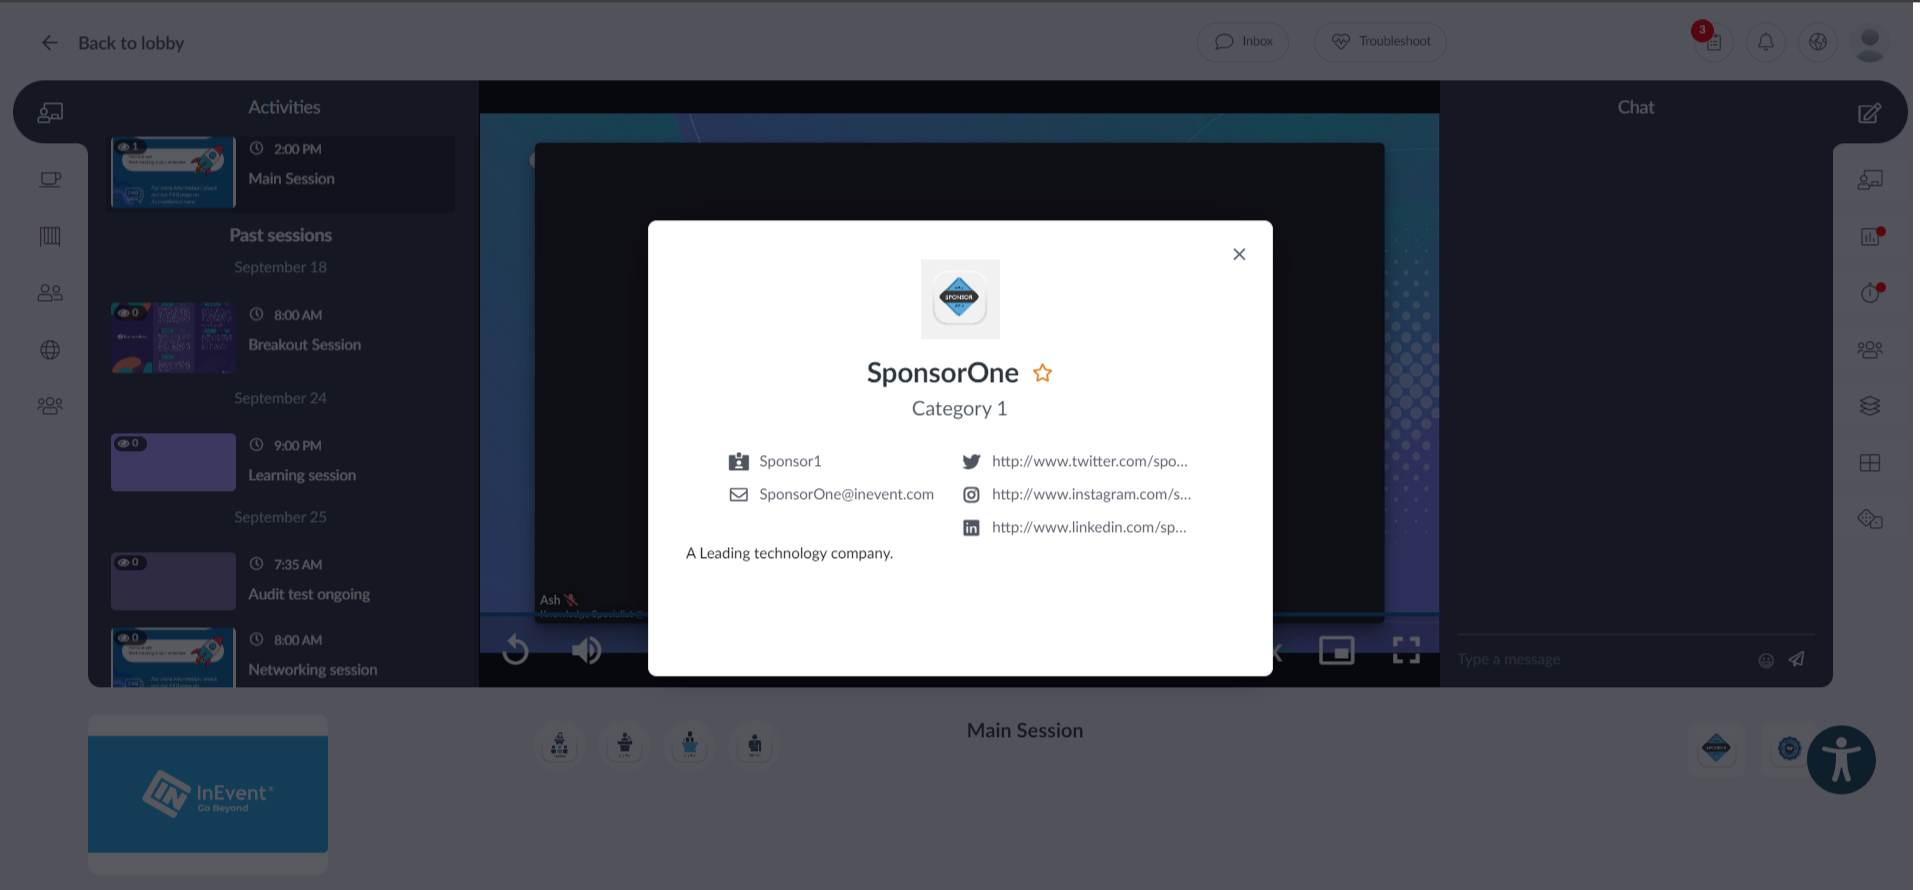
In the Sponsor's virtual room, attendees will find comprehensive information about the Sponsor by clicking on the Sponsor's name located next to their logo at the bottom of the room.
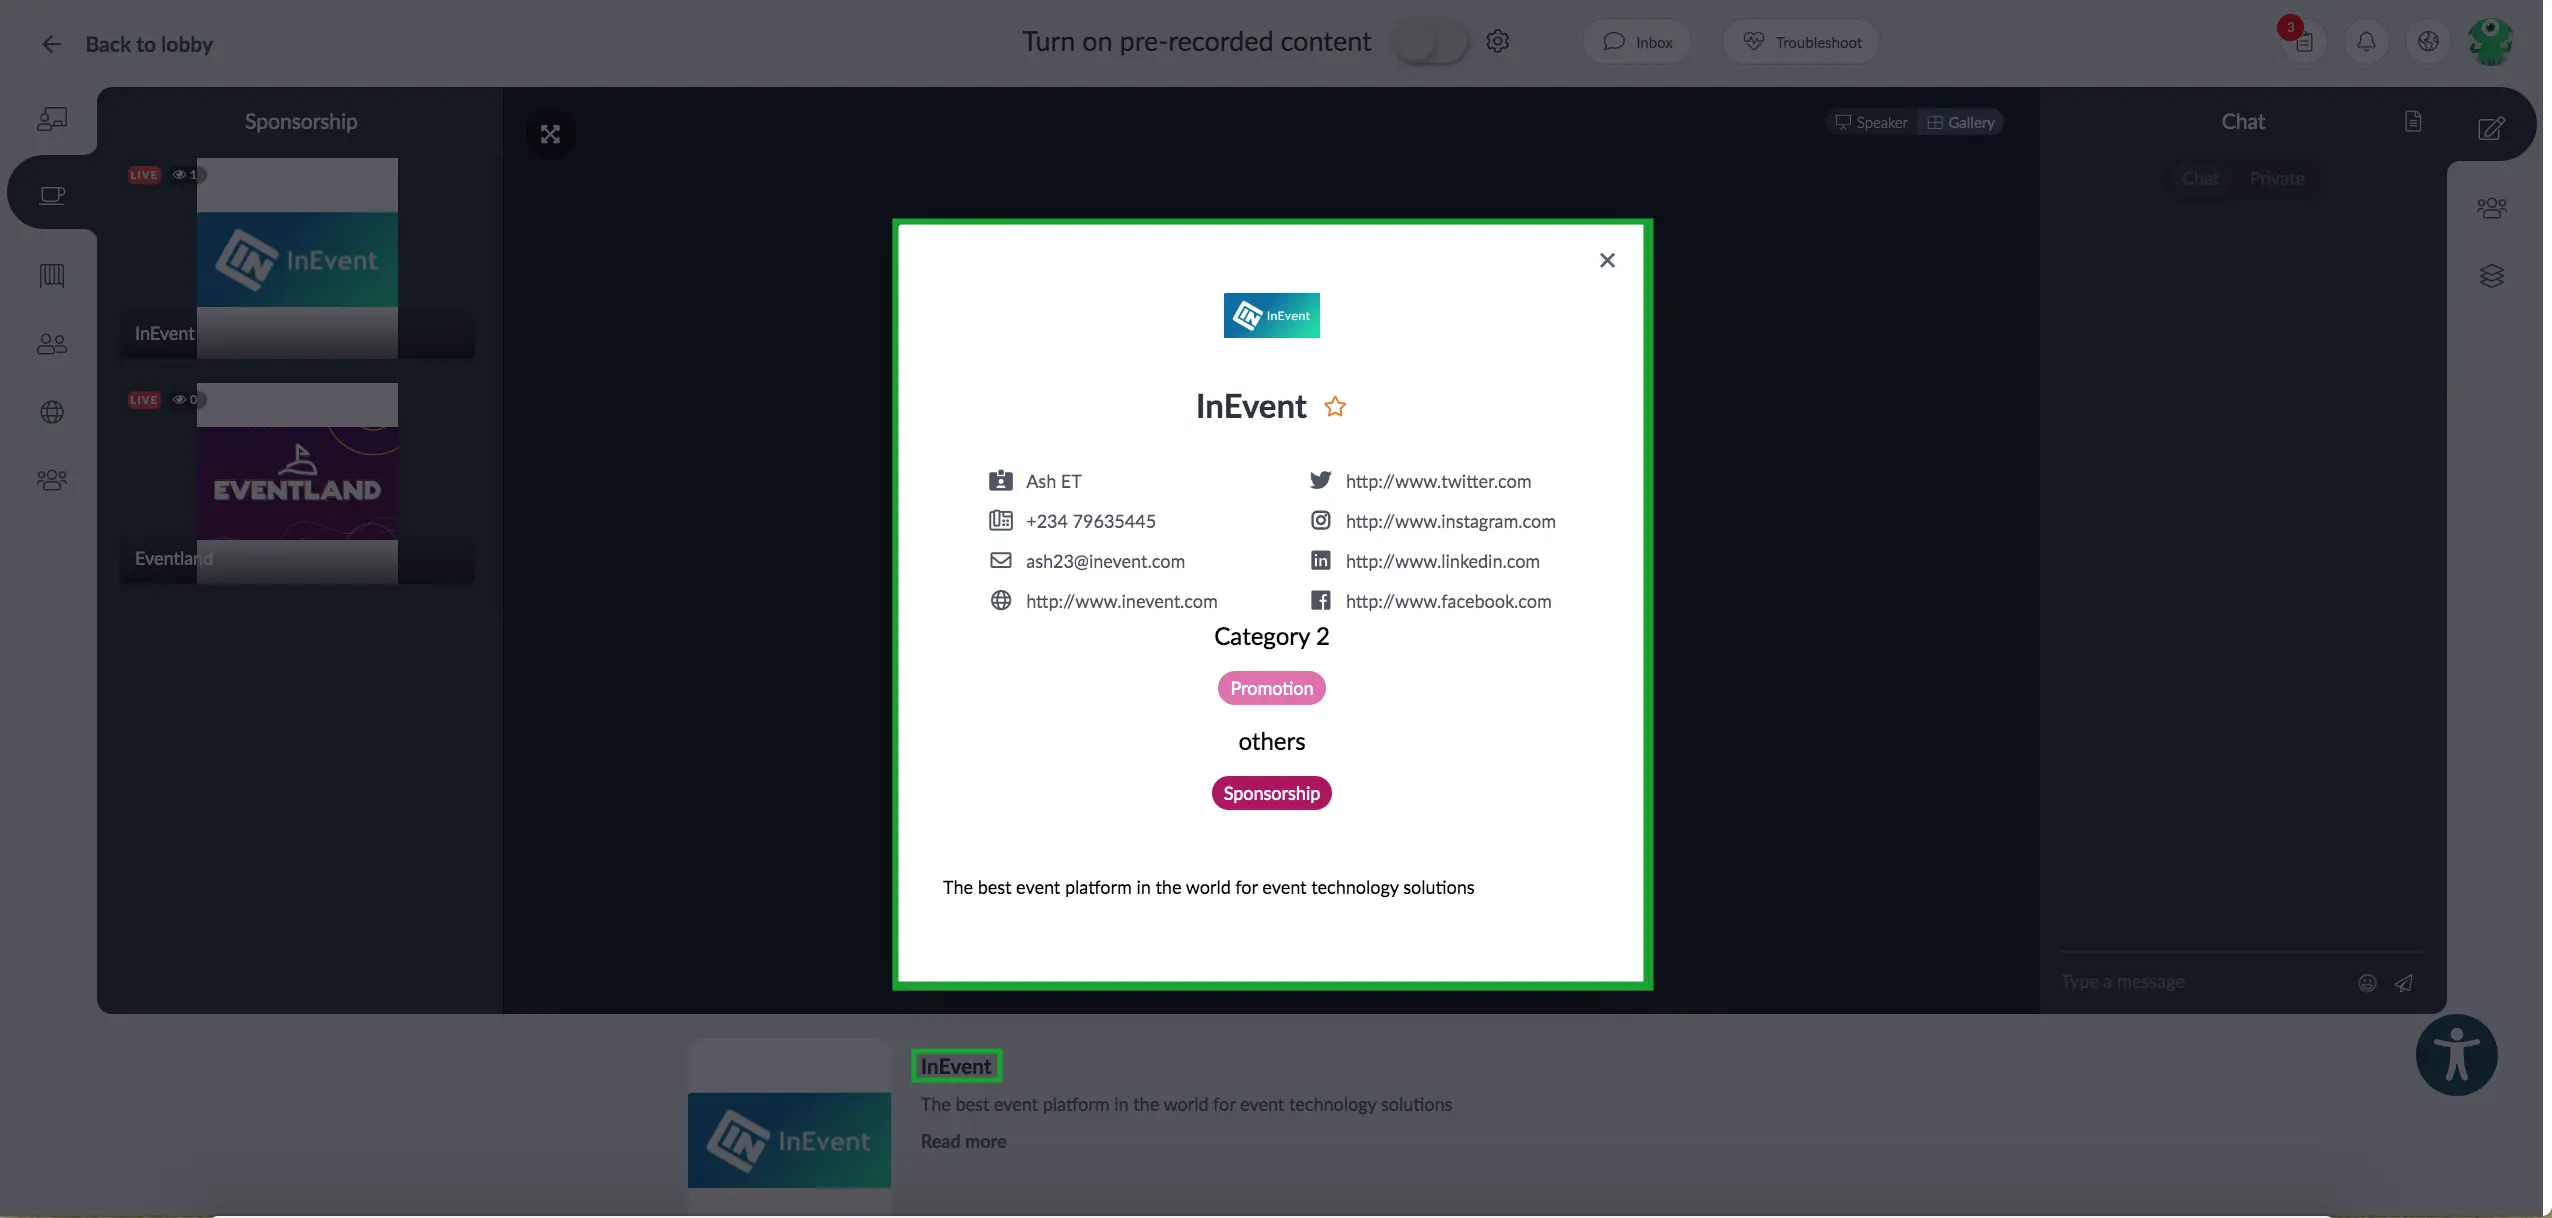
Attendees can also view this information in activities being sponsored by the Sponsors by clicking on the sponsors' logo at the bottom of the room.
Dedicated page for sponsors
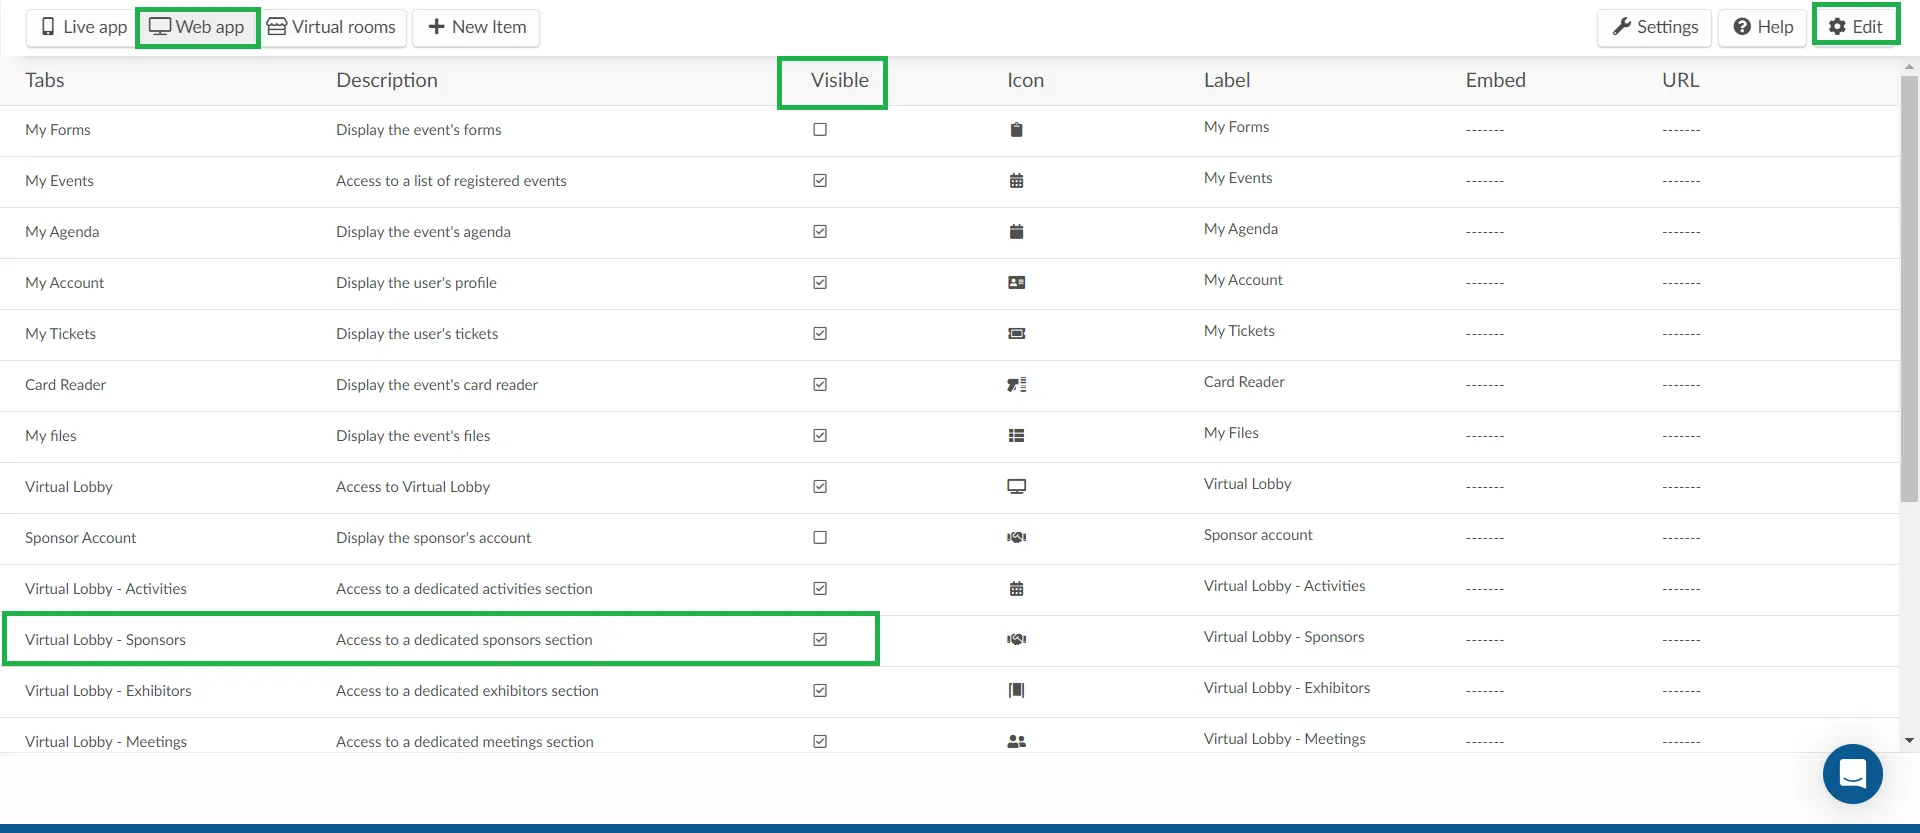
If you wish to have dedicated pages for Sponsors in the Virtual Lobby, go to Settings > Tabs and click on Web app Lobby. Click on Edit and tick the Visible checkbox beside Virtual Lobby - Sponsors.
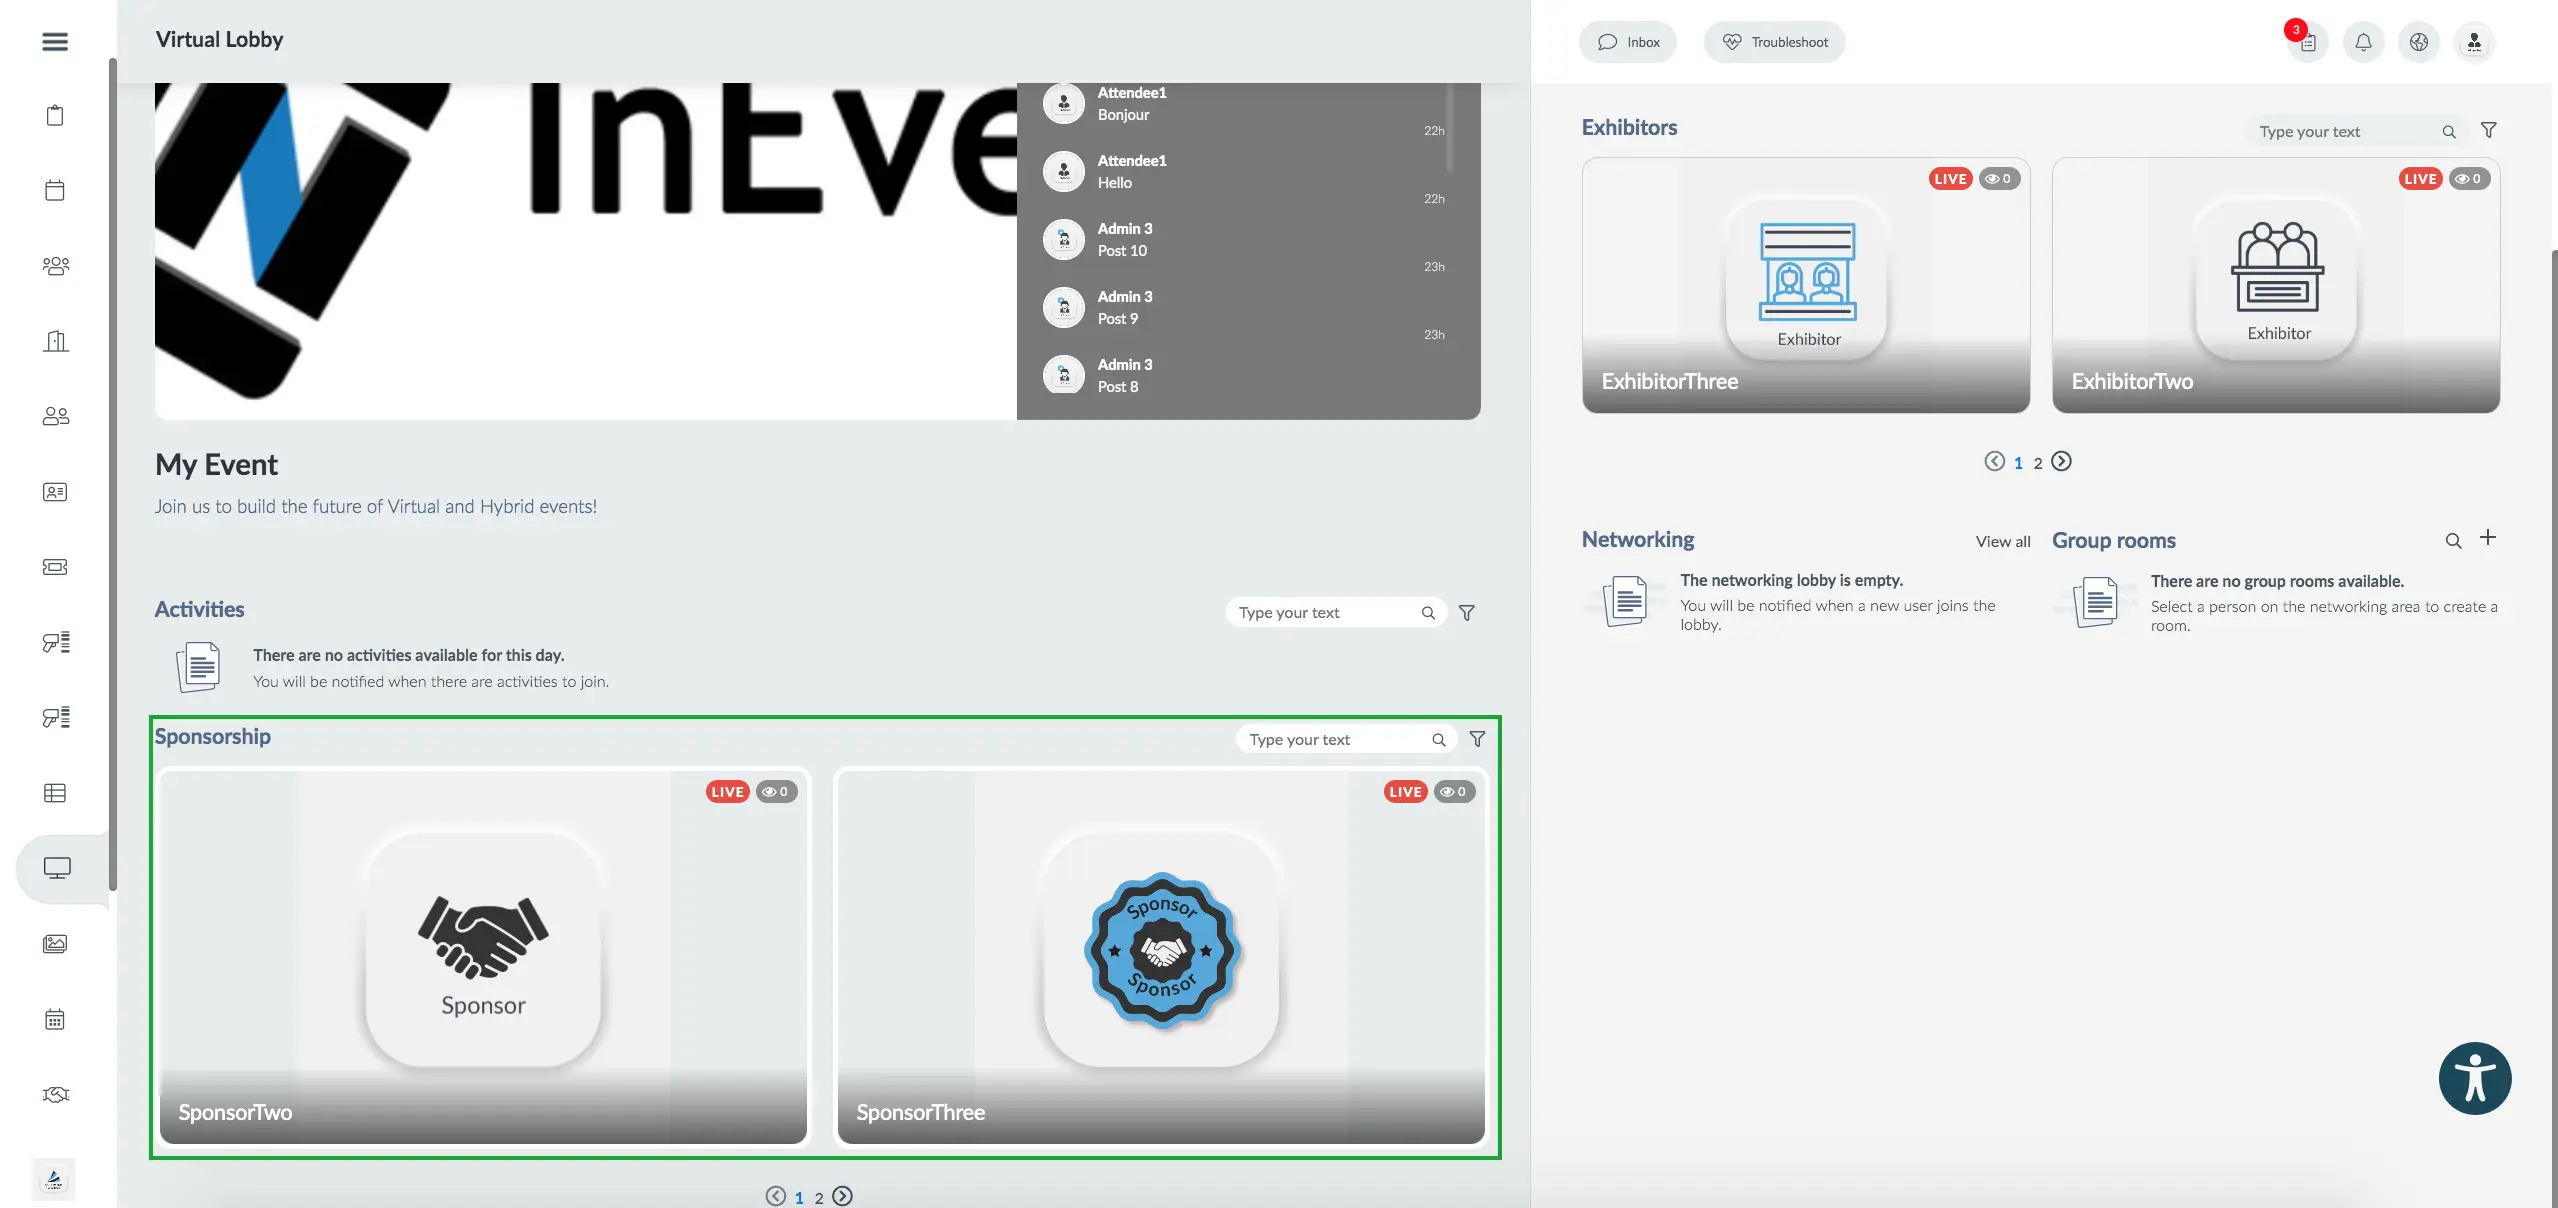
In the Virtual Lobby, you can access the dedicated pages by selecting the corresponding tab in the menu on the left-hand side, as shown below:
Sponsored ads inside activities
Besides that, if you create ads, you will see them inside activities. Sponsors' profiles and their ads are also displayed in their virtual rooms.
If you wish to have more information about the Sponsor Ads, refer to our How to create sponsor and exhibitor advertisements for the app & Virtual Lobby article.
Adding Sponsors as favorites
Attendees can add a sponsor as their favorite in two ways:
- From within the activity
- From the Sponsor Favorite tab
Below you will find the steps to favoriting sponsors through each method.
- Adding sponsors as favorites from within the activity
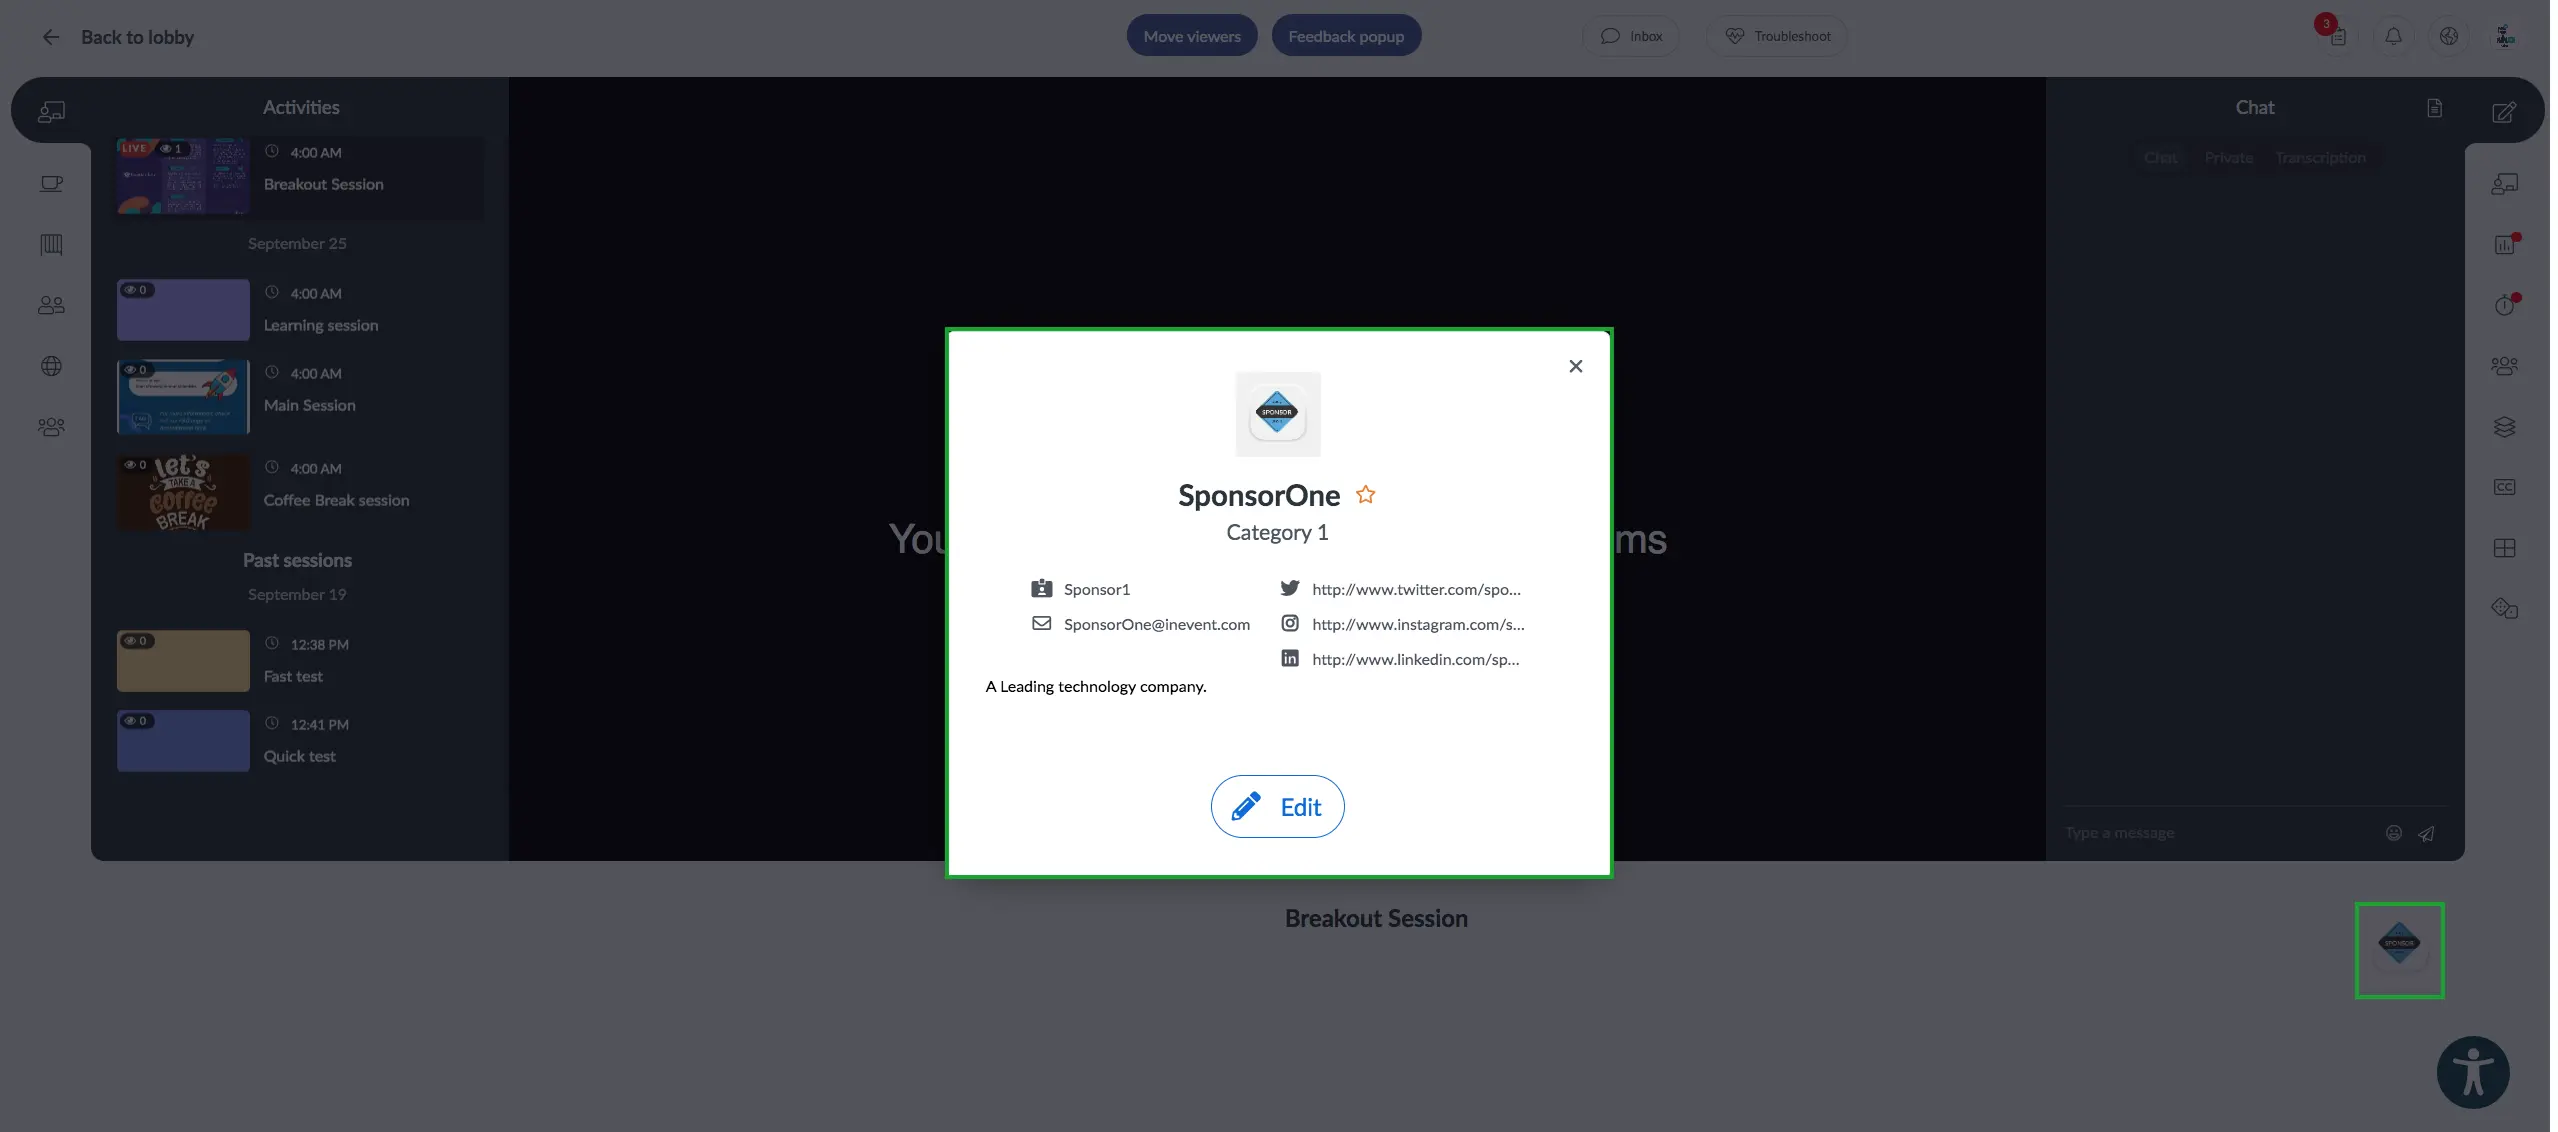
Attendees can add a sponsor as their favorite from activities being sponsored by the Sponsor, by clicking on the sponsor's logo at the bottom of the activity page and pressing the star icon that appears in their profile, turning it orange.
Attendees can also do this directly from the Sponsor's room by clicking on the Sponsor's name at the bottom of the page and pressing the star icon that appears in their profile, turning it orange.
To remove a sponsor from favorites, click the star again. Once a sponsor is favorited, they will remain favorited across all activities sponsored by that sponsor.
- Adding sponsors as favorites from the Sponsor Favorite page
Additionally, you can add sponsors as favorites through the Sponsor Favorite tab in the Web app by scanning their Qr code. To be able to do so, you must first enable the the tab from Settings > Tabs > Web app.

Once you have enabled the tab, navigate to the Web app and click on the tab Sponsor Favorite, click on the green Scan button and scan the desired sponsor's QR code. Upon scanning the sponsor's QR code, the sponsor's contact details (email, website and social media links) will automatically be added to the page and their profile will marked as favorite.
To unmark the sponsor as a favorite, click on the yellow star turning it white, the sponsor will be removed from the Sponsor Favorite page.
On the website
For Sponsors' information to be displayed on the website, make sure to add a Sponsors' section.
After doing this, all information updated on the Sponsors page under Event > Sponsors should appear on your website.
Display sponsor categories on the website
If you'd like your sponsors to be divided into categories in the website, under Options you should Enable sponsor categories. In order for the categories to appear, you'll need to create them under Event > Sponsors.
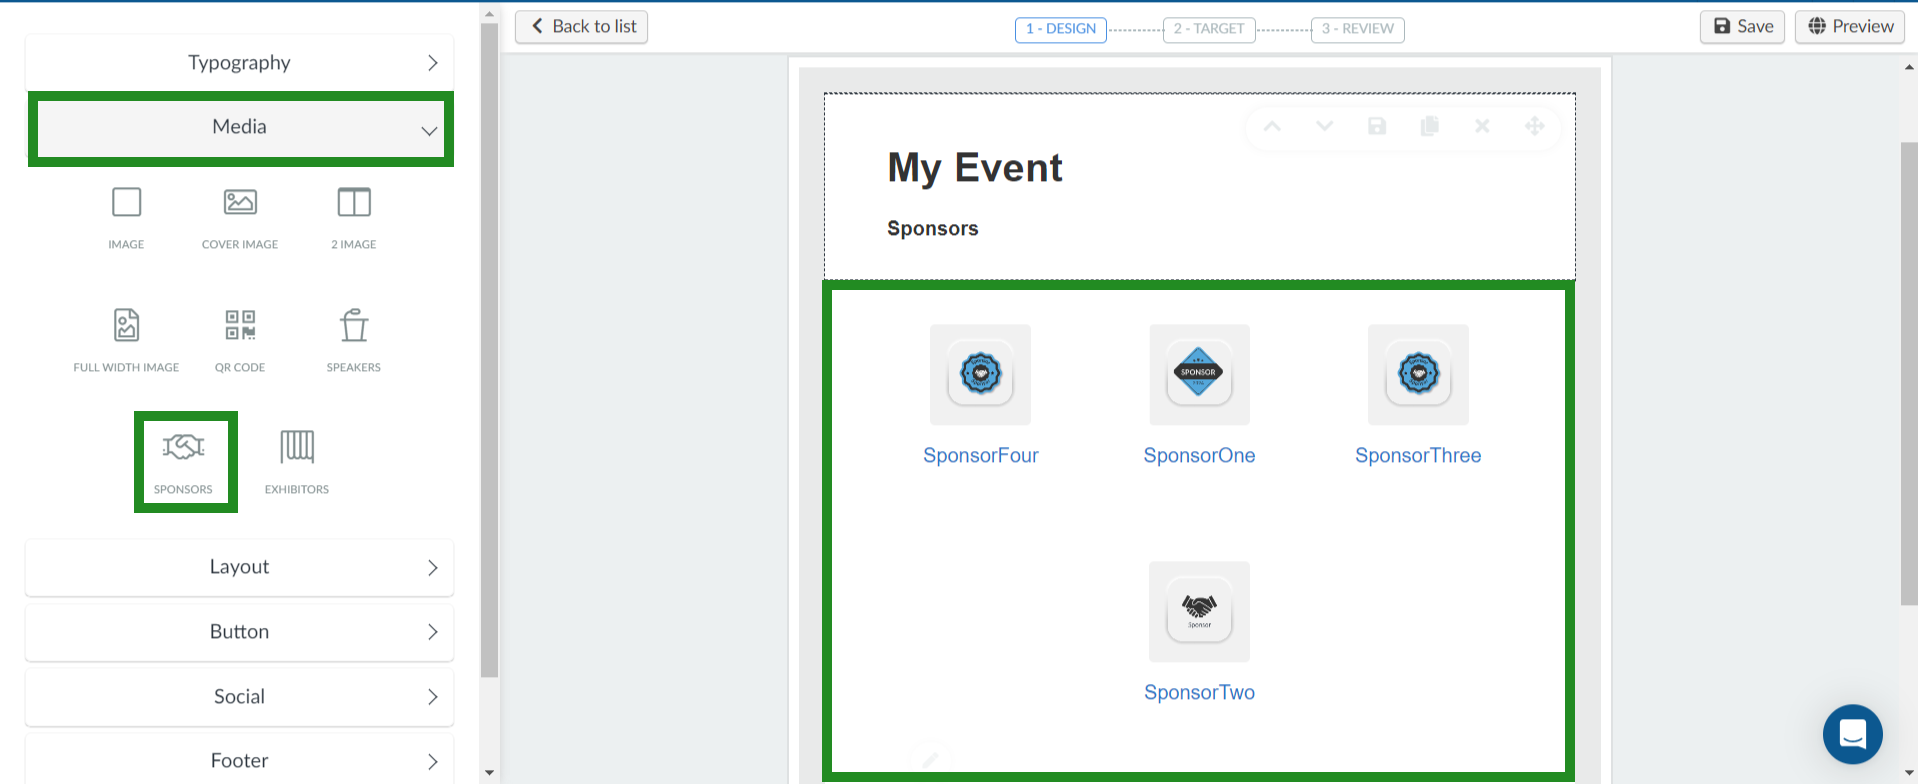
On emails
To display your event sponsors on emails, follow the steps below:
- Create your email, you will be on the Email creator page where you can find seven sections on the menu bar to the left.
- Click the Media category, you will see the option Sponsors.
- Drag and drop the Sponsors option it to the email on the right.
A section showing all your event sponsors with their logos and website URLs will be added to your email.
Editing the sponsor section on your email
By default, all the sponsors you added under Event > Sponsors will be displayed in your email.
- You can choose which sponsors to hide/show by following the steps below:
- Click on a sponsor to open the section's settings.
- Under Sponsor Content, uncheck the checkbox of the sponsors you want to hide and check them again if you want to show them.
- You can also edit the size of the logos by following these steps:
- Click on a sponsor to open the section's settings.
- Go to Text Contents and resize the logo as you wish.
- If you want to edit the website links follow these steps:
- Click on a sponsor to open the section's settings.
- Go to Text Contents and select the sponsor's name.
- Press the hyperlink icon > edit the URL > Press Save.
People, Invite, Files, Ads, Tickets, and Chats
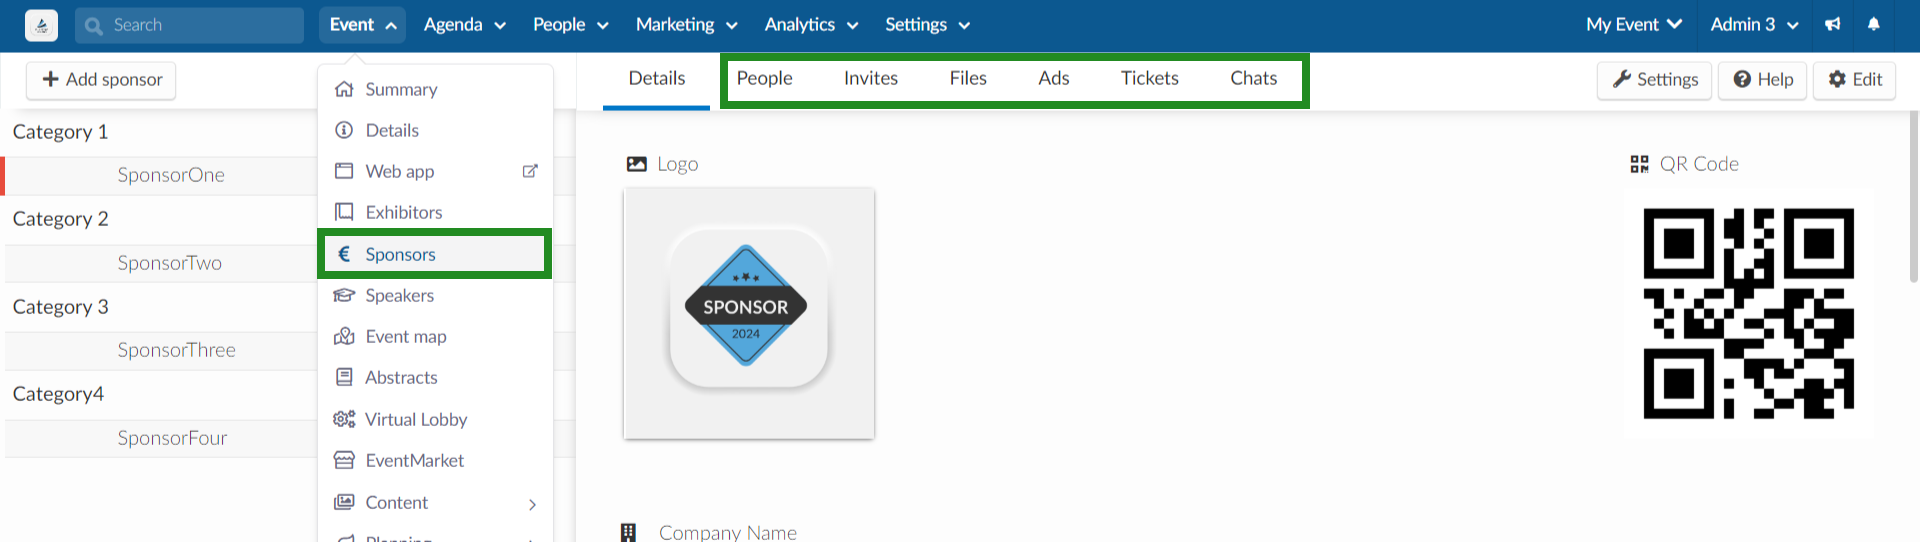
To learn more about the purpose of these pages, refer to our Sponsors and Exhibitors: People, Invite, Files, Ads, Tickets and Chats article. In case the information you're looking for is specific to the Sponsor tickets, refer to our How to allocate tickets to my sponsors and exhibitors article.
Settings
By clicking on the Settings button on the top right corner of the Sponsors page, a pop-up will appear, which allows you to control the relevant tools of the page without leaving it.
In the Start section, you can control the Random sponsors, and Sponsor tile show 'Description' tools and in the Block section, you can control the Hide sponsors logo tool. To learn more about these tools, refer to our Set Event Tools article.
To enable or disable each tool, click on the corresponding toggle button as shown in the gif below:
Extracting sponsor reports
To extract an excel report on your Exhibitors go to Event > Sponsors, click on the Edit button and press the Report button at the top left corner of the page.
A message will appear along the top of the screen letting you know that your excel sheet is being processed and will be sent to your email once completed.

The report will contain information of your Sponsors such as: sponsorID, event ID, companyName, contactName, telephone, email, website, social media links, bio, qr code, sponsorTags, the number of times a sponsor has been favorited, etc.

Sponsor Guide
If you are sponsoring an event happening on our platform, our user guide for sponsors article is going to help you understand what you are going to be able to do and how you can manage your own information within InEvent.