Website
 Updated 1 month ago
by
Faisal Durrani
Updated 1 month ago
by
Faisal Durrani
- Setting up your website
- Creating multiple website pages for my event
- Creating website sections
- Linking web pages to one another
- Deleting web pages
- Adding translations to your website
- Customizing the website
With the InEvent platform, you can create a public website for your event in a few minutes. The platform provides options to design and customize the website to reflect the theme of your event.
In addition to the design options, you can perform several actions, like adding your event agenda, speakers, sponsors, and exhibitors to the website. You can also include your event registration form or add multiple external links to the website.
This article explains how to create, design, and customize a website for your event.
Setting up your website
To set up your website, ensure that you have first enabled the website tool in Settings > Tools > Registration section.
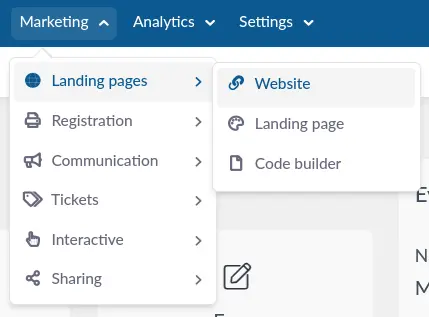
To set up your website, go to Marketing > Landing Pages > Website.
Creating multiple website pages for my event
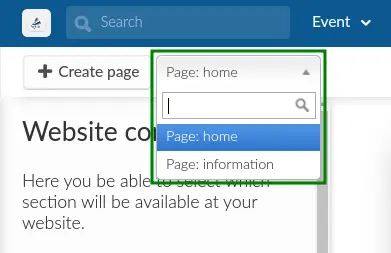
By default, the home page of your event will be automatically created. To create more web pages for your event, click on + Create page > Type the page name > Click on Save.

To switch from one web page to another, click the dropdown bar next to the + Create page button and select the website page where you want to make changes.
Now you can start adding sections and setting up your selected website page.
Creating website sections
To add a section to your website, locate the Website Configuration options on the left side of the platform, then complete the following steps:
- Press Edit at the top right corner of the page.
- Choose a section from the Sections drop-down box.
- Press the blue + Section button to add the section.
Website sections
You can customize your website sections with the following widgets:
- Pages: Allows you to select from a list of previously created pages and add them as sections to your website.
- Map - Adds a map that shows the location of your event.
- URL - Inserts external links on your website. To ensure that the links work as expected, add the https prefix. You can add as many links as you wish.
- About - Shows the event description added under Event > Details > General description.
- Agenda - Shows all the activities in your event. The activity start and end times displayed on the agenda will follow the timezone selected by the event organizer under the Event > Details > Timezone.
- Photos - Displays the Photo Gallery (Section available in the following templates: Andromeda dark, Callisto, Castor, Columba, Cosmos, Holmes, Hydra, Janus, Jericho, Lima, Mercury, Ophelia, Orion, Saros, and Vulcan)
- Speakers: Displays all the speakers in your event. Click here to learn how to add speakers to your event.
- Sponsors: Shows all the sponsors in your event. Click here to learn how to add sponsors to your event.
- App: Adds a section where users can download your event app.
- Speaker of the day: Displays speakers who would be speaking on each day of your event.
- Custom: Inserts extra sections with text content, video, images, and links. To learn more about the custom option, click here.
- Registration form (embed): Embeds your registration form to your event's website. Click here to learn how to create a registration form.
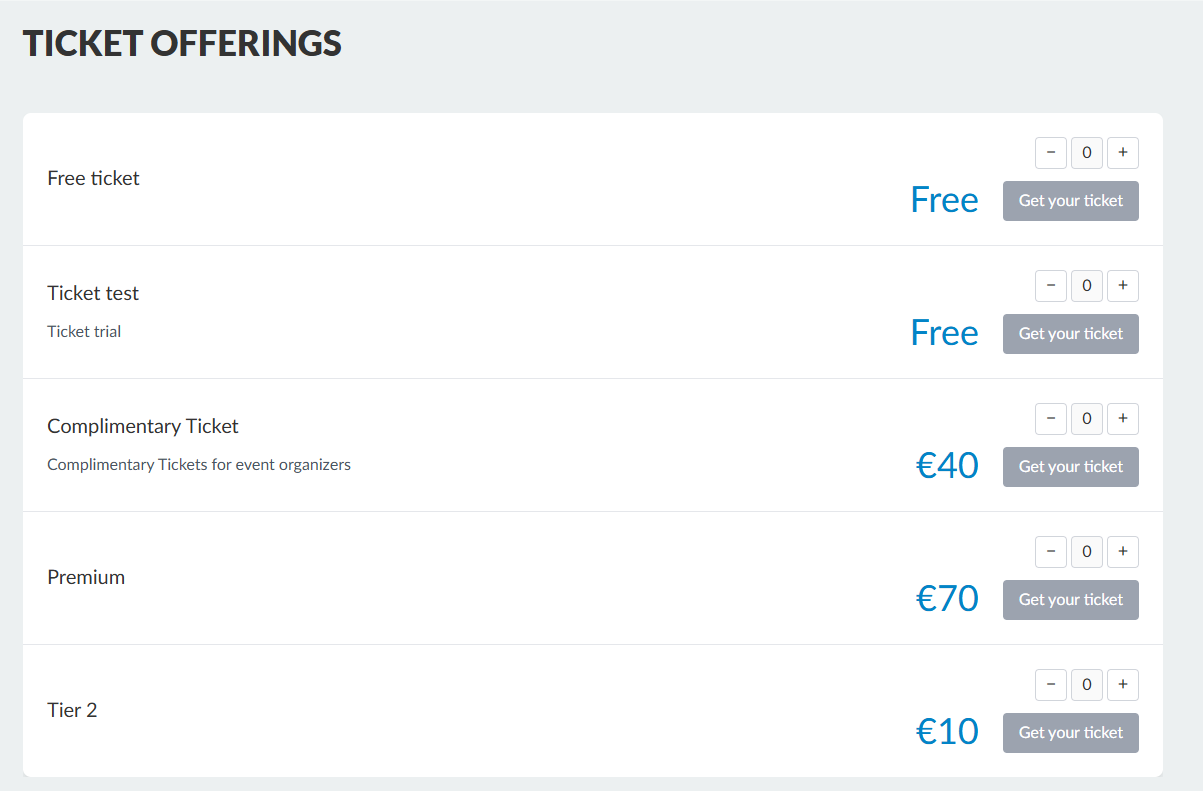
- Ticket Offerings: Adds a ticket purchase section to the website for participants. The available tickets are based on those created by the event organizer under the Tickets page.
When a user selects the desired number of tickets and clicks the Get your ticket button, they will be directed to the Purchase form to register and complete the transaction. Once the purchase is completed and approved, users can access their tickets by clicking the View My Tickets button, which takes them to the My Ticket tab in the attendee center.
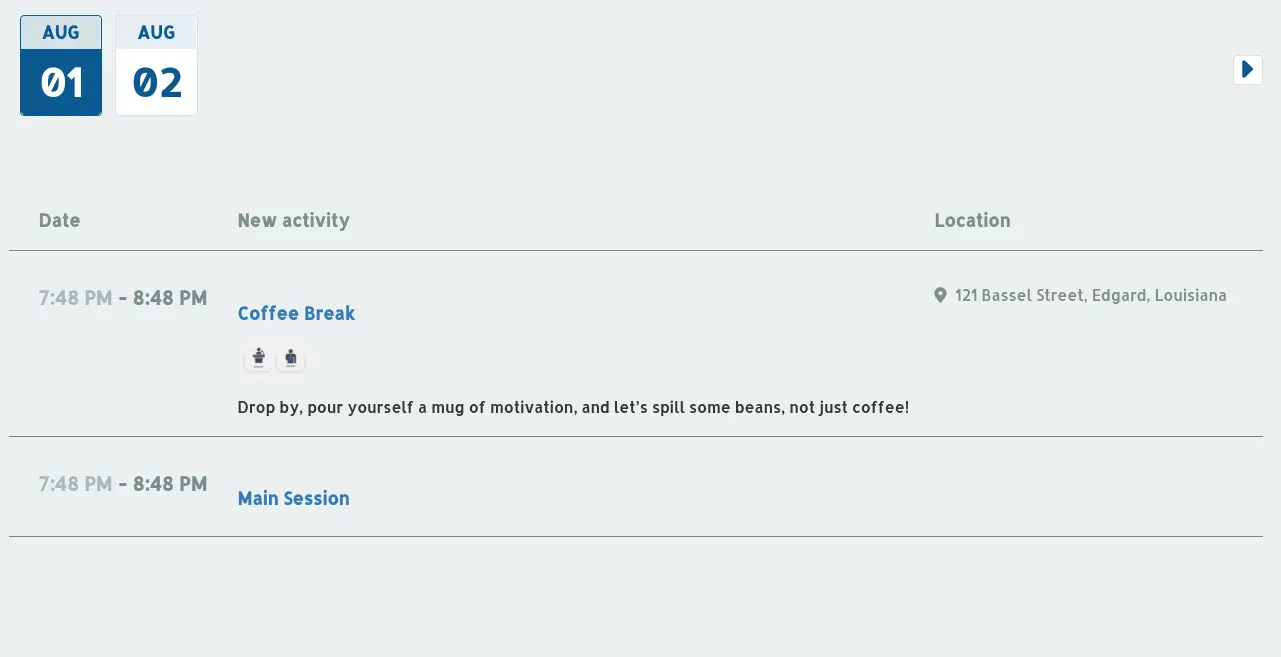
- Agenda with filters (embed): The agenda displays all the activities scheduled for your event. The start and end times of these activities are shown according to the time zone selected by the event organizer under the Event > Details > Timezone. Additionally, the agenda includes various filters, allowing you to customize your view based on specific criteria such as session type, speaker, track, or any other relevant category set by the organizer.The iframe code below can be used to embed the agenda on any external website outside of InEvent. When adding the code, make sure to replace
{{your-company}}and{{your-event}}with the correct company and event identifiers from your InEvent URL. Once embedded, the public agenda will be displayed directly on the external site.<iframe id="inevent-my-agenda-iframe"src="https://inevent.com/en/{{your-company}}/{{your-event}}/my-agenda.php/public-agenda.php?embed=true"width="100%"height="400px"style="margin: 40px 0px;"frameborder="0"></iframe> - My Account: Provides a web area for your participants to access their personal information, data export button, password change link, among other data. Click here to learn more about it.
- My ticket: Opens the My Tickets tab of the web app for participants to check information about their ticket purchases. Click here to learn more about it.
Website sections in the Virtual Lobby
You can display website sections as tabs in the virtual lobby. For further information on how to create these types of tabs, click here.
Linking web pages to one another
To link web pages to one another, complete the following steps:
- Select a page from the dropdown bar next to the + Create page button.
- Press the Edit button at the top right of the page.
- Click on the drop-down bar under Sections.
- Choose the page you want to link from the Pages option in the drop-down.
- Press the blue + Section button.
- Press End to save changes.

Deleting web pages
To delete web pages, complete the following steps:
- Select a page from the dropdown bar next to the + Create page button.
- Press the Edit button at the top right of the page.
- Click on the Remove page button.
- Type the red text in the pop-up window to confirm the removal of the web page.
- Press Remove.
- Press End to save changes.
Adding translations to your website
To add translations to your event website, you first need to translate the website sections using the Website Configuration options. To add translations to your website sections, complete the following steps:
- Press Edit at the top left corner of the page.
- Click on the Settings icon next to the section you want to translate.
- Click on the Translate icon (highlighted in the image below):
- Select a language from the dropdown bar and press Add translation. (You can repeat this step to add more languages.)
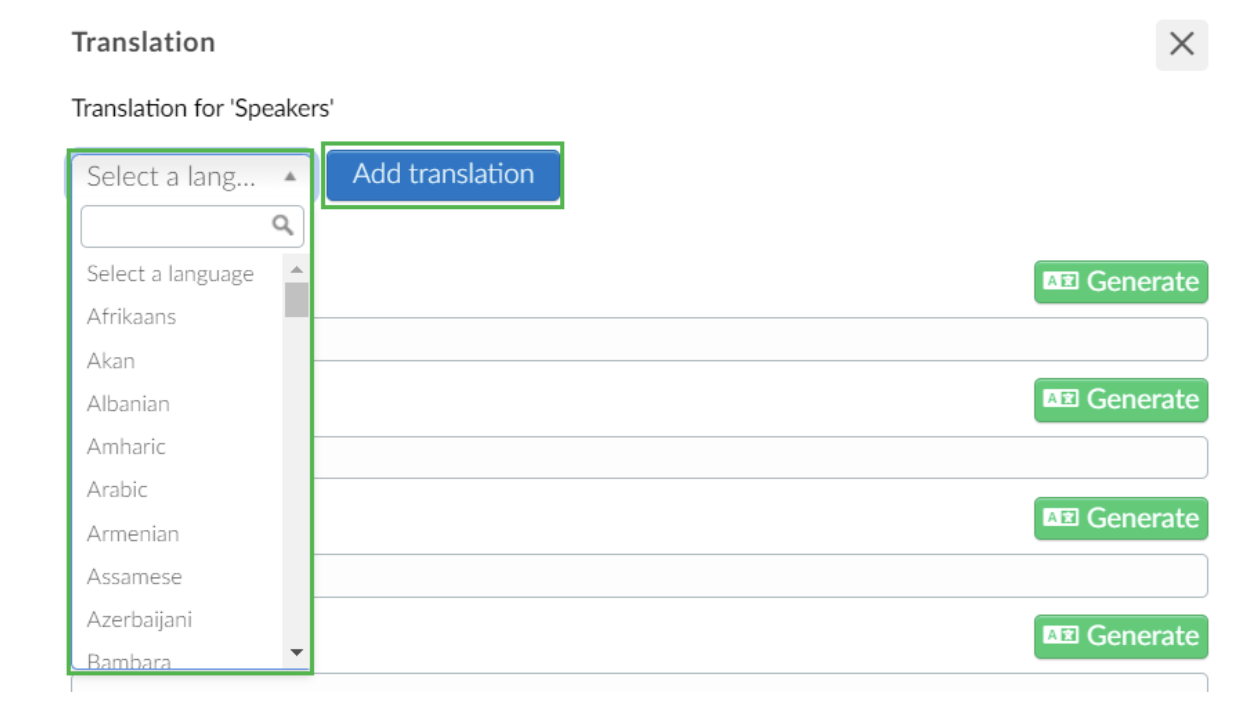
- Click the Generate button next to each language and press Save.
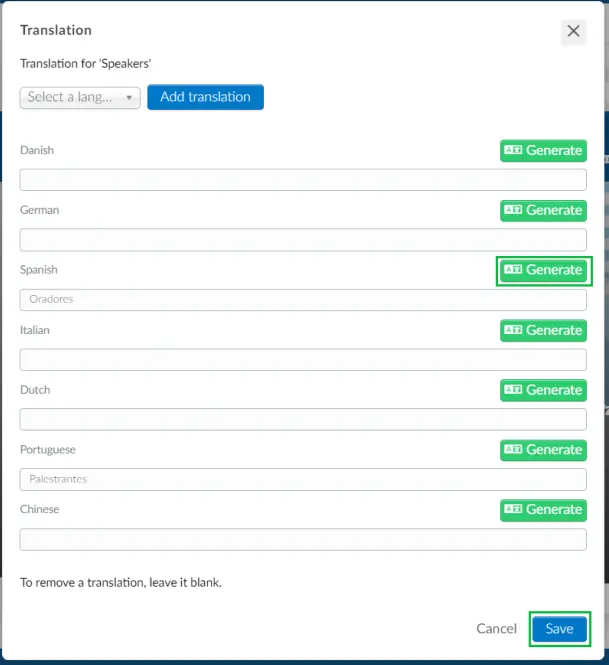
- Press Save again, then press End to save your changes.
Added translations will be accessible from the language drop-down bar on the website, as shown below:

Adding translations to custom headings on your website
Yes! After creating custom headings for your website, you can easily add translations to reach a wider audience on your website. To do this follow the steps below:
- Go to Settings > Headings.
- Click on Add Heading.
- In the Select Heading Type dropdown, choose the website button where you’d like to add a custom heading.
- Enter your desired heading value and click Create.
- Click the blue icon next to the heading you’ve created. A details box will appear on the right side of your screen.
- Select Edit in the top right corner
- Click on the Translation icon at the top of the heading value to add translations for different languages. Refer to our Translation Dashboard article for more information on translations
Once this is set up, users will be able to select and view any of the translations you've configured for these custom headings on your website.
Customizing the website
After creating your sections, they will show on the Website Configuration tab, along with other options to fully customize your website. If you haven’t yet created your website headings refer to our Headings Article
Section settings
Click on Edit and perform the following section configuration options:
- Changing the order in which the sections appear: You can reorder sections by dragging the dotted icons next to each section's name.
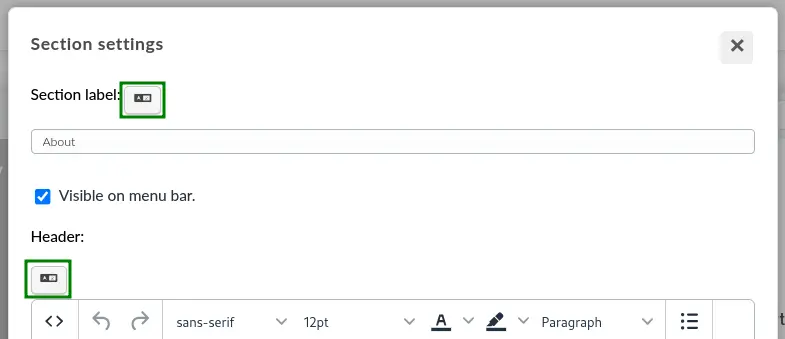
- Changing the section label: Click on the settings icon next to the section's name and a pop-up window will open. Type the new name under the Section label and press Save.
- Hiding sections from the website menu bar: To hide sections from the website menu bar, Click on Edit, then click the settings icon next to the section name. A pop-up window will open. Untick the Visible on menu bar checkbox and press Save.
- Add a Header and Footer: Click on the settings icon next to the section you wish to edit and add a Header or Footer to the Section in the respective text boxes. Use the tools in the text boxes to customize your header or footer.
Below is an example of how a customized header and footer will appear in a section if added:
- Deleting sections: Click on the settings icon next to the section's name, and a pop-up window will open. Press Remove.
- Custom section: Click on the settings icon next to the custom section. You can change the section label, write the content under the Content field, select the word where you want to insert a link, click the Insert Link button and paste the URL, press Save and Save again once completed.
When enhancing your website with video content, you can add videos to custom sections. Click on the settings icon next to the custom section. When you click on the Play icon (Represents inserting video/edit media), a pop-up box appears, offering you three distinct options for inserting your video:
- General: This option allows you easily add a video by entering its source link. After adding the source link, the width and height of the video will be displayed in their respective fields. You can adjust the width and height of the video ensuring it fits perfectly within the designated space on your webpage.

- Embed: This option allows you paste the embed code of your video into the provided box. This is ideal for embedding videos from platforms like YouTube or Vimeo.
<iframe ...>. This is the embed code to be copied.
- Advanced: This options displays the following fields:
- Alternative Source URL: This is used to provide different versions of a video file in various formats (like MP4, WebM, Ogg, etc.). By including alternative source URLs within the box, you allow the browser to choose the best format to play based on its compatibility and performance. This ensures better playback across different devices and browsers. For example, if your primary video is in MP4 format but you also provide a WebM version, the browser will select the one it supports best
- Media Poster (Image URL): This option lets you specify an image that will serve as a placeholder or thumbnail before the video starts playing. The media poster is visible before the video begins, when the video is paused, or if the video fails to load. This visual cue helps to engage viewers by giving them a preview of the video content.
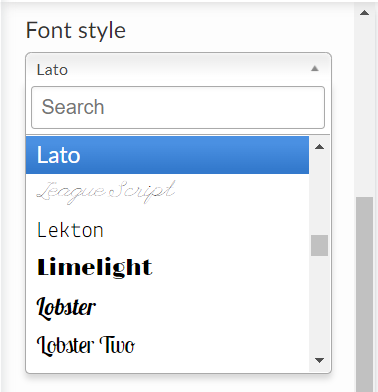
Font style
On the Website Configuration tab, you can customize your website font style. To do so, locate the Font Style section, click on the drop-down bar and choose the font that better fits your website.
Options
You can customize your website using the following options:
- Enable event countdown: This shows a countdown to indicate the time remaining before an event is scheduled to occur. The countdown will use the event start date set at Event > Details.
- Enable registration countdown: This shows a countdown to indicate the time remaining for the event's end of enrollment. You can set the end of enrollment date at Event > Details.The event countdown and registration countdown options will only appear on the templates Callisto, Cosmos, Gemini-black, Gemini-white and Hydra if you have an About section added to those templates.
- Enable speaker categories: This allows you to have your Speakers categorized on the website. To use this option, add the Speakers section.
- Enable speaker category description: This option allows organizers to display speaker category descriptions on the website. Speaker category descriptions are configured on the Speakers page when creating or editing categories. By enabling this option, those existing descriptions will become visible on the website. This helps provide attendees with additional context about each speaker category, improving how speakers are presented on the event website.
- Enable sponsor and exhibitor categories: This allows you to have your Sponsors and exhibitors categorized on the website. To use this option, add the Sponsors or Exhibitor section.
- Sponsor category cascade: When this option is enabled, the Sponsors' logo will be displayed increasingly smaller following the order of sponsor categories set in the Sponsors page. In order to use this option, Enable sponsor categories must be enabled and the Jericho template must be selected.
- Enable sponsor & exhibitor carousel: When this option is enabled, the sponsors’ and exhibitors’ logos will be displayed in a rotating carousel format on the website. This allows multiple logos to be showcased in a dynamic and space-efficient slider. In order to use this option, the Sponsor & Exhibitor sections must be populated.
- Show days without activities: It allows you to hide the Activities from the agenda. To use this option, add the Agenda section.
- Enable registration: It shows the Register button so people can register for the event.
- Enable exit popup: If enabled, when users press exit, they will see a pop-up window to confirm that they want to leave the website.
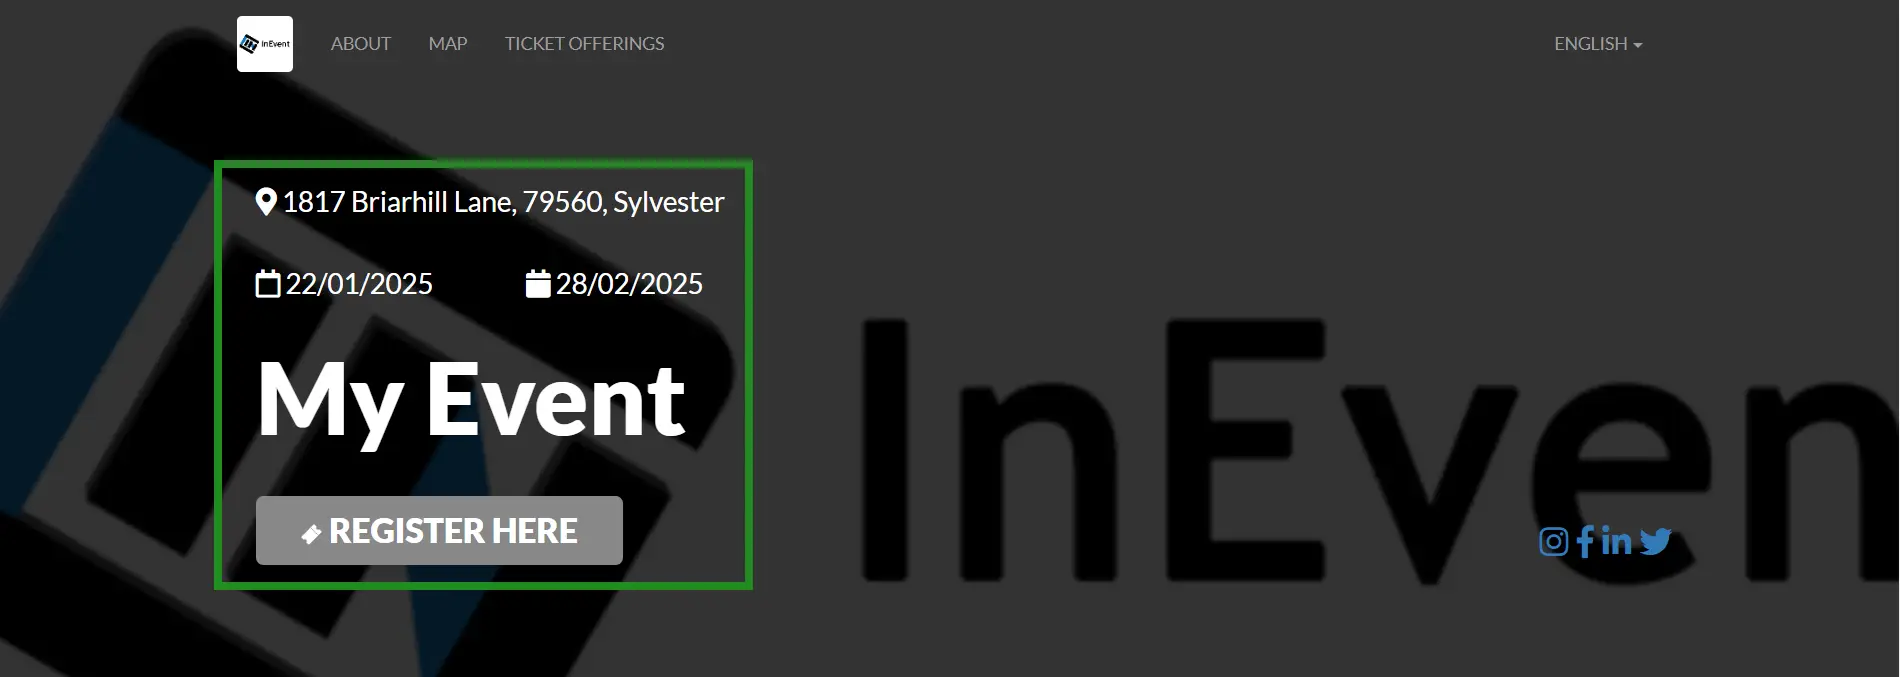
- Enable header: When enabled, this option displays key event details, including the event name, start and end dates, address, and zip code. Additionally, it provides a Register Here button for attendees to sign up easily.
- Header position: You have three options for the header position (Cover overlay, After cover or Invisible)
- Registration label: Here you can edit the name of the Register button and also generate translations for the labels by clicking on the Translate icon.
- Registration link: This is the link to the page that people will be directed to after pressing the Register button. You can paste the link to the registration form here.

Options for Janus template
There are two additional options that appear for customizing the website only when using the Janus template:
- Address layout: This option allows you to customize the address layout on the website. There are a total of 4 layout options to choose from: Simple, Full address, Venue only, and Venue with full address. To choose an address layout for your website, click Edit and then select a layout option from the Address layout drop-down menu. Finally, press End to save changes.
- Menu bar layout: This option allows you to customize the layout of the menu bar of your website. There are a total of 2 menu bar layout options to choose from: Left aligned and Center aligned. To choose a menu bar layout, click on Edit and then select a layout option from the menu bar layout drop-down. Finally, press End to save changes.
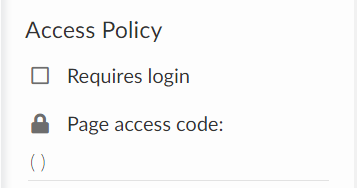
Access Policy
The website Access policy provides two options that allow you to lock the homepage or other created pages of your website from public view. The two options are as follows:
- Requires login
- Page access code
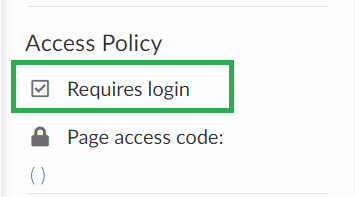
Requires login
If this option is enabled, people accessing your website page must have previously registered for the event. They will be required to log in before they can access the event website.
To enable this option, click on Edit at the top right corner of the page and tick the Requires login box on the left panel.
Once this option is enabled, people who try to access your website will be directed to a login page where they will need to enter their credentials (username and password). After entering credentials will they be able to access the website.
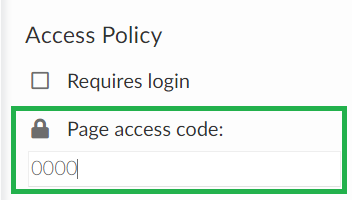
Page access code
With this feature, event organizers can secure website pages with a four-digit passcode of their own choice. They can provide this code to individuals whom they want to grant access to the website.
To activate this feature, click the Edit button located in the top right corner of the page, then enter the code in the Page access code field.
Once a code is inserted, the website becomes automatically locked, and whoever tries to access the page will see the image below asking for a passcode to access the webpage:
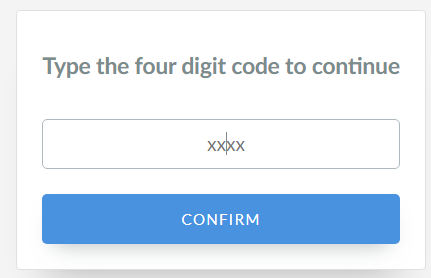
This can be used as a two-step verification process, ensuring that the restricted pages are only accessible to those who have the correct login credentials and access code.
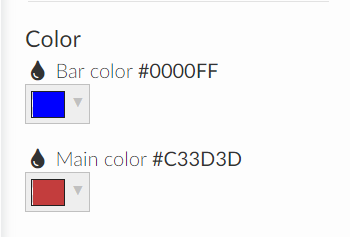
Color
You can choose the color of your page by entering the hex code of the color you would like to have. You can ask Google what hex code represents each color. For example, blue is #0000FF.
Analytics
InEvent offers different tools to measure your website's performance:
- Google Analytics ID: Here you can insert the Google Analytics ID to view the most visited pages on your site in real-time, understand how the user browses through it, and get immediate reports on user behavior. Click here for further information on how to integrate Google Analytics with the InEvent platform.
- Facebook Pixel ID: Here you can insert the Facebook Pixel ID to track relevant audiences for brand advertisements.
Templates
When all the necessary information is in place and sections are chosen, we can choose the template of the website. To do this, click on Switch Template and select your desired layout. We currently offer 24 layouts to choose from.
Clicking on the Rebuild template button on the top right corner will update your website with your new customization. This ensures that your customization are applied properly, and that users will see the page as intended.
Unique template features
Some of our templates have unique additional features, such as those listed below.
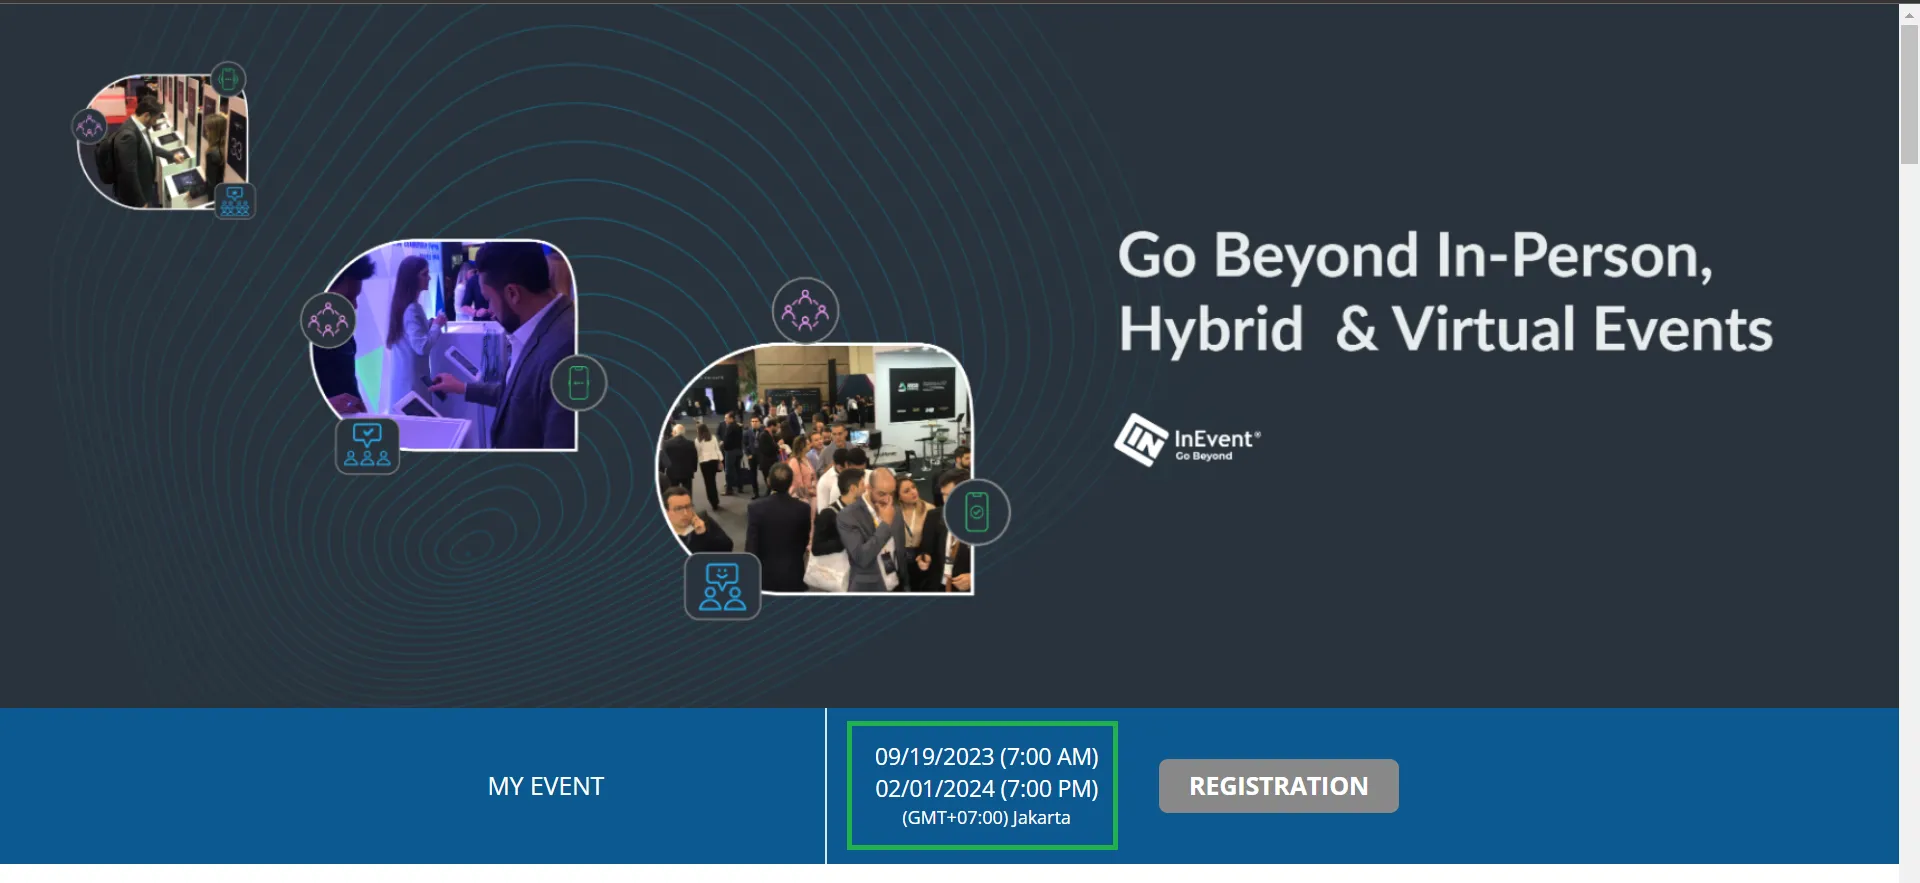
- When using the Janus template, it is also going to show your event's time zone along with the start and end dates. Other templates show only the event's start and end date.
- When using the Lima, Jericho and Janus templates, screen readers can interpret images and logos in sections like Speakers, Sponsors and Exhibitors. Alt text added to photos in the Photos section can be read across all templates.
- When using the Jericho template, the Agenda section will display the Location column if at least one activity within the same date has a Location set. If it is not set for any of the activities within the same date, the Location column will not be displayed.
- When using the Jericho template, the Agenda section will display speaker profile pictures for activities that have linked speakers.
Making the logo on your website clickable.
You can make the logo on your website template clickable and use it as a navigation element. To configure this, follow the steps below:
- Navigate to Event > Details.
- Scroll down to the Advanced section.
- Select Links and domain.
- Click on Edit.
- In the Website link field, enter the URL you want users to be redirected to when they click the website logo.
- Click on End to save changes.
Once this is set, attendees who click the logo on your website will be redirected to the link you specified.
Previewing your website
To preview your website, click on PREVIEW at the top of the page and your website open on another tab.
When the Landing page tool is enabled, and a custom domain is being used, clicking the preview URL will direct you to the page created within the landing pages website builder. In order to preview the page created within the Website page instead, append hotsite.php at the end of the preview URL (e.g. myevent.mydomain.com/hotsite.php).
Embedding InEvent Agenda on your Website
You can embed the agenda on any external website outside of InEvent by using the iframe code provided below. When adding the code, make sure to replace {{your-company}} and {{your-event}} with the correct company and event identifiers from your InEvent URL. Once embedded, the public agenda will be displayed directly on the external site.
<iframe id="inevent-my-agenda-iframe" src="https://inevent.com/en/{{your-company}}/{{your-event}}/my-agenda.php/public-agenda.php?embed=true" width="100%" height="400px" style="margin: 40px 0px;" frameborder="0"></iframe>