How to avoid access to the Virtual Lobby prior to the event date
 Updated 2 years ago
by
Chioma Okenwa
Updated 2 years ago
by
Chioma Okenwa
By default, a participant who has registered to an event will automatically receive a Confirmation email containing a Magic link to access the Virtual Lobby directly. If this situation is not ideal, there are ways to avoid it.
This article contains information on how to mask access to the Virtual Lobby during the event set up stages, and how to hide Virtual Lobby contents after it is made accessible.
Before adding the participants to the event
This section will suggest methods to prevent attendees from accessing the Virtual Lobby during the event setup stages.
Redirecting to another page after registering
If your event has a registration form, the attendees will be able to access the Virtual Lobby after completing the registration by clicking on the Go to event! button. To prevent this, you can redirect the attendees to other pages.
To do this, go to Event > details > Content page. Click on the drop-down and you will be able to select from the options the page you would like your attendees to be re-directed to. You can modify the Content page so that attendees are taken to one of the pages in the Attendee Center, a Custom tab, or Website when clicking on the Go to event! button.
Registration without access
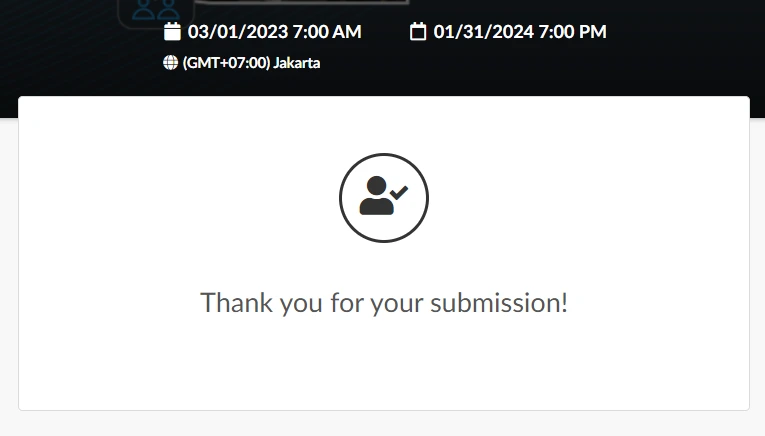
You can completely disable the Go to event! button that appears after a registrant completes their registration. By enabling the Registration without access tool in the Settings > Tools > Registration section, registrants will only see a Thank you for your submission! message
Virtual Lobby restriction
You can use the Virtual Lobby restriction tool in the Event > Virtual Lobby > Access policy page to restrict your attendees from joining an event before the event's start date. This way, when attendees are accessing the Virtual Lobby, they will be redirected to the My Account page.
For more detailed information, refer to the Virtual Lobby Settings article.
Verifying the automatic emails
Before adding attendees to your event or opening the enrollment period, it is advisable to verify and customize the contents of Confirmation emails and other automatic emails.
Removing the magic link
Using the Email editor, you can remove the Virtual Lobby Dynamic content from the Confirmation email and other automatic emails so that attendees will not receive the Magic link.
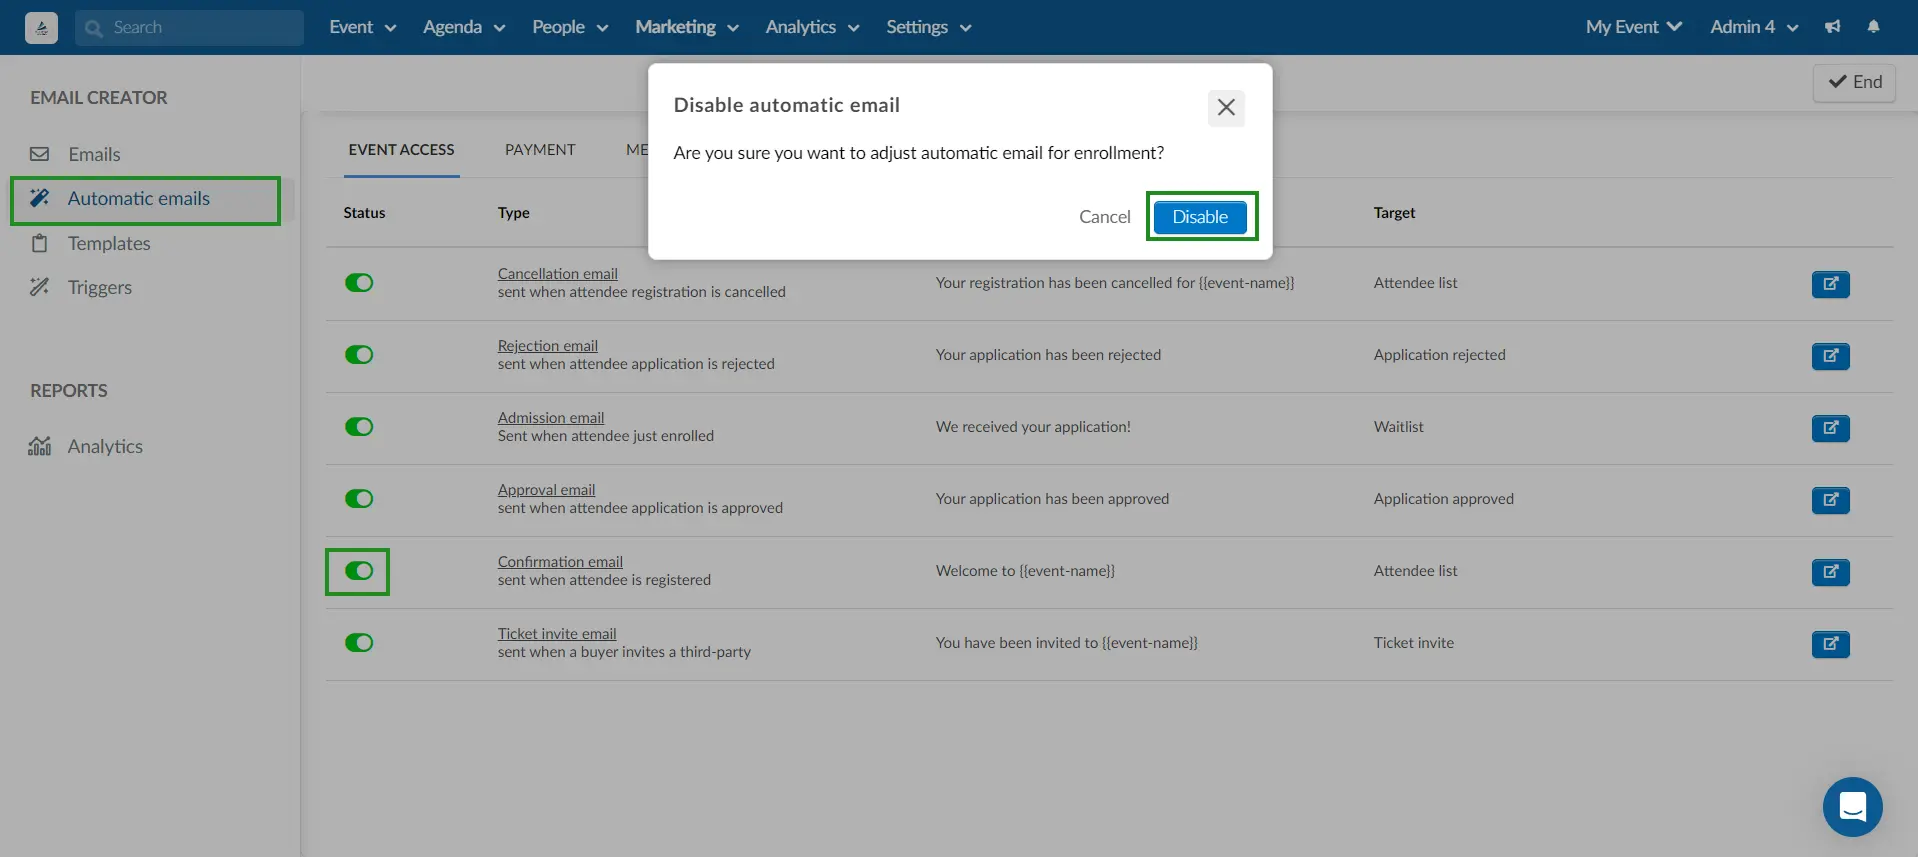
Disabling the automatic emails
You can disable the Confirmation email and other automatic emails from the Automatic emails section in the Email creator (Marketing > Communication > Email creator). Here, you can disable and re-enable automatic emails by using the Status toggle.
Using CSS
If you are selling Tickets at your event, attendees will be able to access My Tickets tab to manage their tickets. It is possible to hide the Open lobby button on top of the page, which leads to the Virtual Lobby, by using custom CSS. To do so, follow the instructions in our Most frequently requested CSS codes article.
After adding participants to the event
This section will suggest you methods to prevent attendees from having full access to the Virtual Lobby after Magic links have been sent out.
Making Tabs & Rooms invisible
You can configure the following items to be invisible:
- Tabs in the Virtual Lobby
By making Tabs invisible, attendees will be unable to navigate through the Virtual Lobby.
- Activity rooms
By making Activity rooms invisible, attendees will be unable to view and access Activities in the Virtual Lobby.
- Sponsors and Exhibitor rooms
By disabling Sponsors and Exhibitor rooms, attendees will be unable to view and access Sponsors and Exhibitor rooms in the Virtual Lobby.
- Networking
By disabling the Networking panel, attendees will be unable to view other online attendees.
- Group Rooms
By making the Group Rooms invisible, attendees will be unable to view and use the Group Rooms.
After making the above items invisible, you can upload a Welcome card to notify attendees about the event period.