Content page
Our event registration solution is built to meet your event business needs from start to finish, delivering an automated and personalized experience to your attendees. This article will teach you how to use the content page to define your attendee's registration journey.
Content page
The content page is the page where your attendees will land once they finish their registration via the registration form.
Once the applicant press Confirm, they will become an attendee and will be taken to a new page. The new page will contain the Thank you for your submission message a button containing a link that says Go to event! The link from the Go to event! button is defined by what you have selected as the content page.
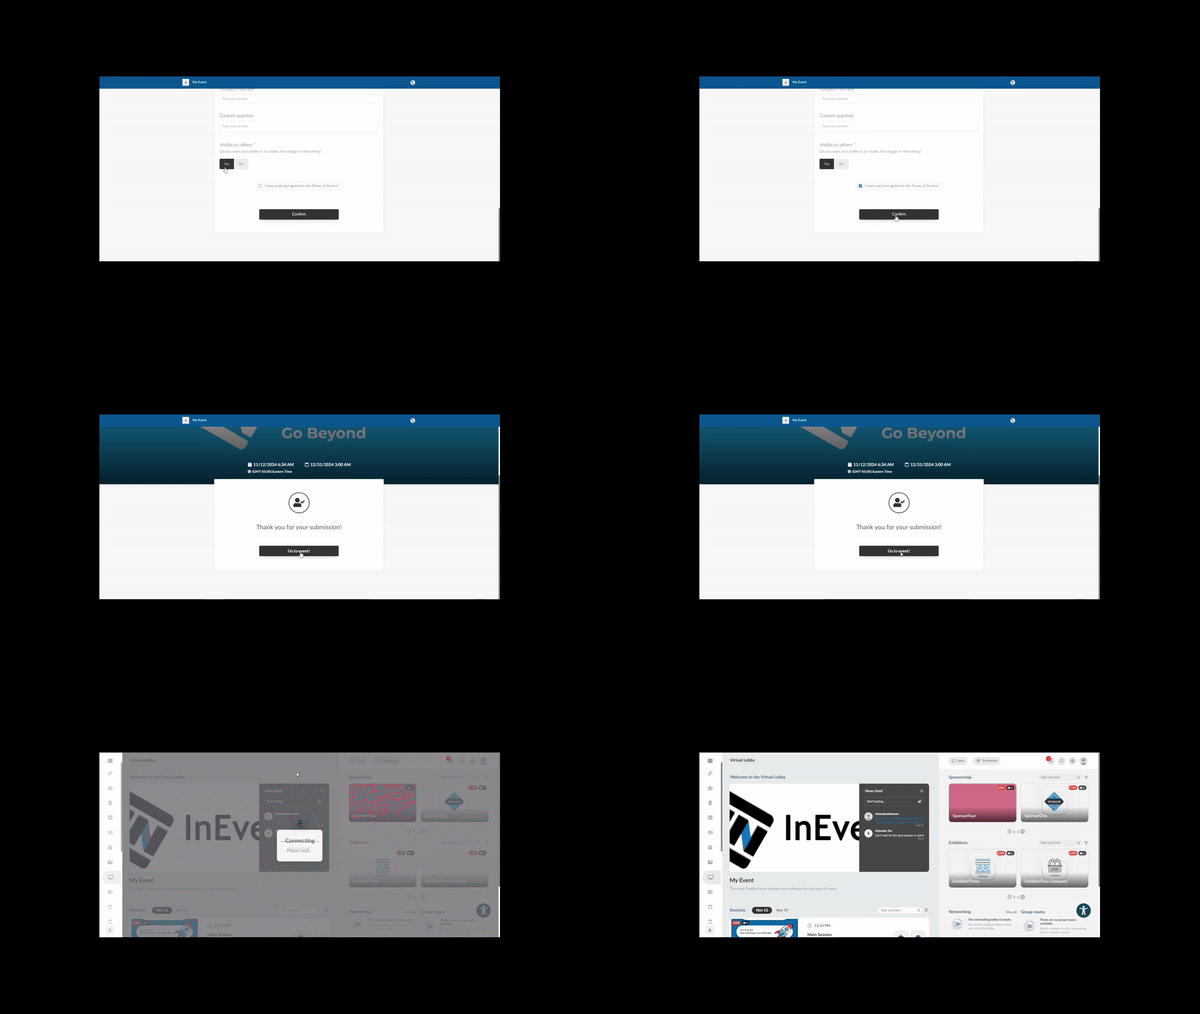
Setting up the content page
To set up the content page, at the event level, go to Event > Details > Page rules, press Edit > and scroll down until you see Content page.

By default, Automatic will be set as your content page, which will take the user to the Virtual Lobby as a continuation of the registration flow. However, on the dropdown menu, you will be able to choose from the options explained below:
- Automatic: The standard flow for users' registration will take place, directing them to the Virtual Lobby.
- Virtual Lobby: Users will be taken to the Virtual Lobby.
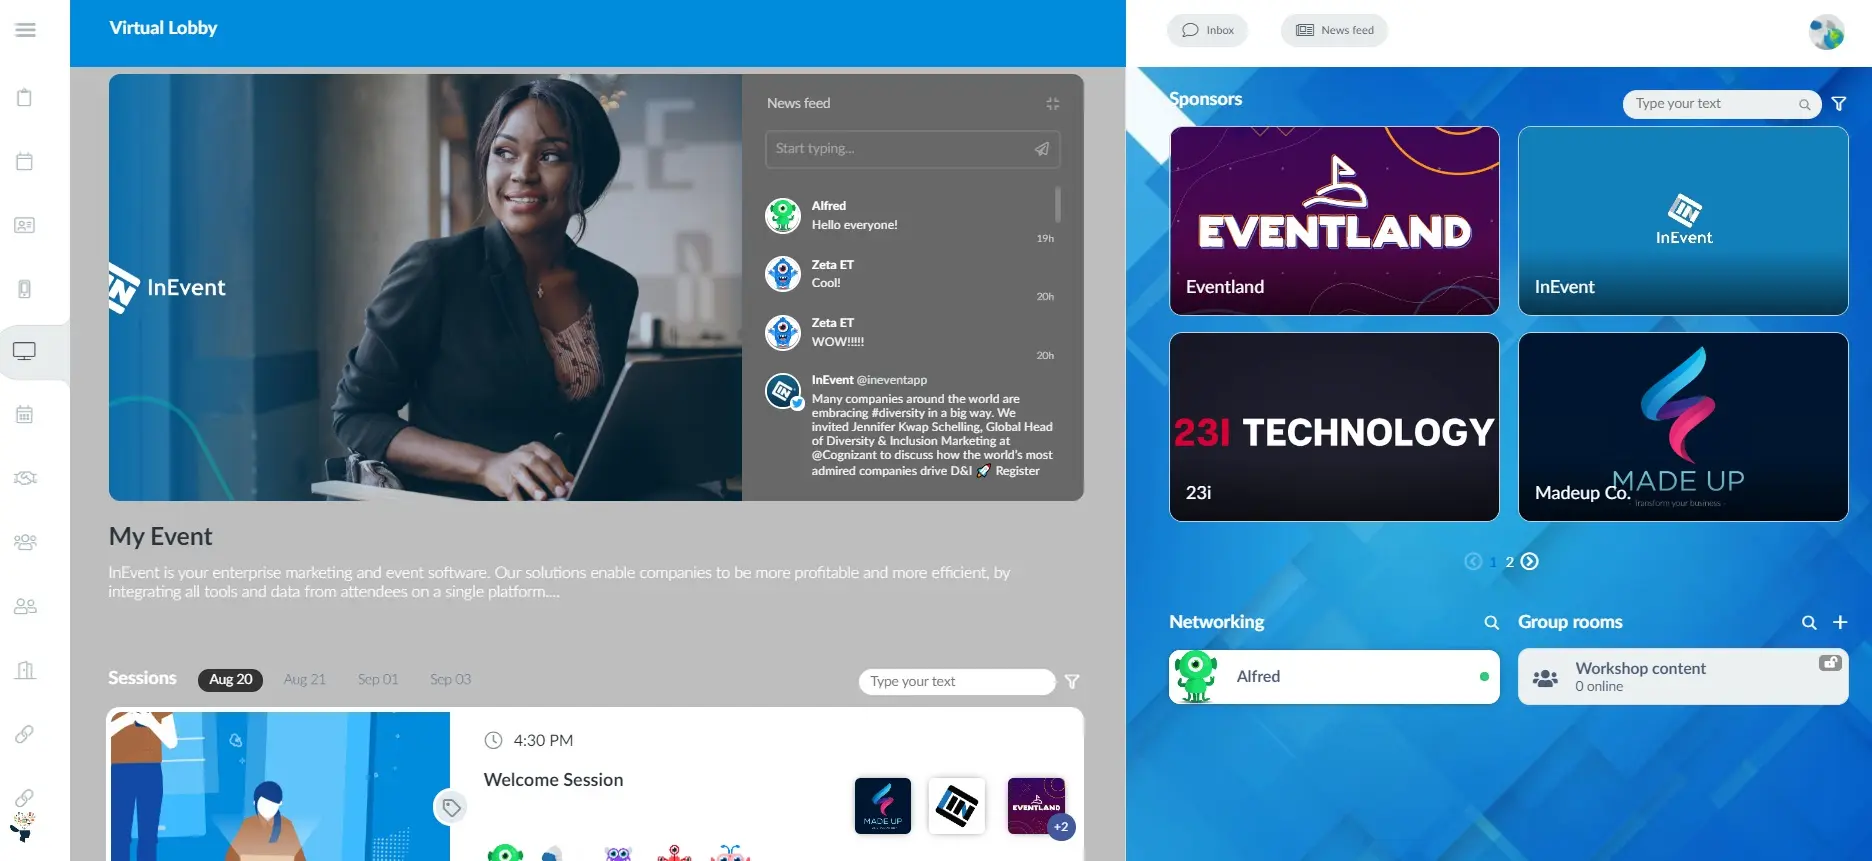
- Virtual Lobby - Activities: Users will be taken to a page dedicated to the event's activities.
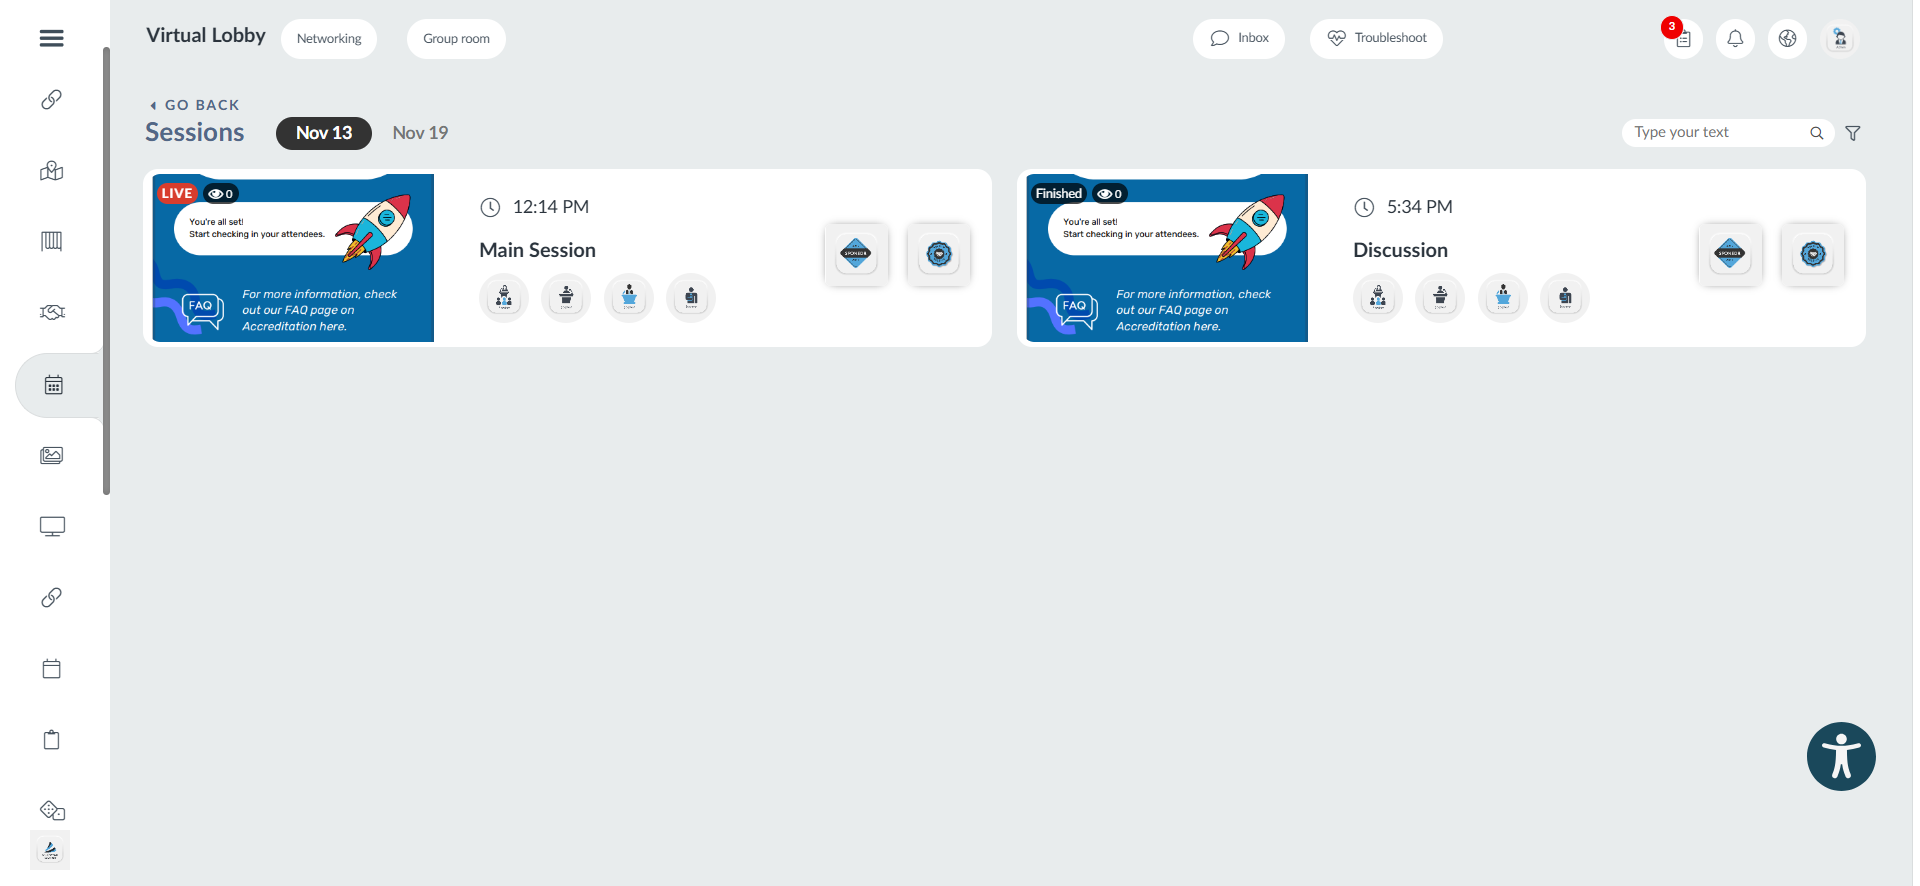
- Virtual Lobby - Group Rooms: Users will be taken to a page dedicated to group rooms.
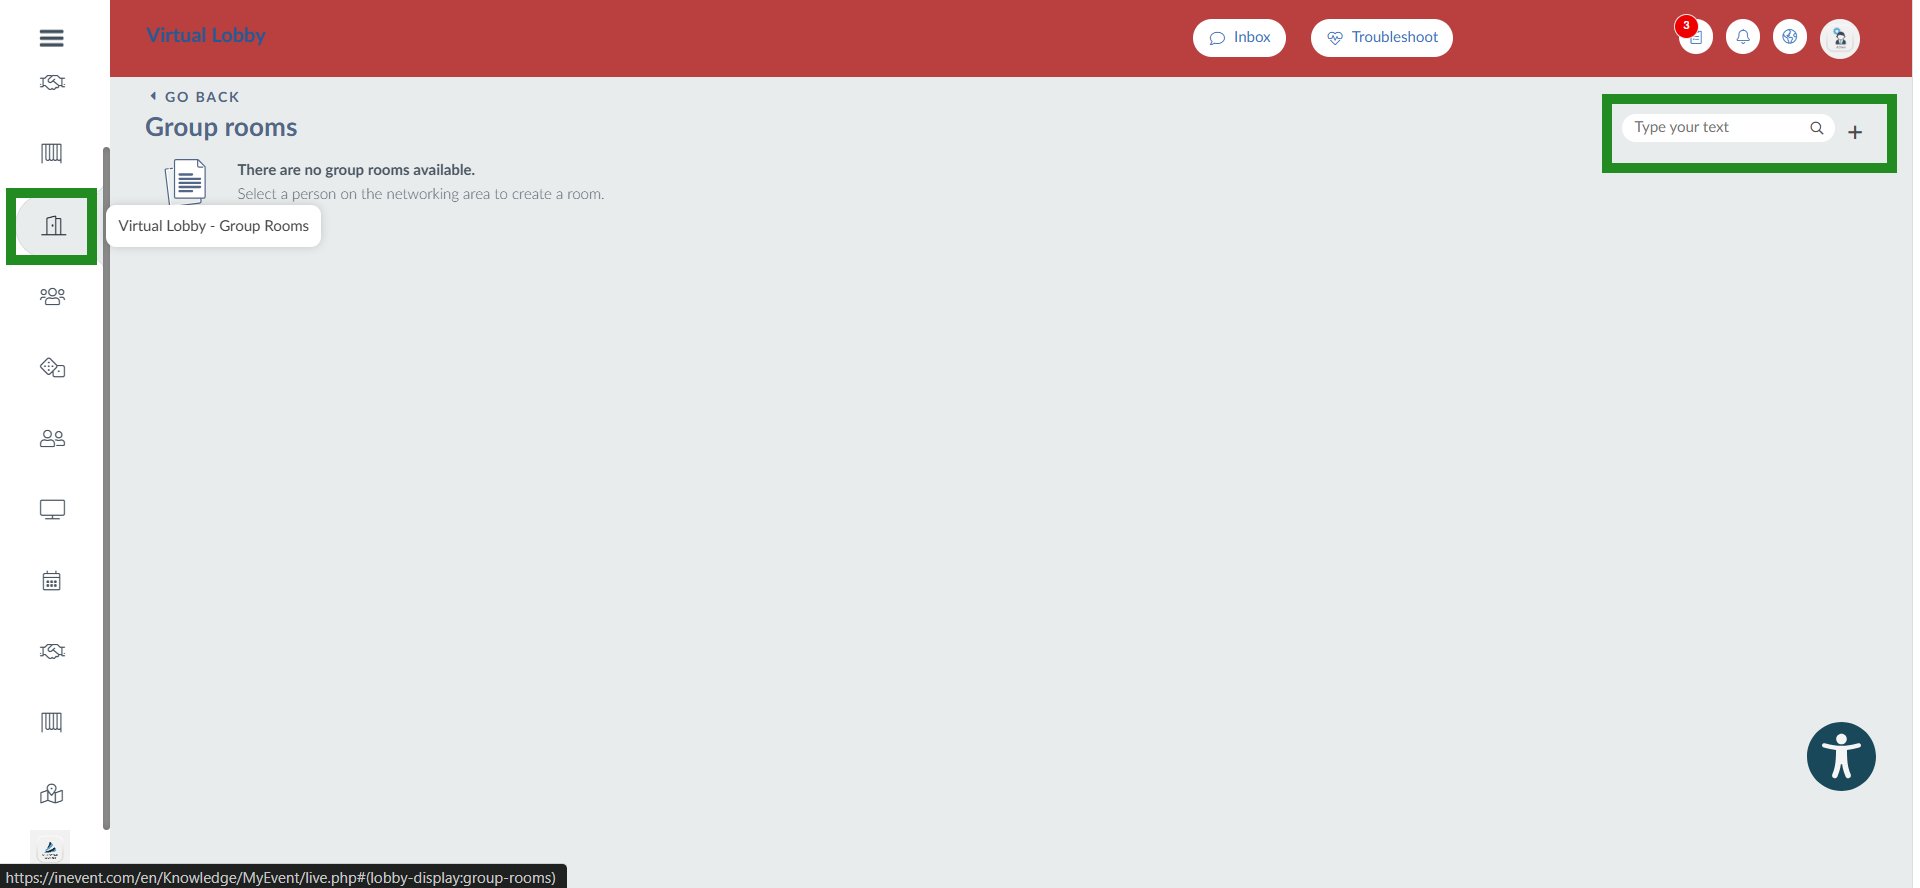
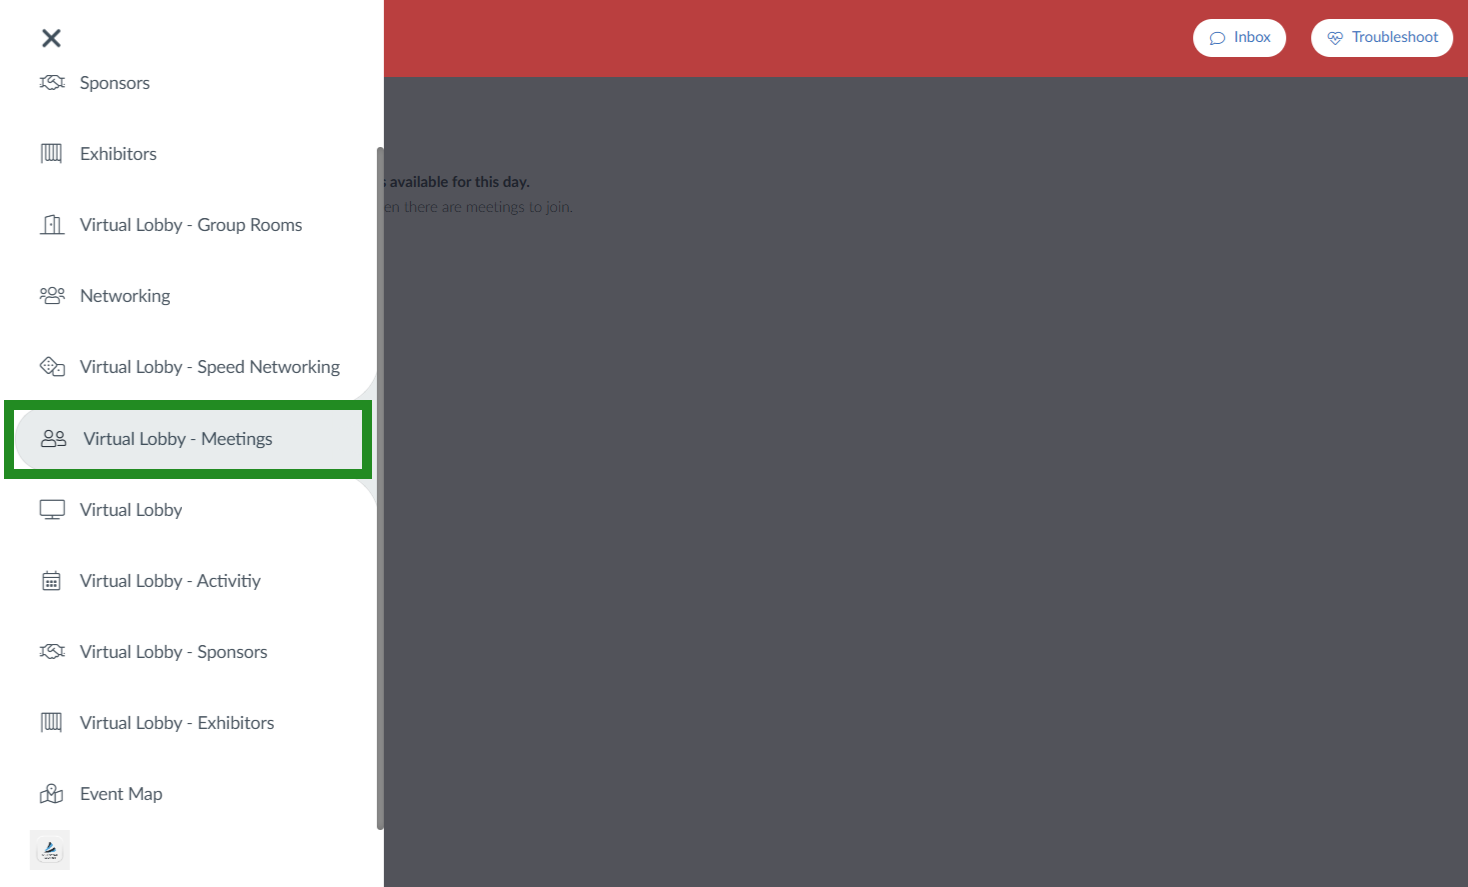
- Virtual Lobby - Meetings: Users will be taken to a page dedicated to scheduled meetings.
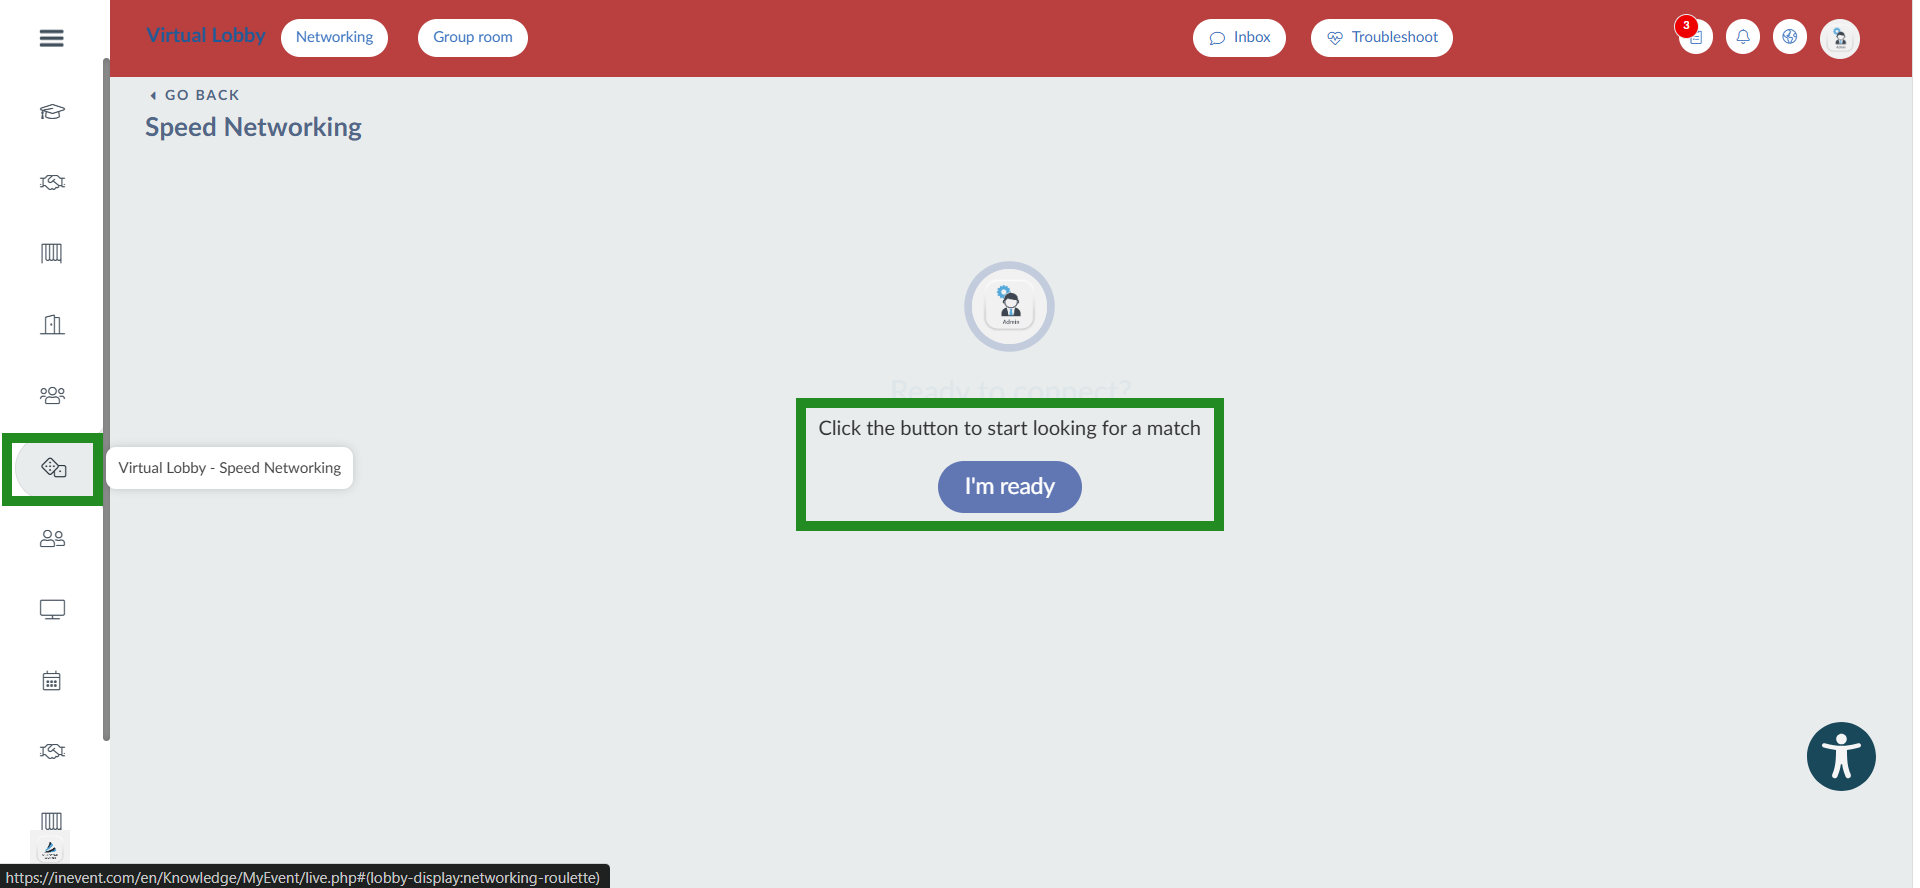
- Virtual Lobby - Speed Networking: Users will be taken to the Speed Networking page.
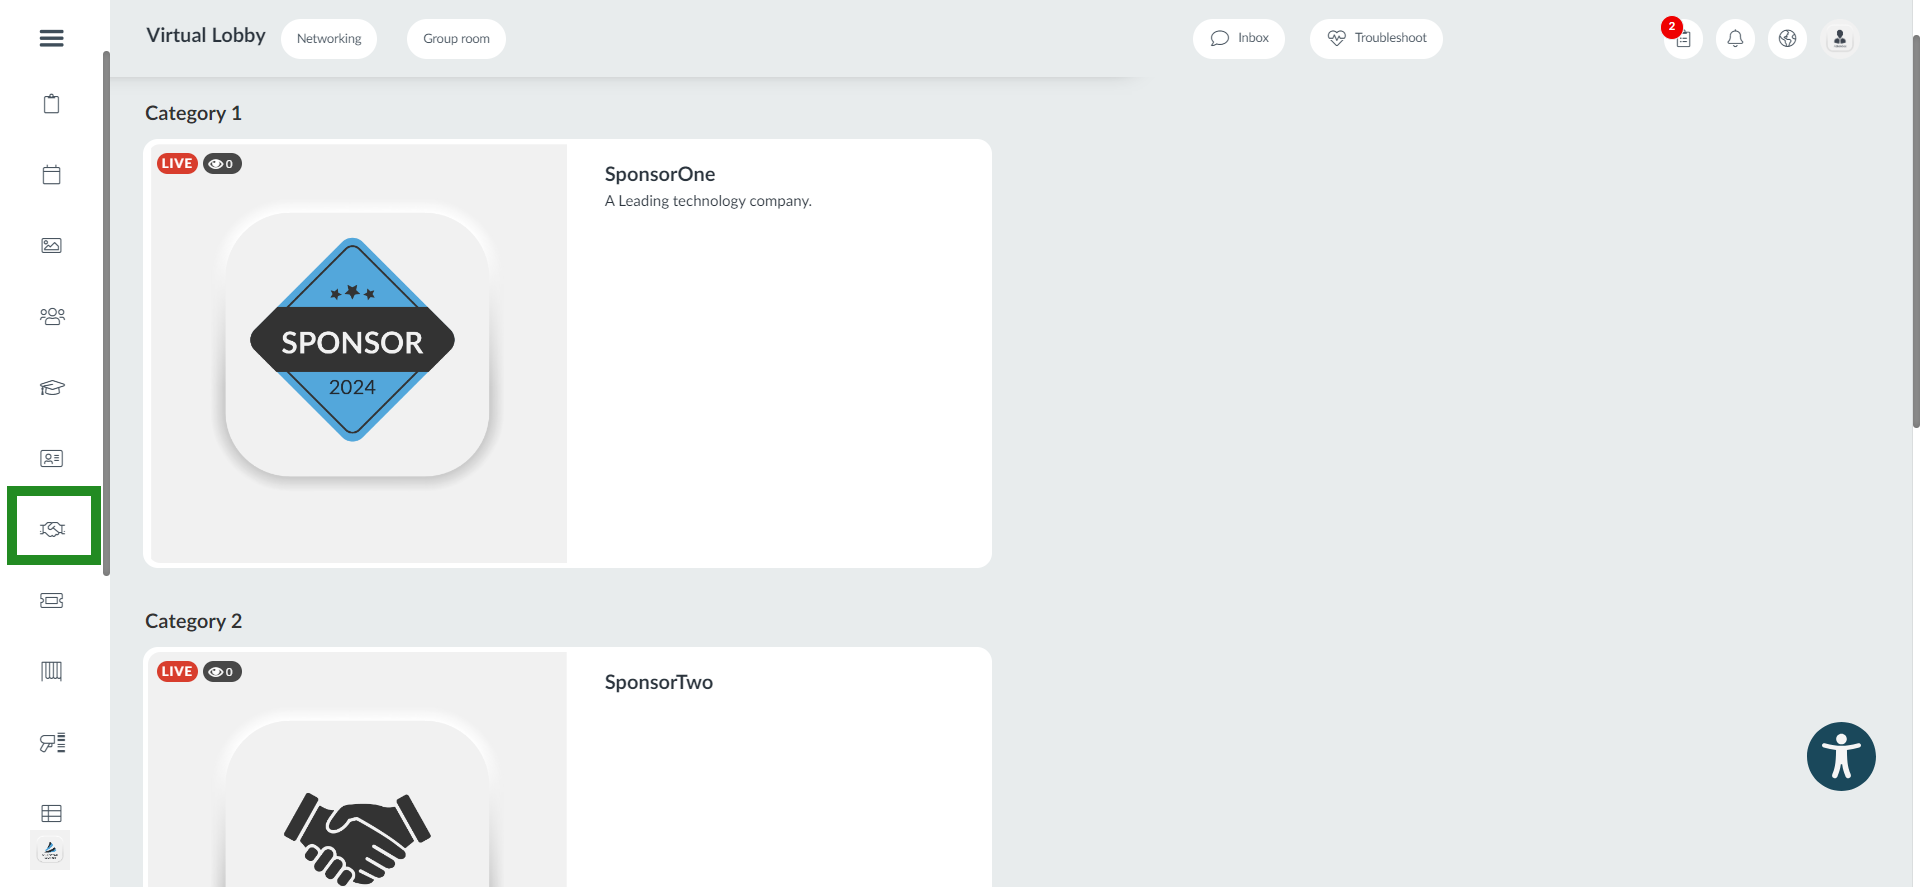
- Virtual Lobby - Sponsors: Users will be taken to a page dedicated to sponsors in the Virtual Lobby.
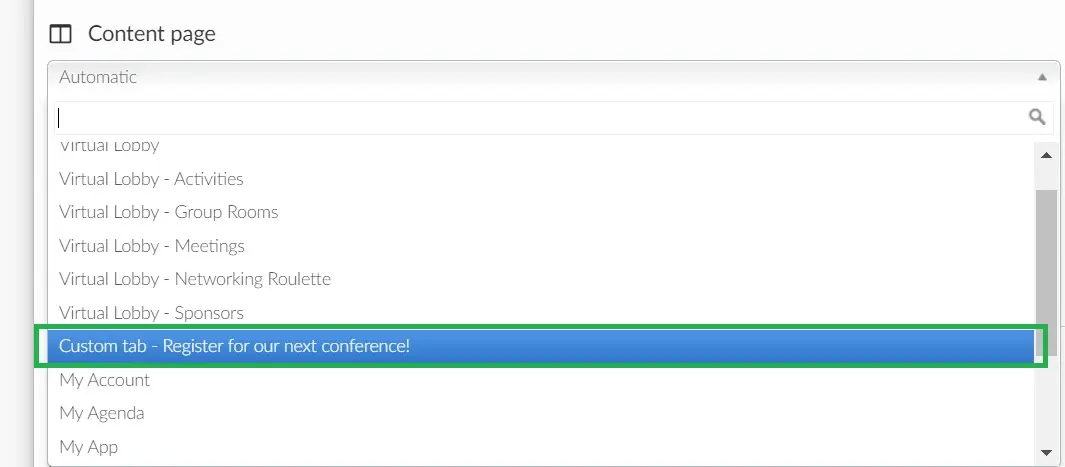
- Custom tabs: Users will be taken to custom tabs created by the event organizer. All tabs created will be displayed on the dropdown bar, as shown in the image below:
- My account: Users will be taken to their My Account area.
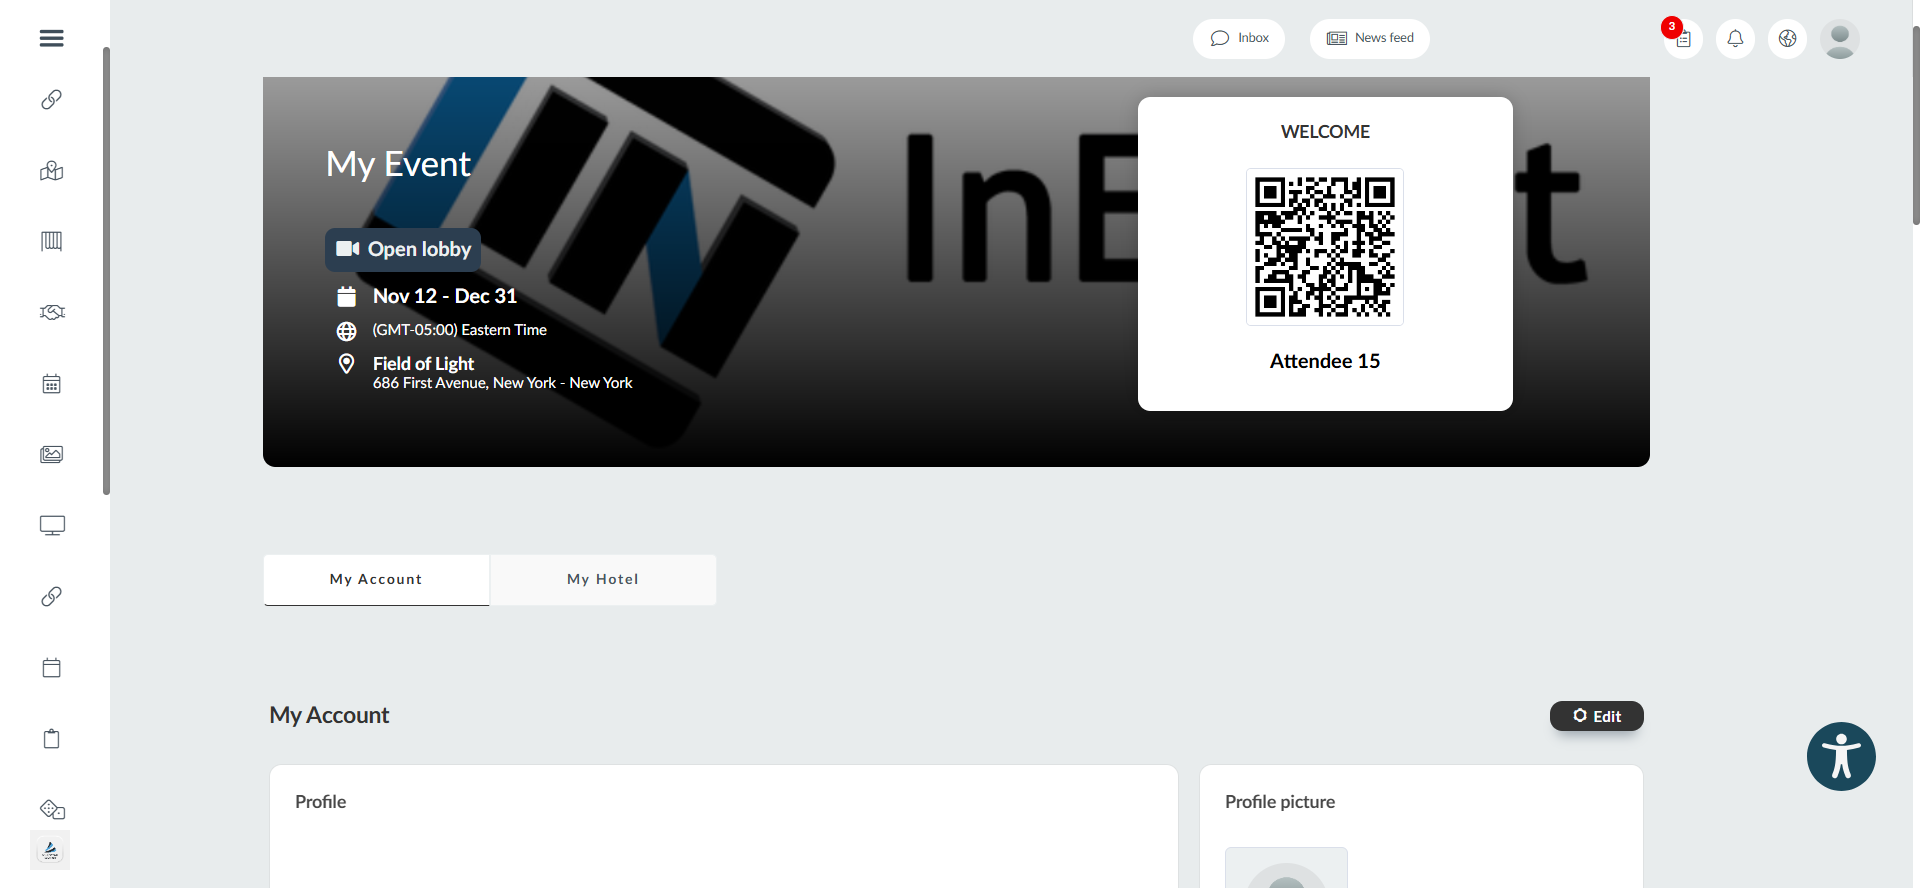
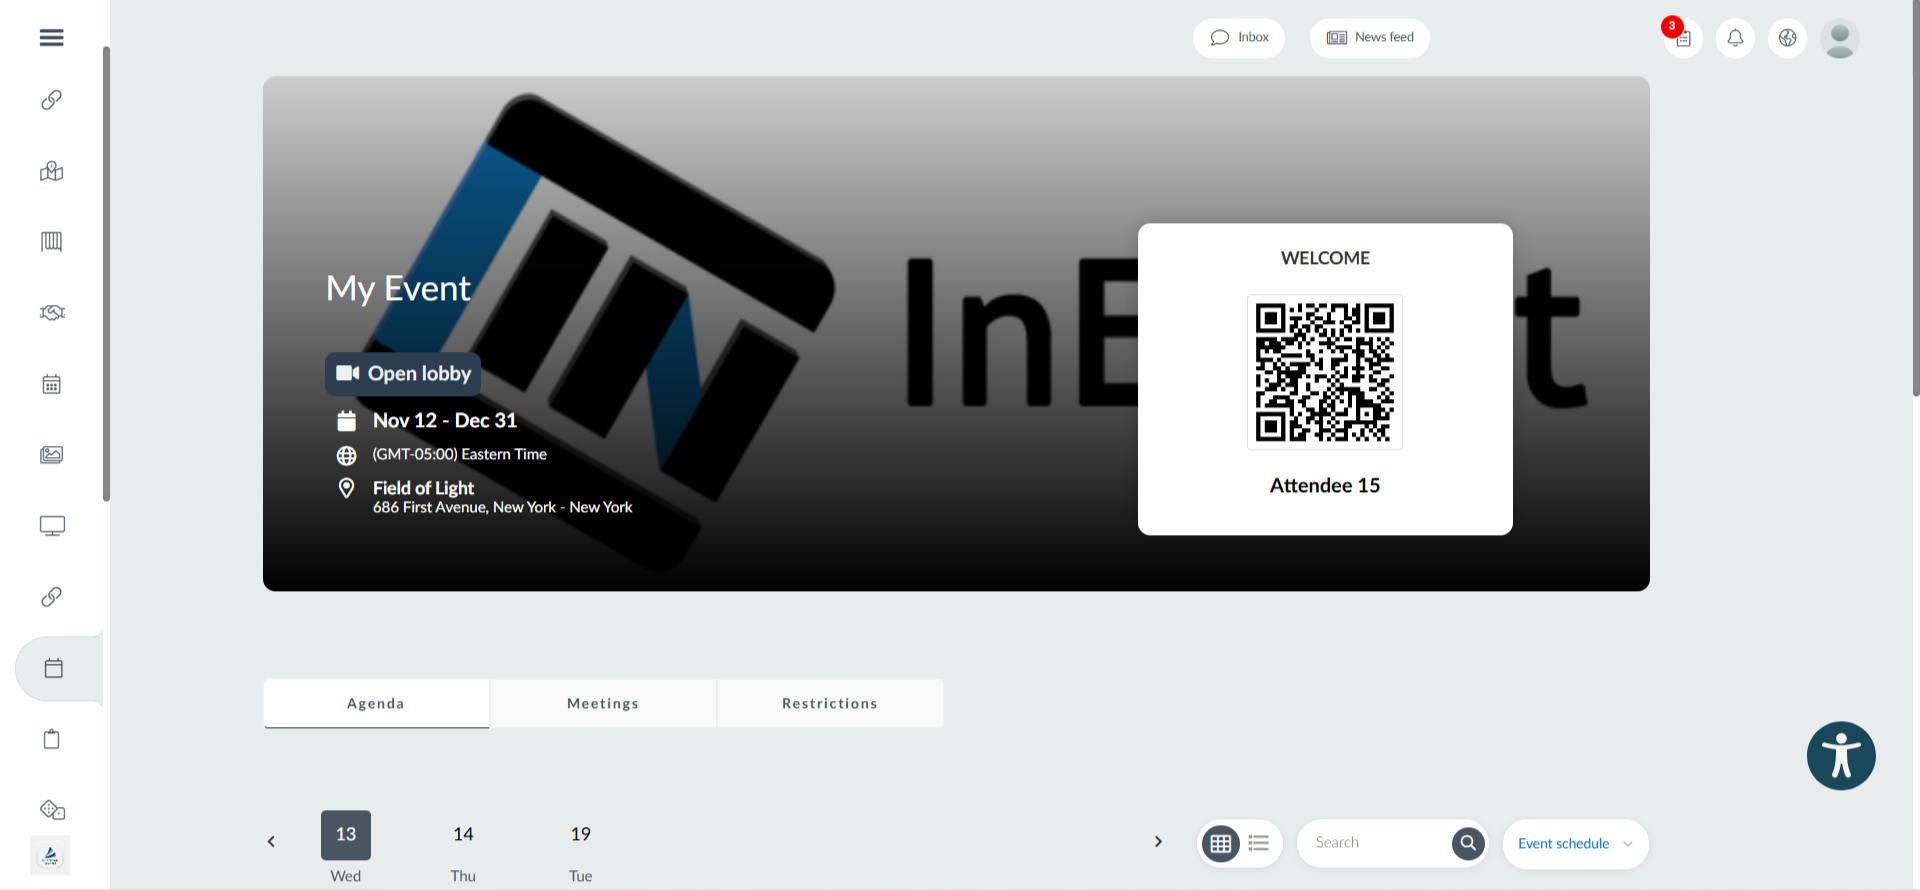
- My agenda - users will be taken to their My Agenda tab in the Virtual Lobby.
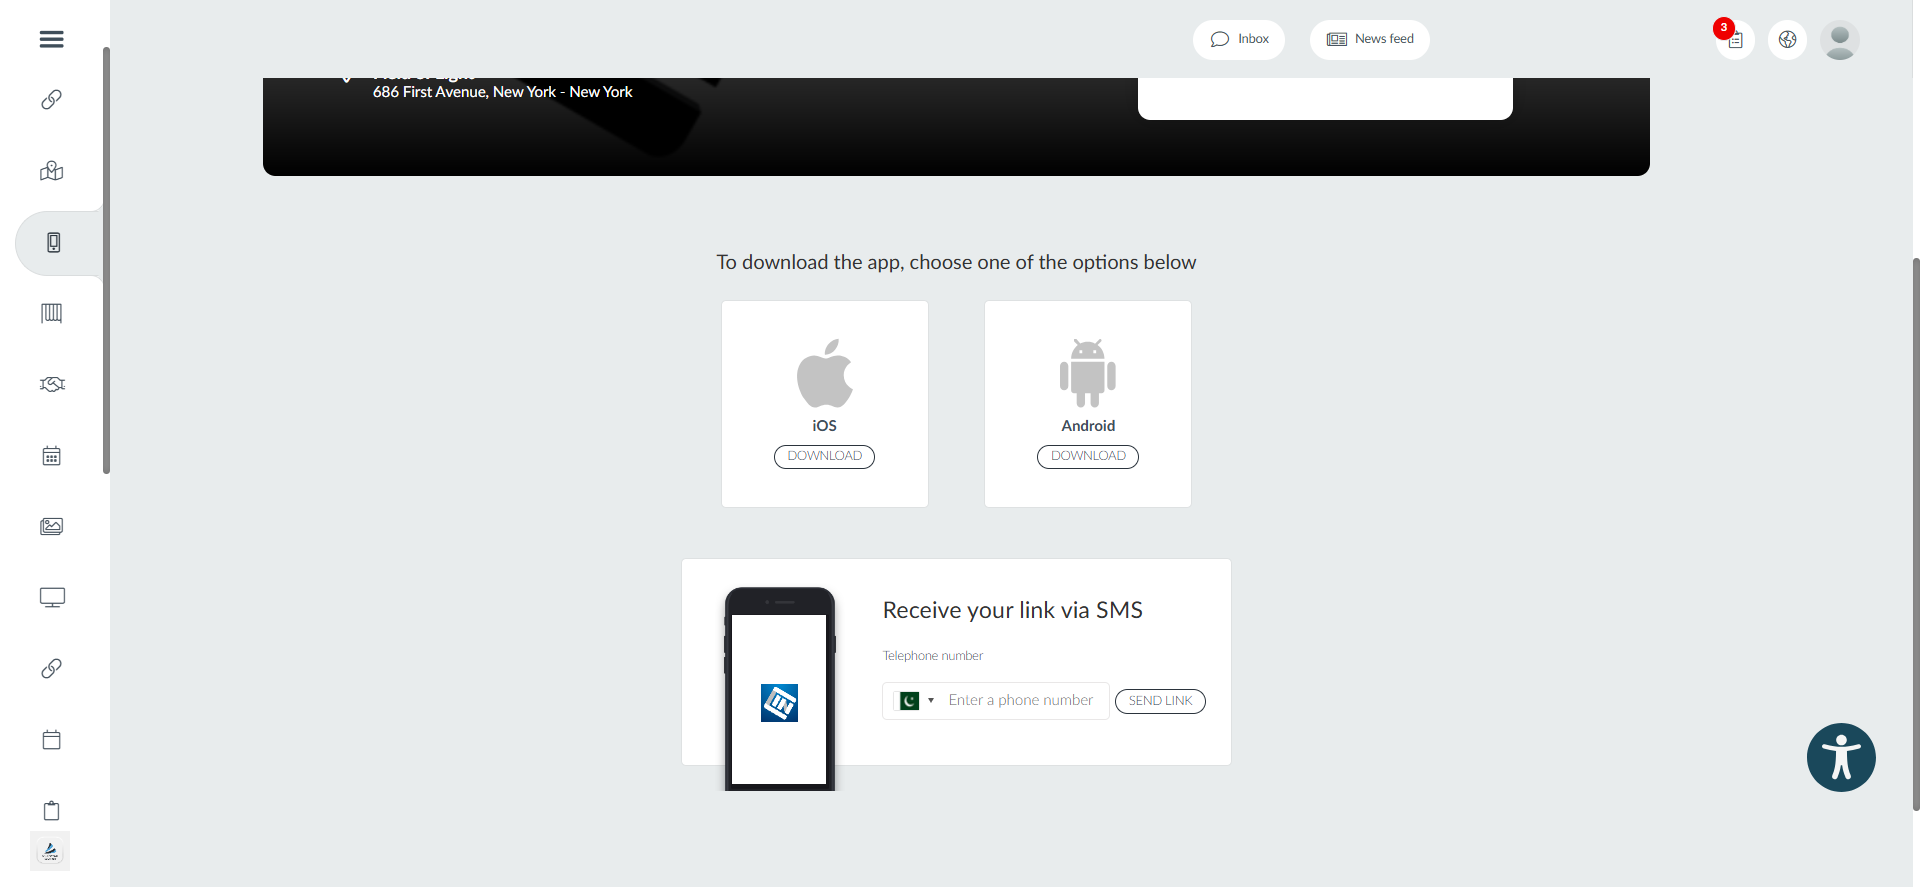
- My app: Users will be taken to the app landing page.
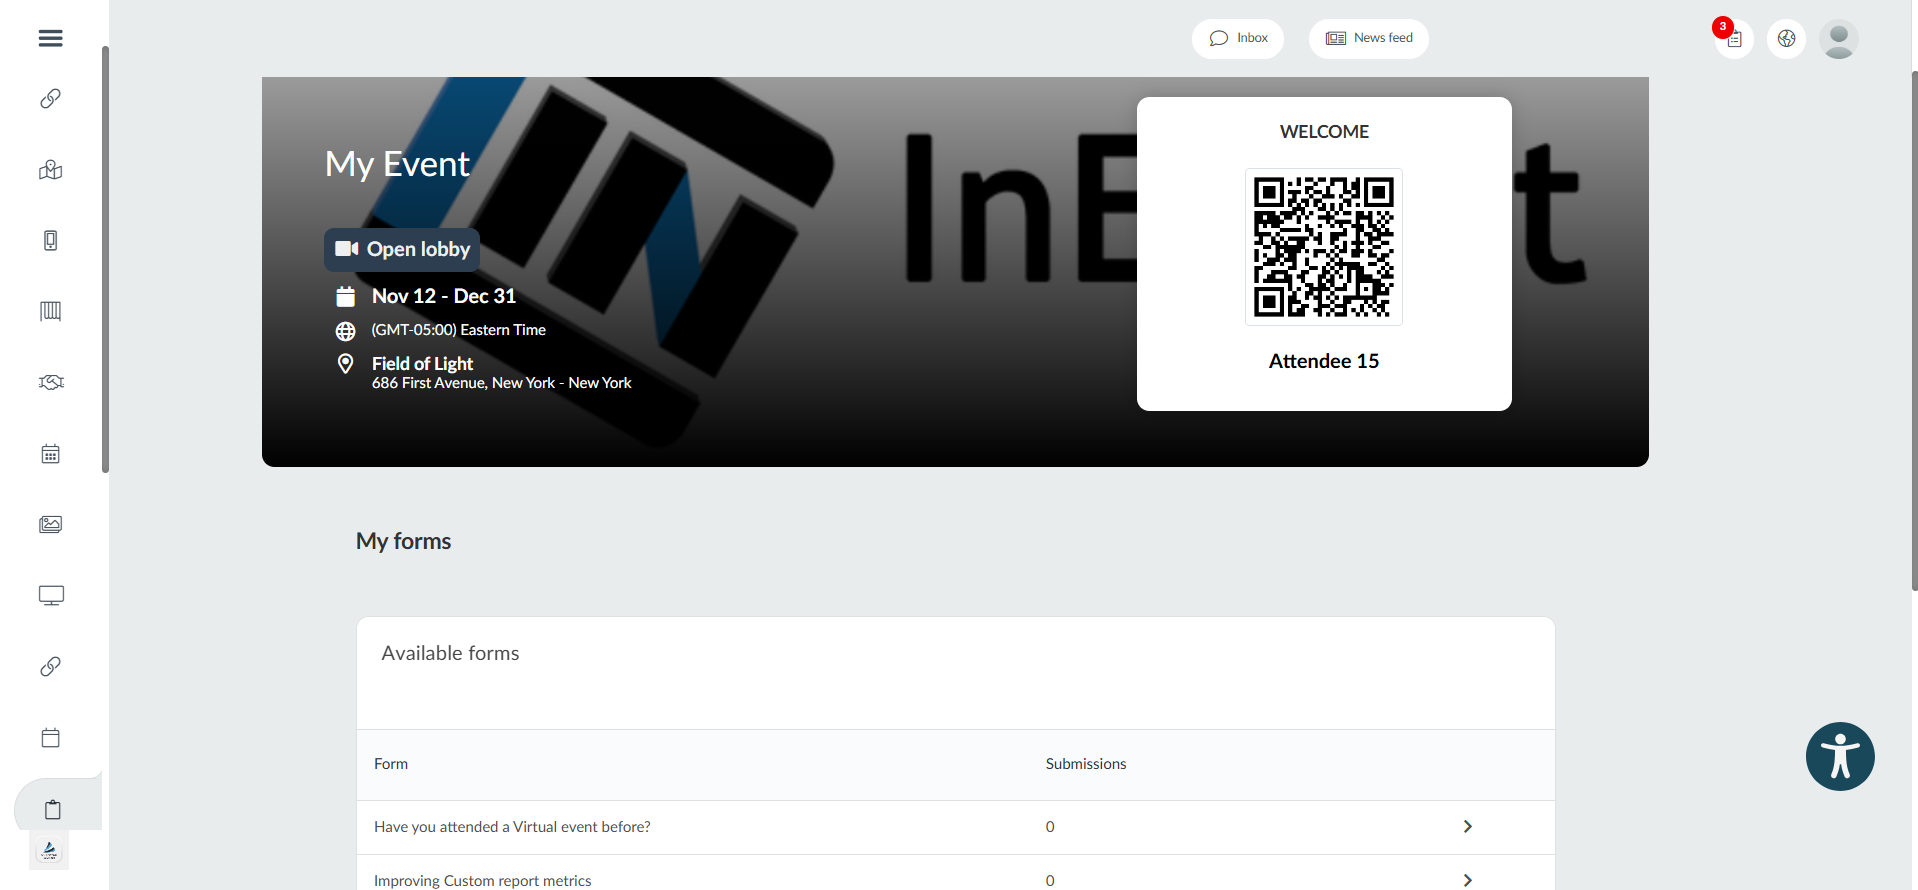
- My forms: Users will be taken to the My forms area.
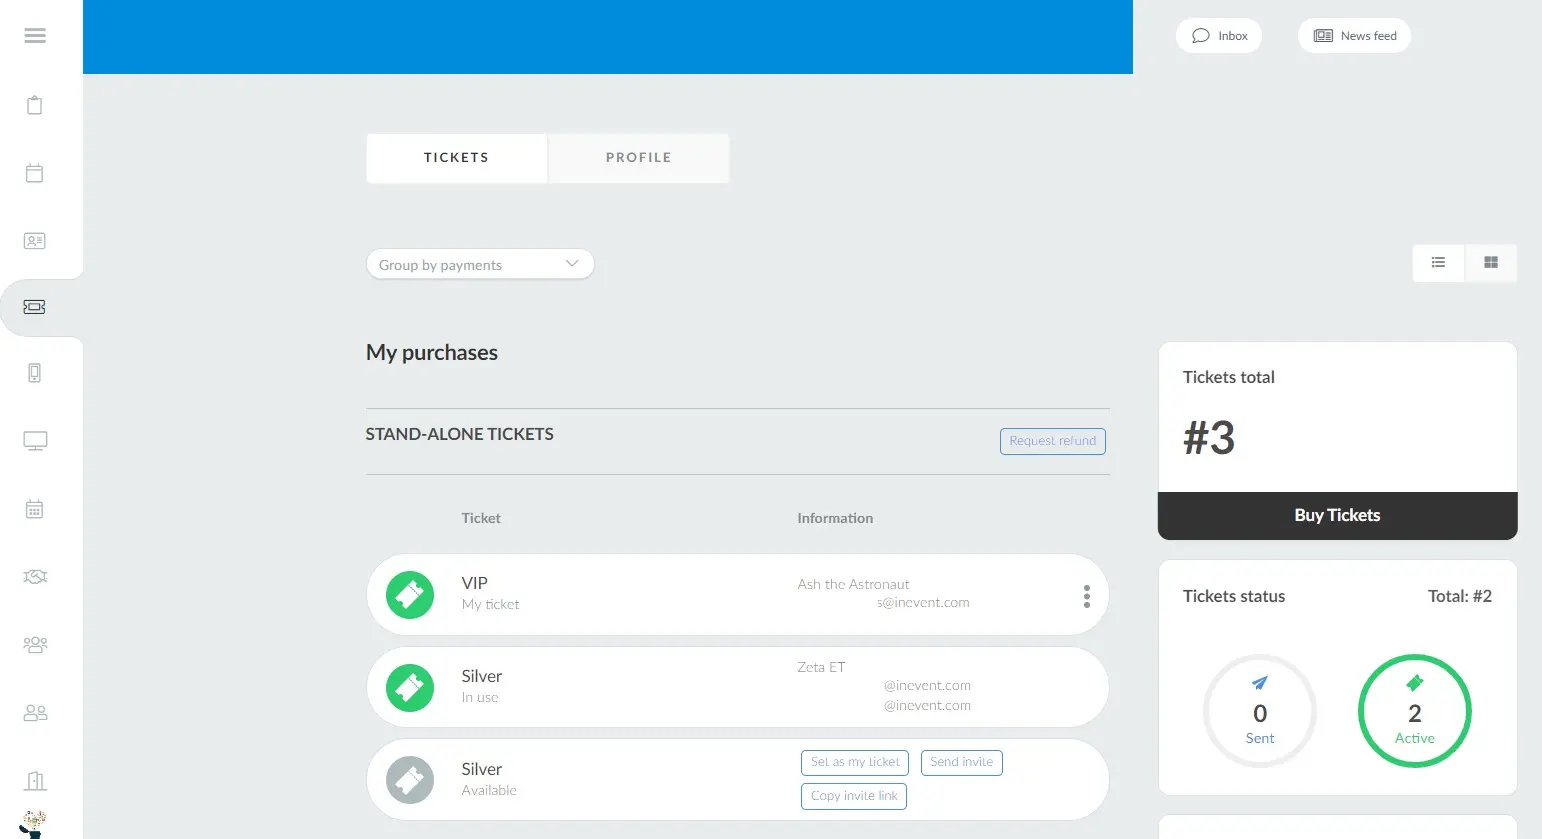
- My tickets: Users will be taken to the My Tickets tab in the Virtual Lobby.
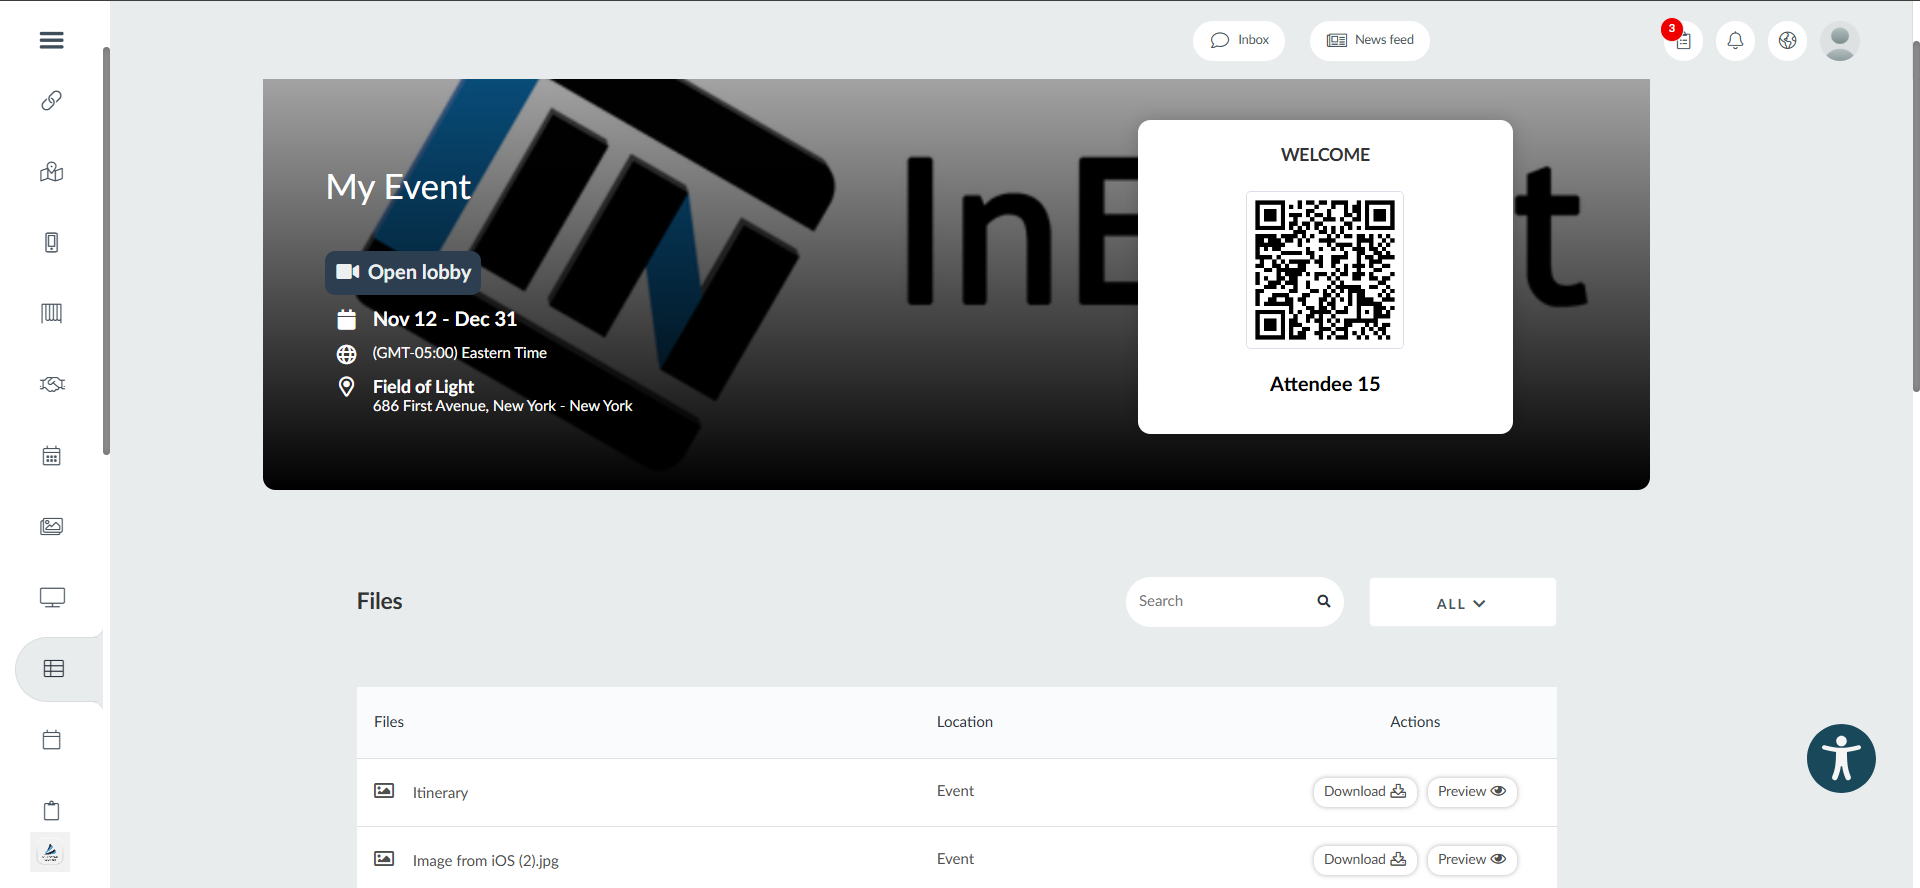
- My files - Users will be taken to the My files area, a page dedicated to files in the Virtual Lobby.
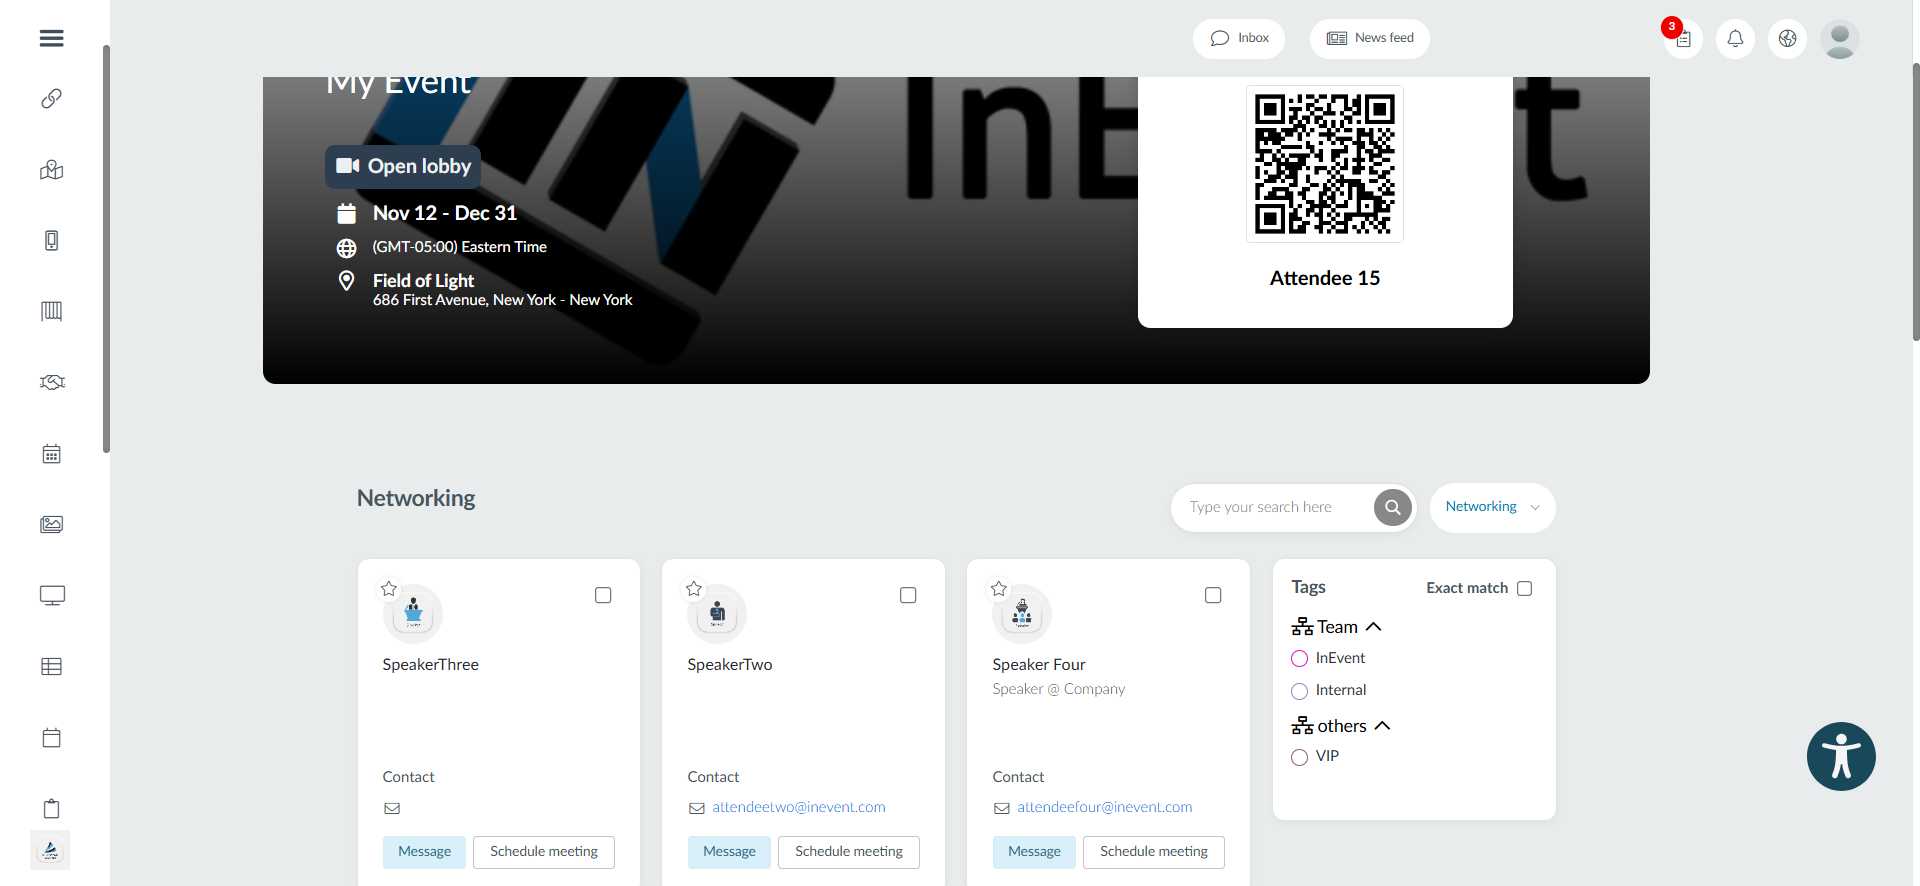
- Networking: Users will be taken to a page dedicated to Networking in the Virtual Lobby.
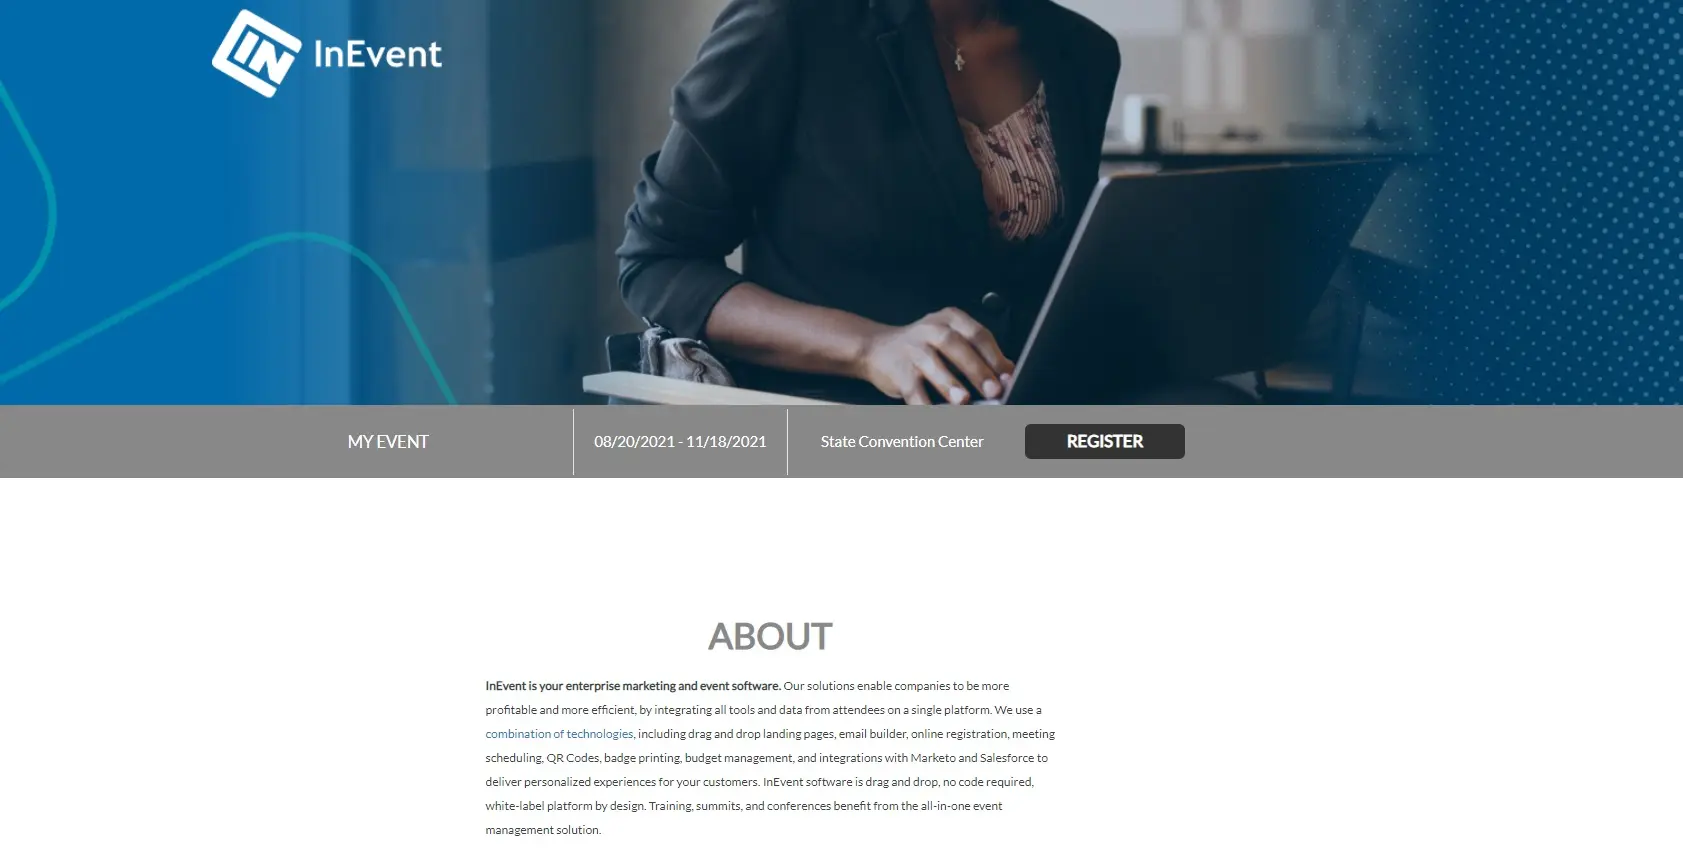
- Website - users will be taken to your website.
Refer to the Tabs article to learn how to create custom tabs.
Customizing the 'Go to event!' button
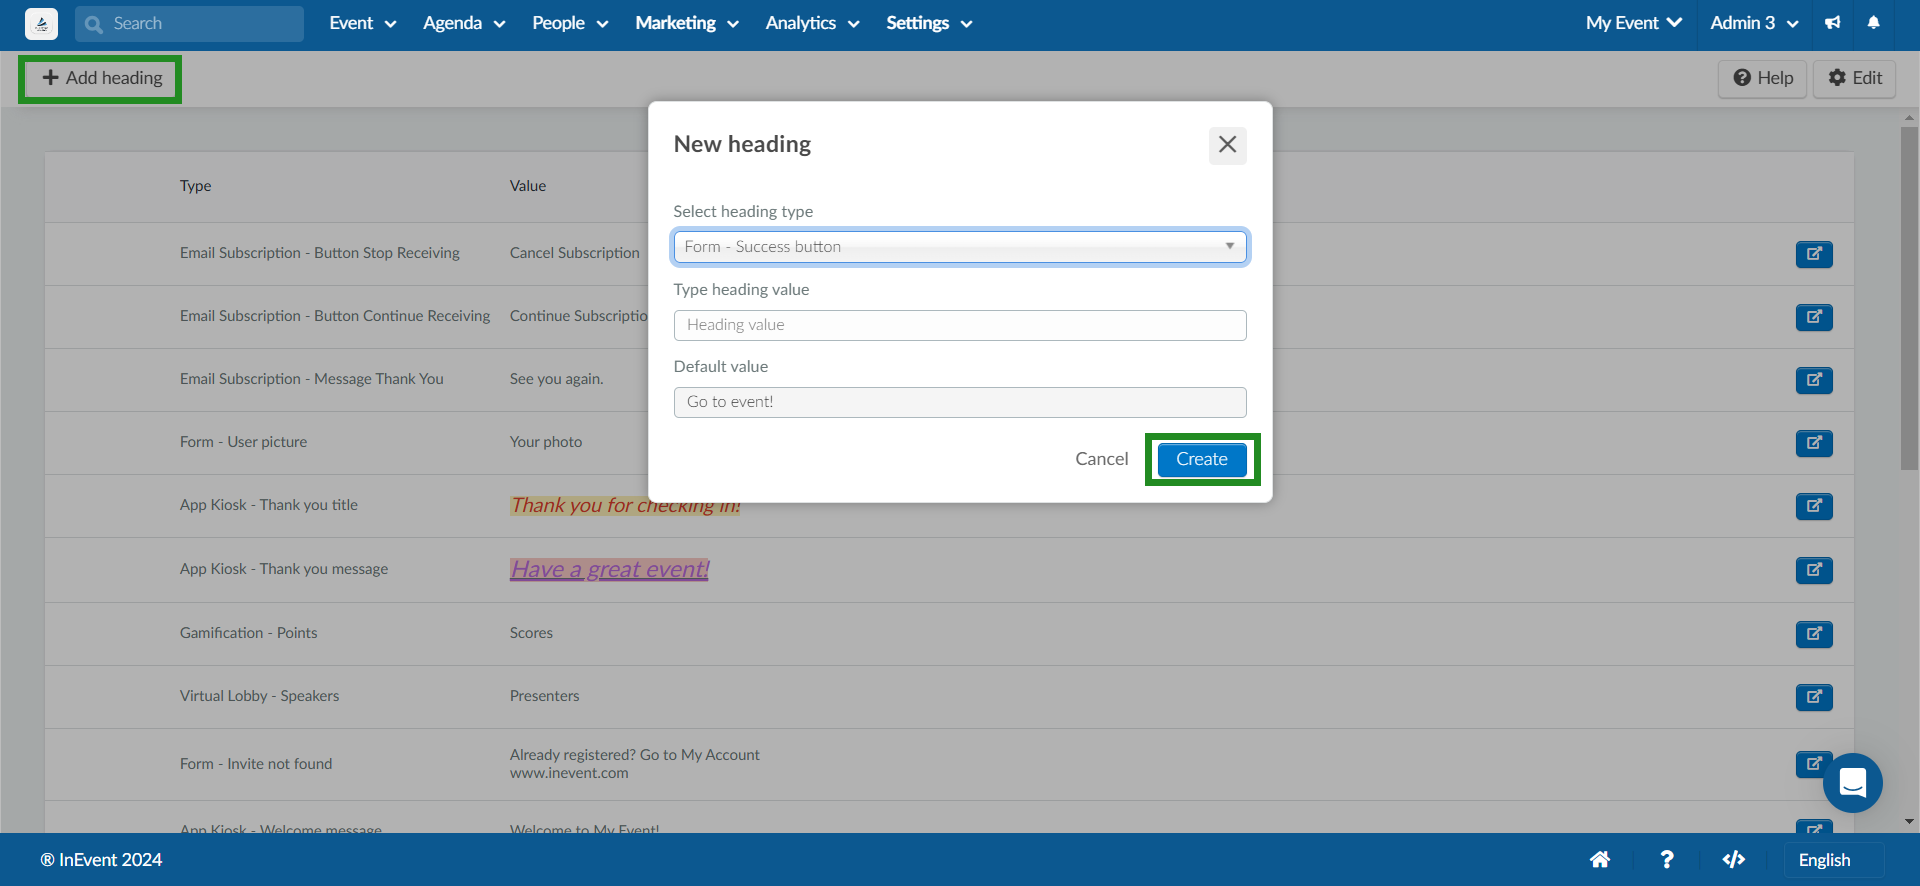
If you wish to edit the default text from the 'Go to event' button, go to Settings > Headings and press + Add heading. Then, under Select heading type choose Form - Success button, and under Type heading value, write the message you wish to be displayed on the button. Press Create to save the changes.
Hiding the 'Go to event' button
Refer to the Most frequently requested CSS codes article if you wish to hide the Go to Event! button, as shown below.


