Confirmation email and other automatic emails
 Updated 1 day ago
by
Lorenzo
- Configuring automatic emails
- Available automatic emails
- Event access automatic emails
InEvent automatically sends emails to attendees and event organizers when specific actions take place, such as event registration, payment processing, activity enrollment, or meeting scheduling.
This article explains how to configure automatic emails, the different types available, when they are sent from the platform, and how to customize their content.
Configuring automatic emails
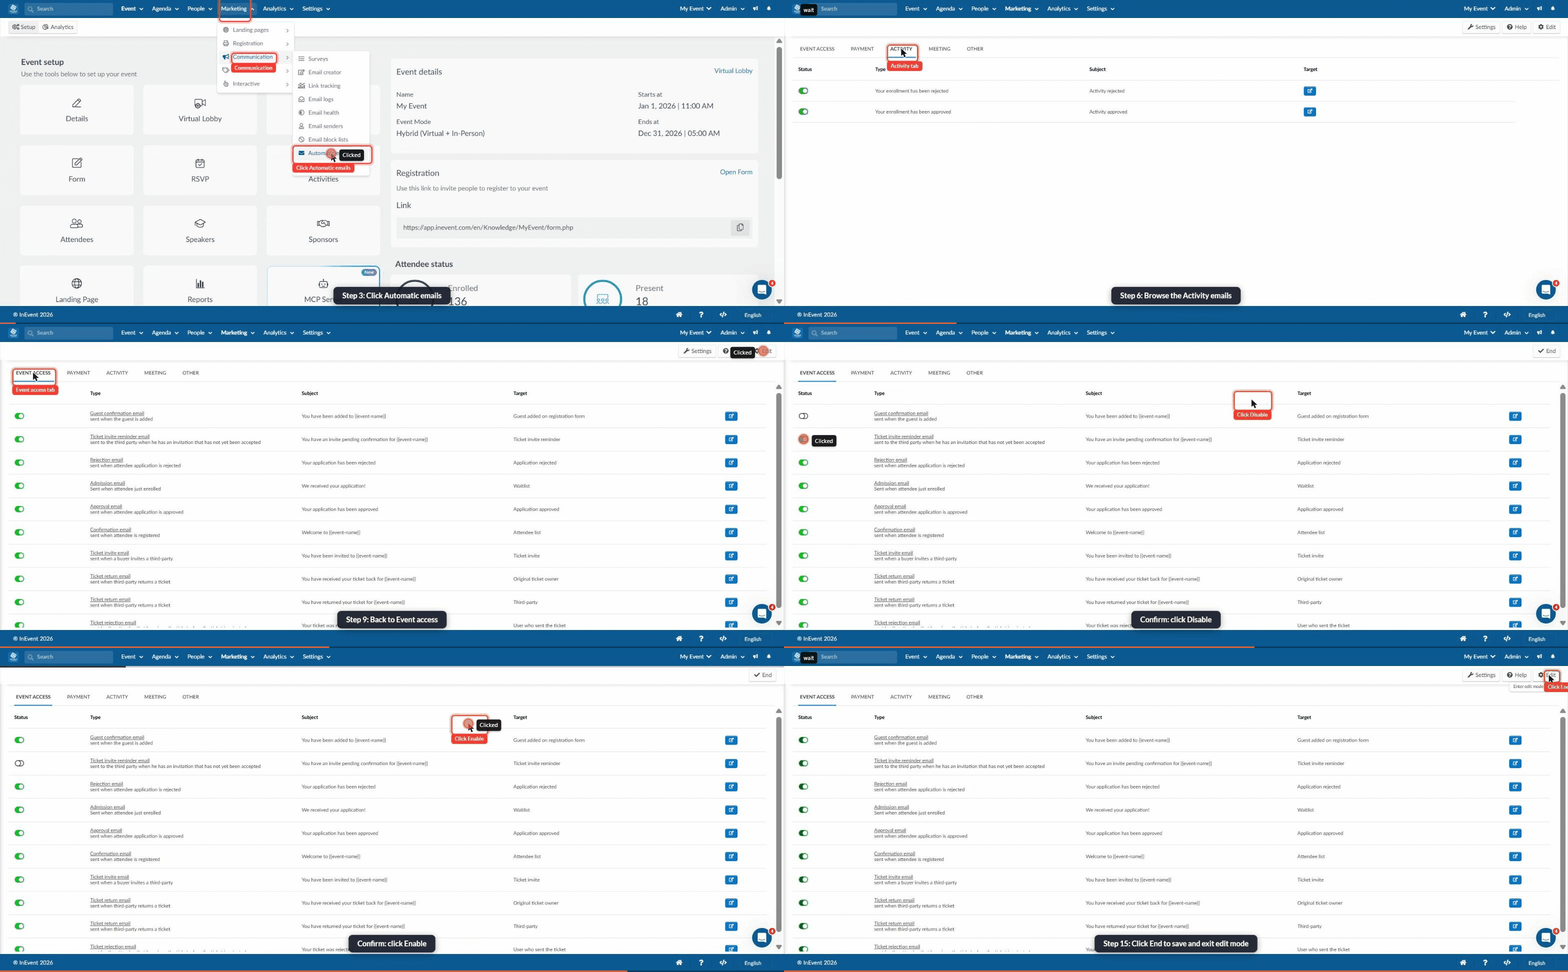
To configure automatic emails:
- Go to Marketing > Communication > Automatic emails.
- Locate the email you want to configure.
- Use the Status toggle to enable or disable the email.
Payment automatic emails will not function or appear on the Automatic emails page when the Tickets tool is disabled.
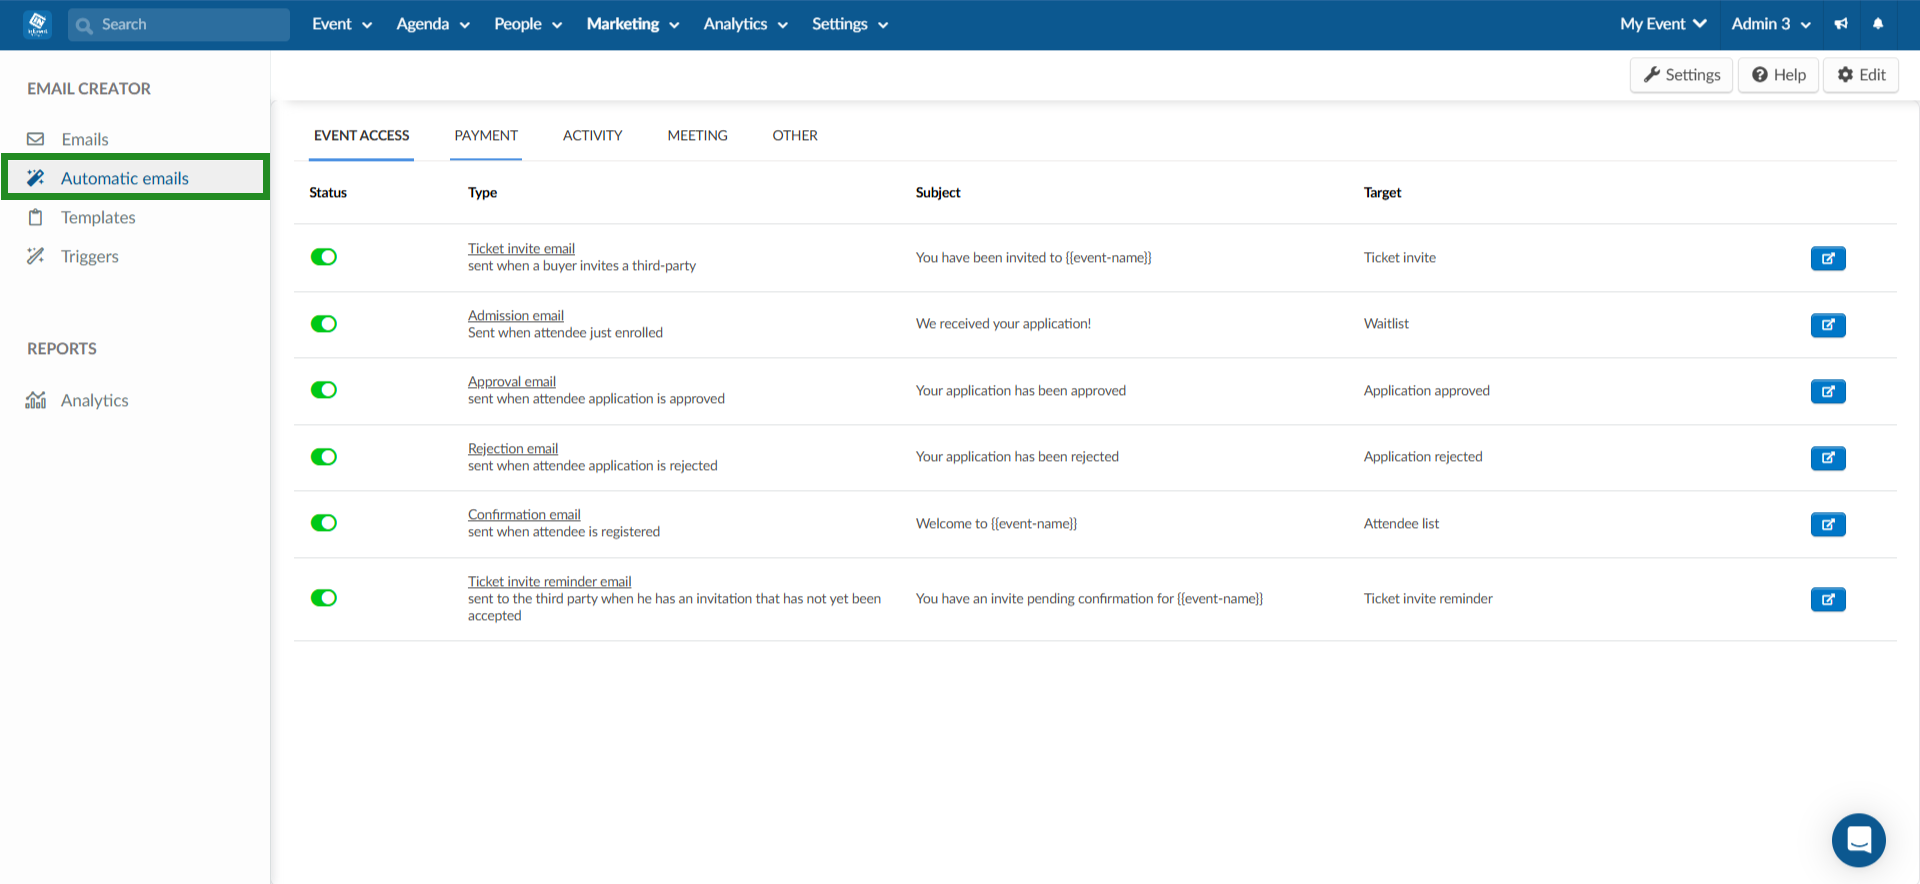
Alternatively, you can access automatic emails from Marketing > Communication > Email creator. Select Automatic emails from the left sidebar.
Available automatic emails
Automatic emails are organized on the platform into five categories:
- Event access: Emails related to event registration, admission, and access.
- Payment: Emails related to payment processing and refunds.
- Activity: Emails related to activity enrollment approvals and rejections.
- Meeting: Emails related to meetings scheduled in the Virtual Lobby.
- Other: Emails related to event administrator permissions and attendee troubleshoot reports.
Event access automatic emails
This section describes the automatic emails related to event registration and access.
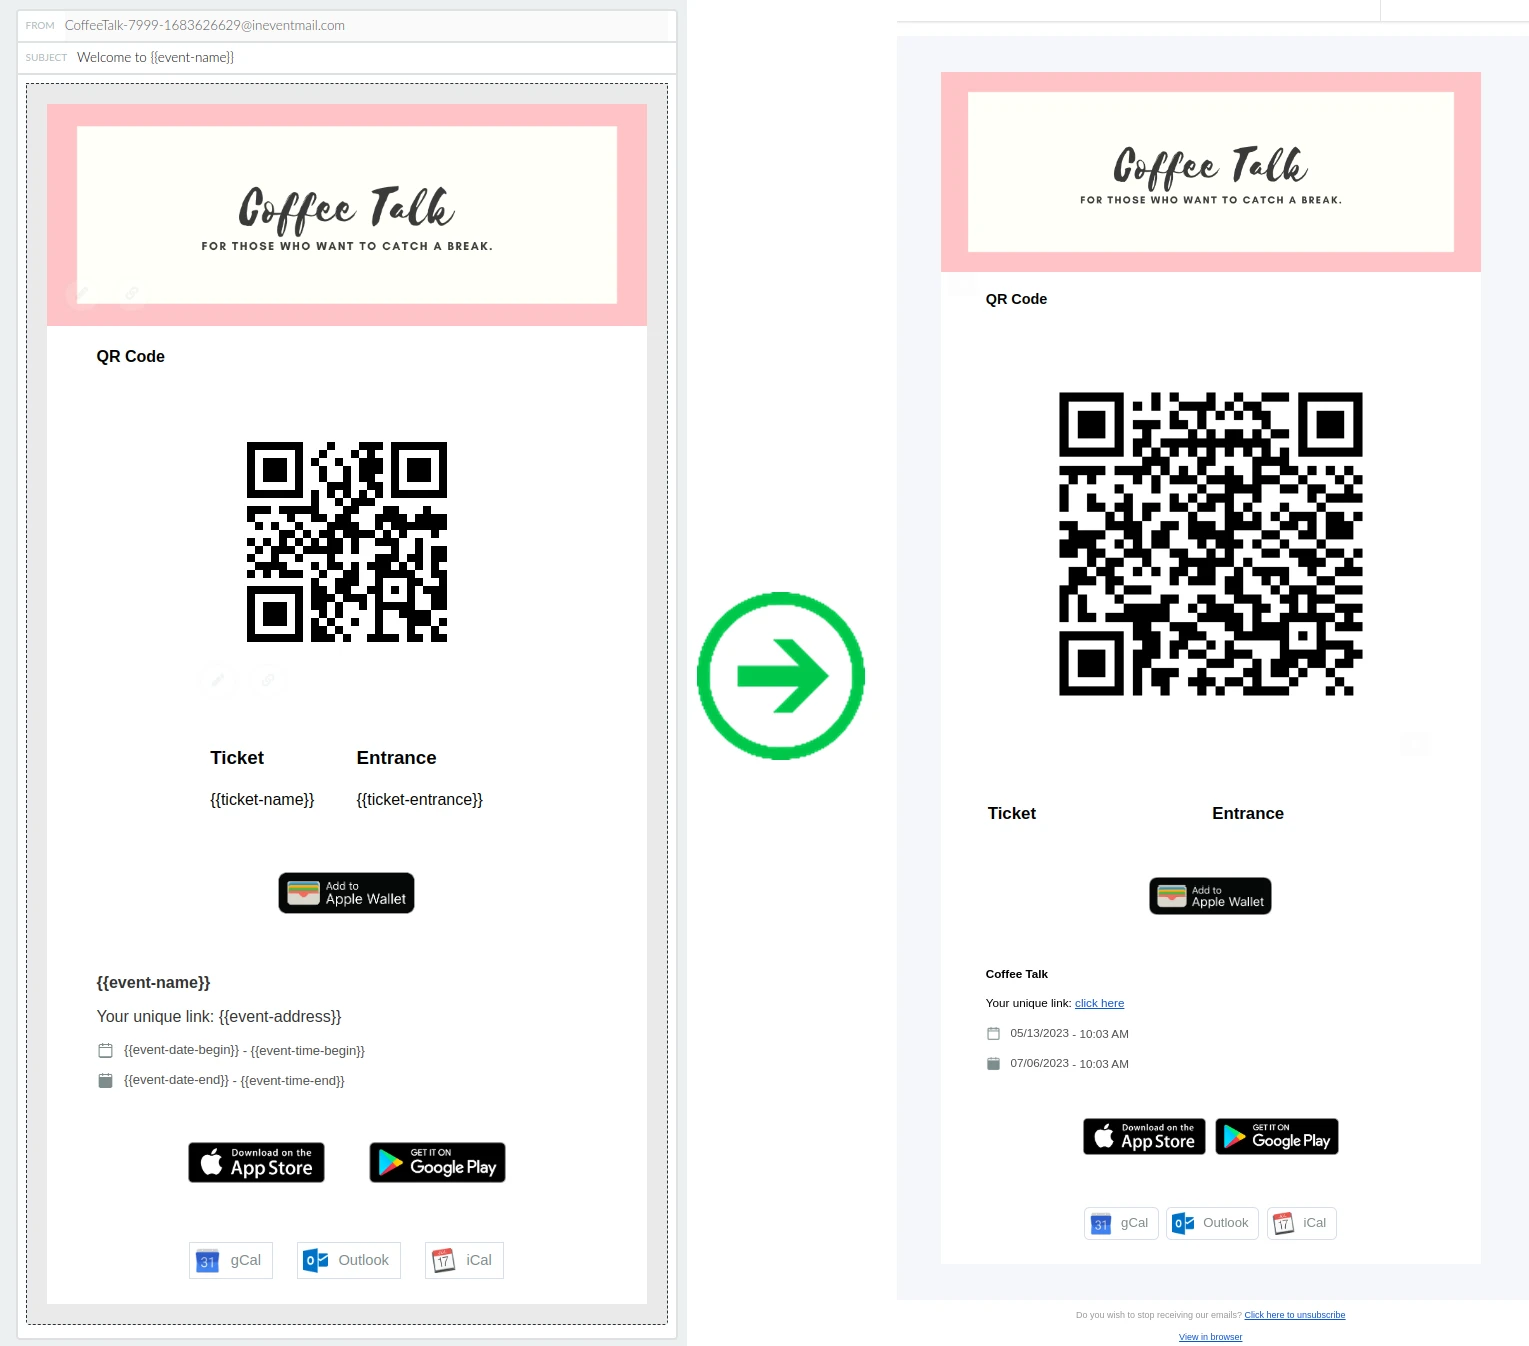
Confirmation email
The platform sends a Confirmation email to attendees who register for an event through the registration form. Attendees added to the event by an event organizer through the platform also receive a confirmation email.
Disabling automatic confirmation emails
Event organizers can decide to disable automatic confirmation emails.
When the Confirmation email is disabled, attendees who register for your event will not receive an automatic confirmation email. Re-enabling the Confirmation email will not send confirmation emails to attendees who registered while it was disabled.
Resending confirmation emails
You can manually resend confirmation emails to individual attendees or multiple attendees at once.
For more information, refer to the Resending confirmation emails article.
Attaching an event calendar invite to confirmation emails
You can attach a calendar invitation to Confirmation emails by enabling the .ics file option.
For more information, refer to the Enabling .ics file on confirmation emails article.
Removing attendee QR codes in confirmation emails
You can remove the attendee QR code from the Confirmation email by customizing the email in the Email editor.
Alternatively, you can remove QR codes by disabling the My QR Code tool under Event tools.
Ticket invite email
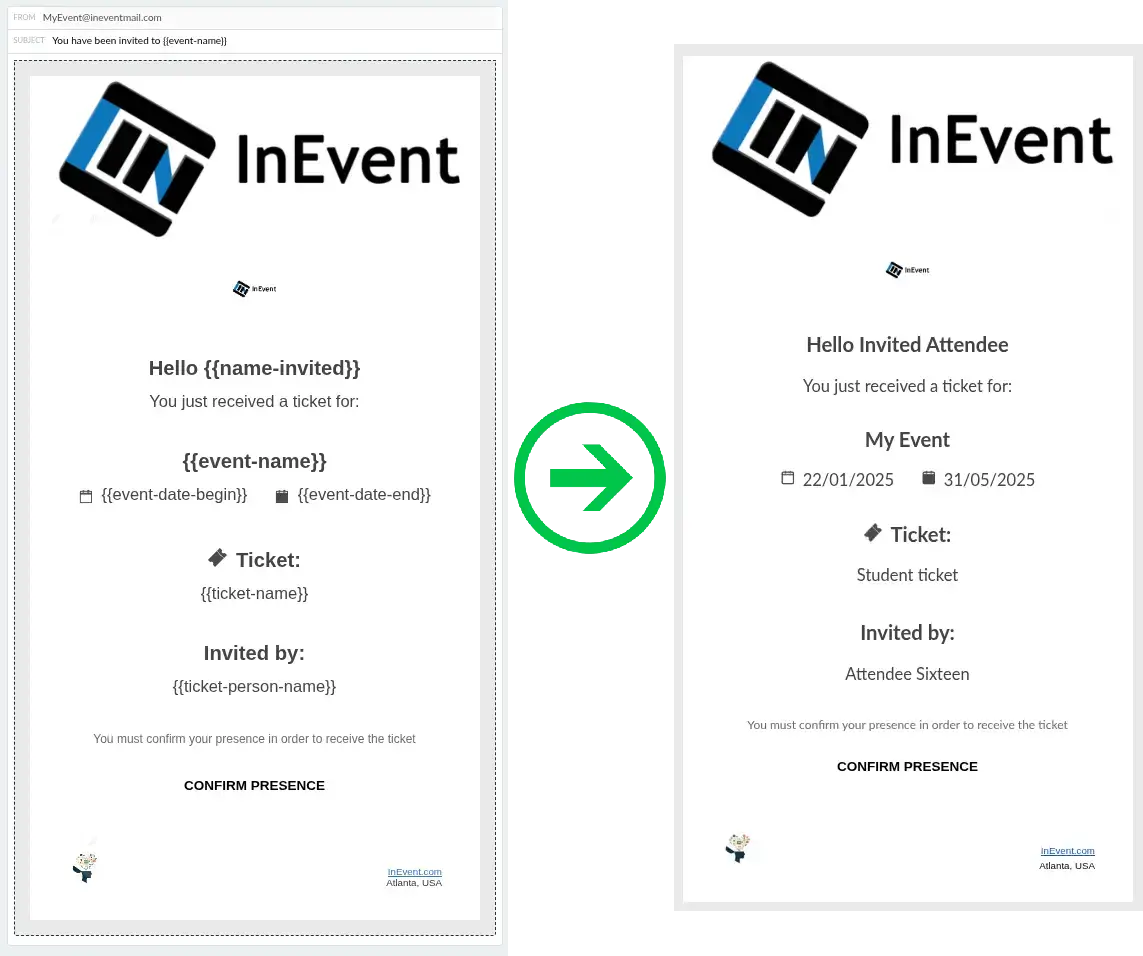
The platform sends a Ticket invite email when an attendee invites another person to the event or transfers their ticket to someone else.
The email is sent from the platform to the invited person or the recipient of the transferred ticket.
The Tickets tool must be enabled for this email to work.
Ticket invite reminder email
The platform sends a Ticket invite reminder email to an invited person or ticket recipient who has not completed their event registration.
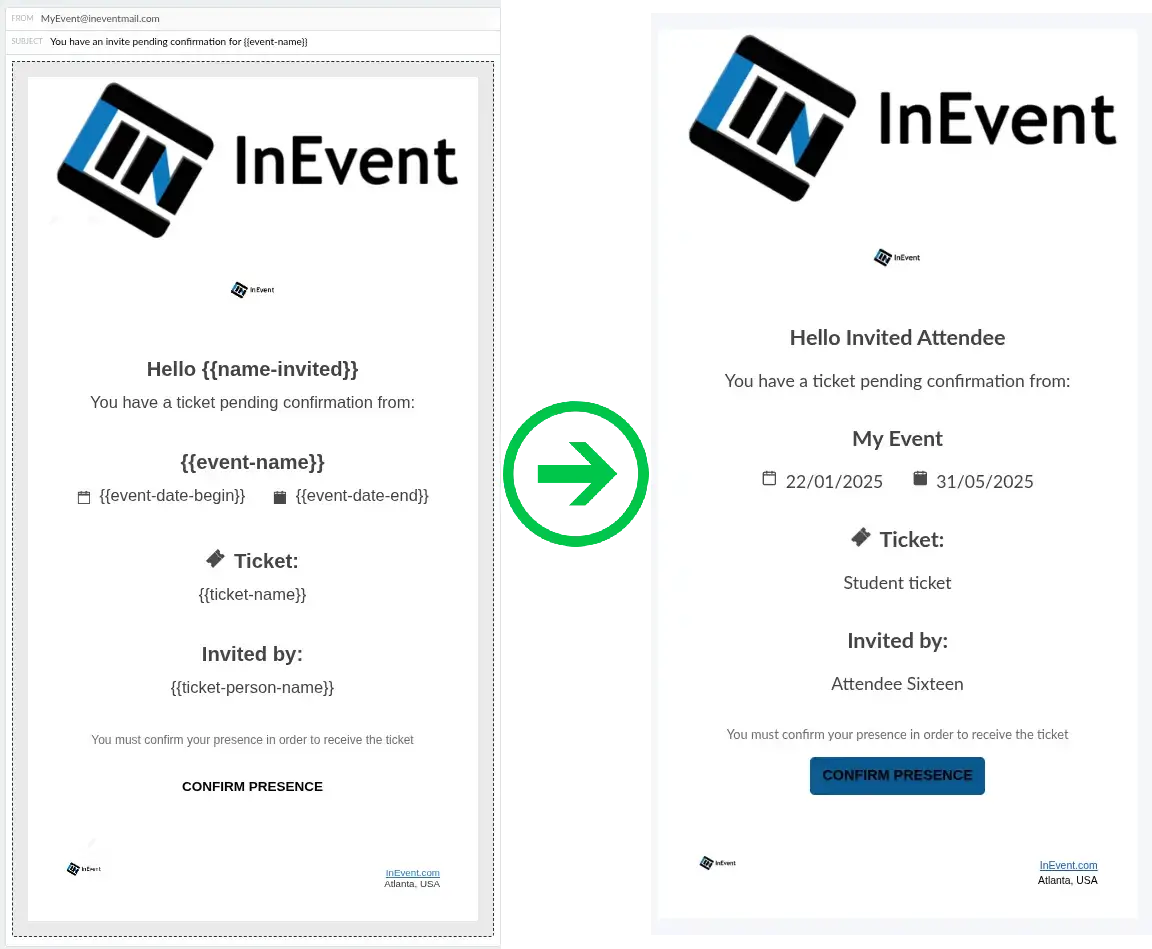
Admission email
The platform sends an Admission email to attendees who register through the registration form and are awaiting approval from an event organizer.
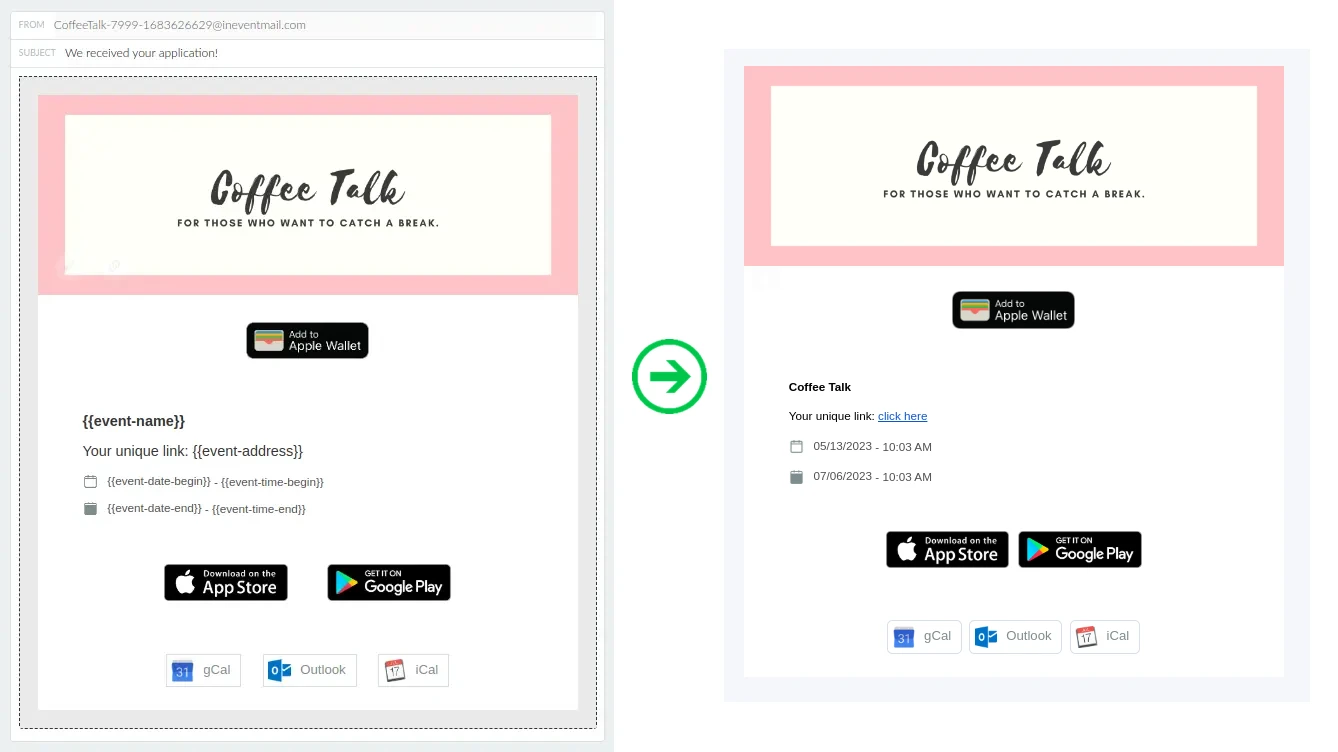
Guest confirmation email
The platform sends a Guest confirmation email to a guest's email address provided by the attendee who registered the guest.
To use this feature, you must enable the Guest form tool. For more information, refer to the Guest form article.
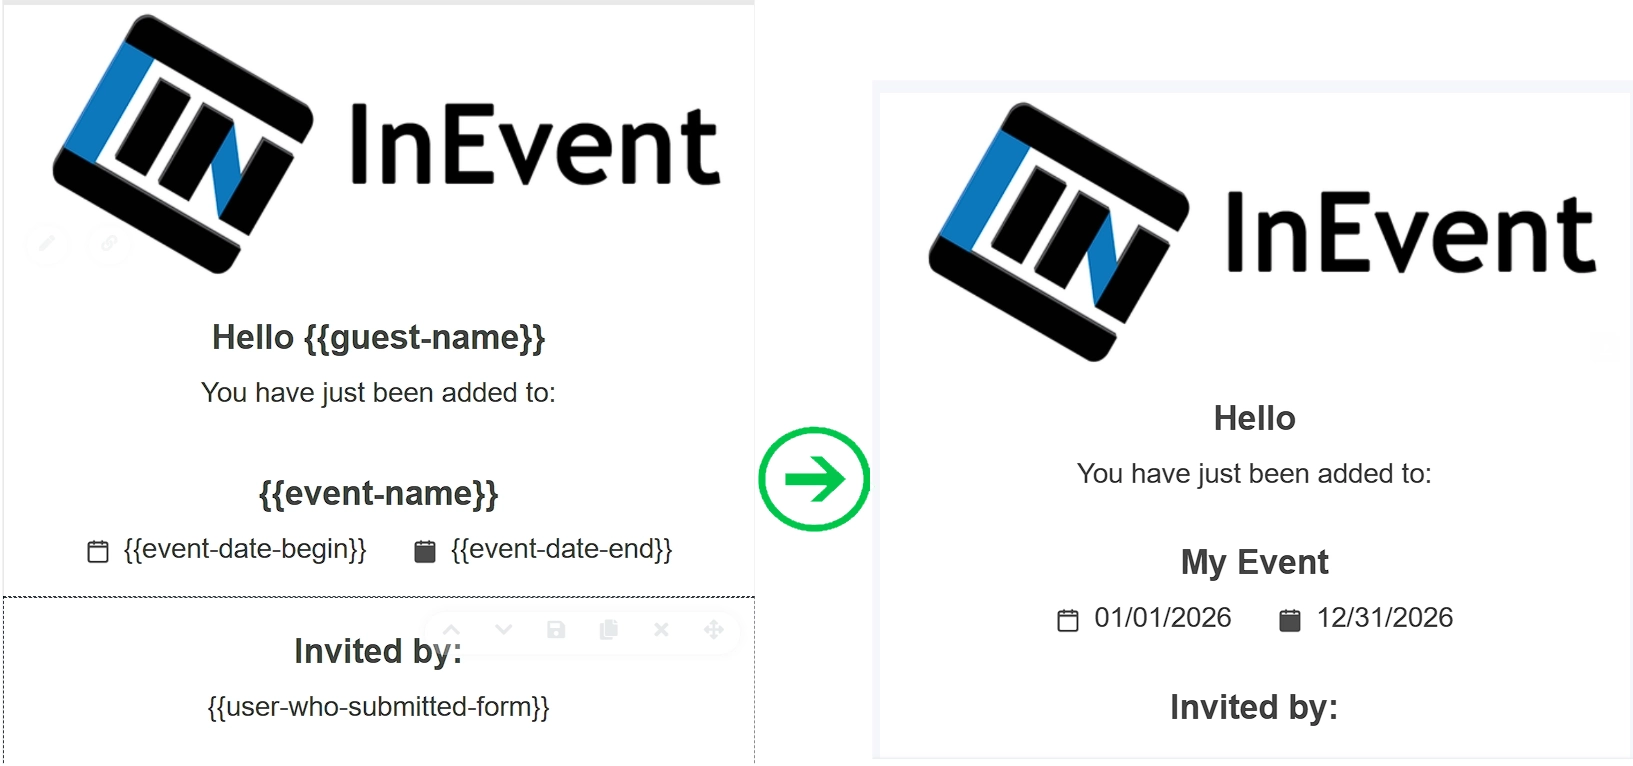
Approval email or Approved for purchase email
The platform sends an Approval email when an event organizer approves an attendee's registration.
When the Ticket requirement and Approval requirement tools are enabled together, the email is called the Approved for purchase email.
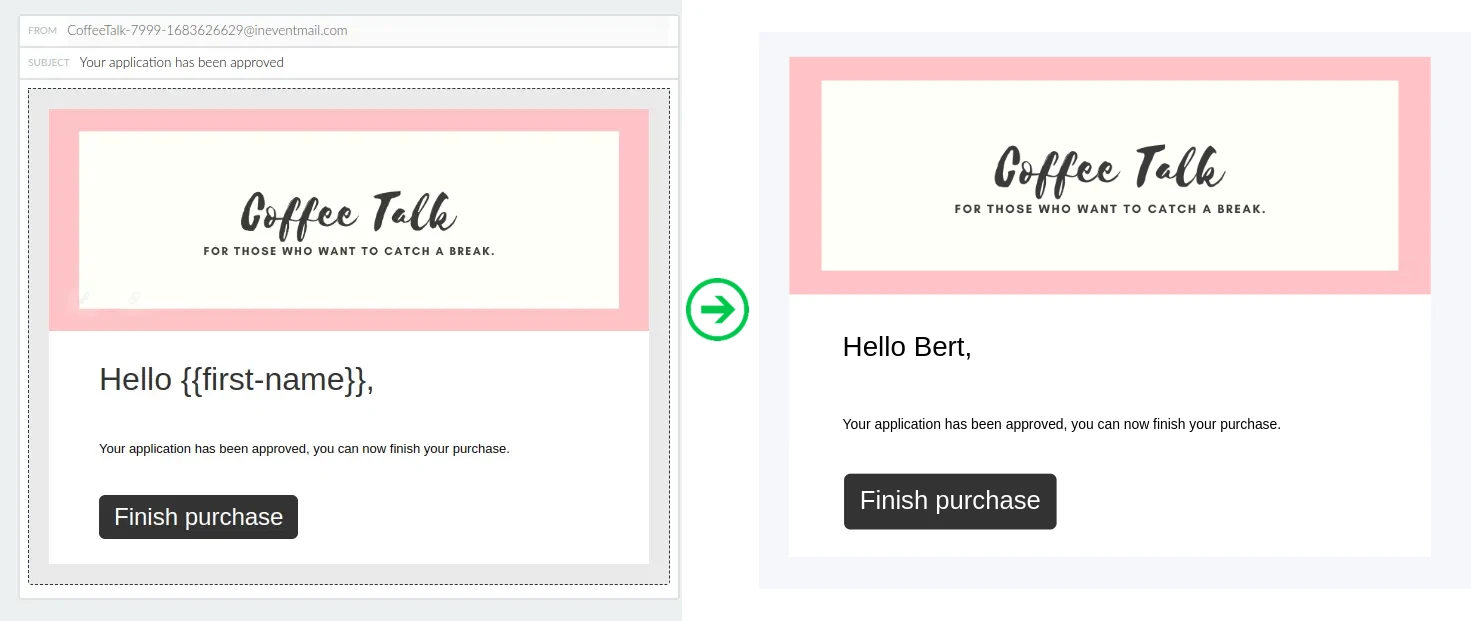
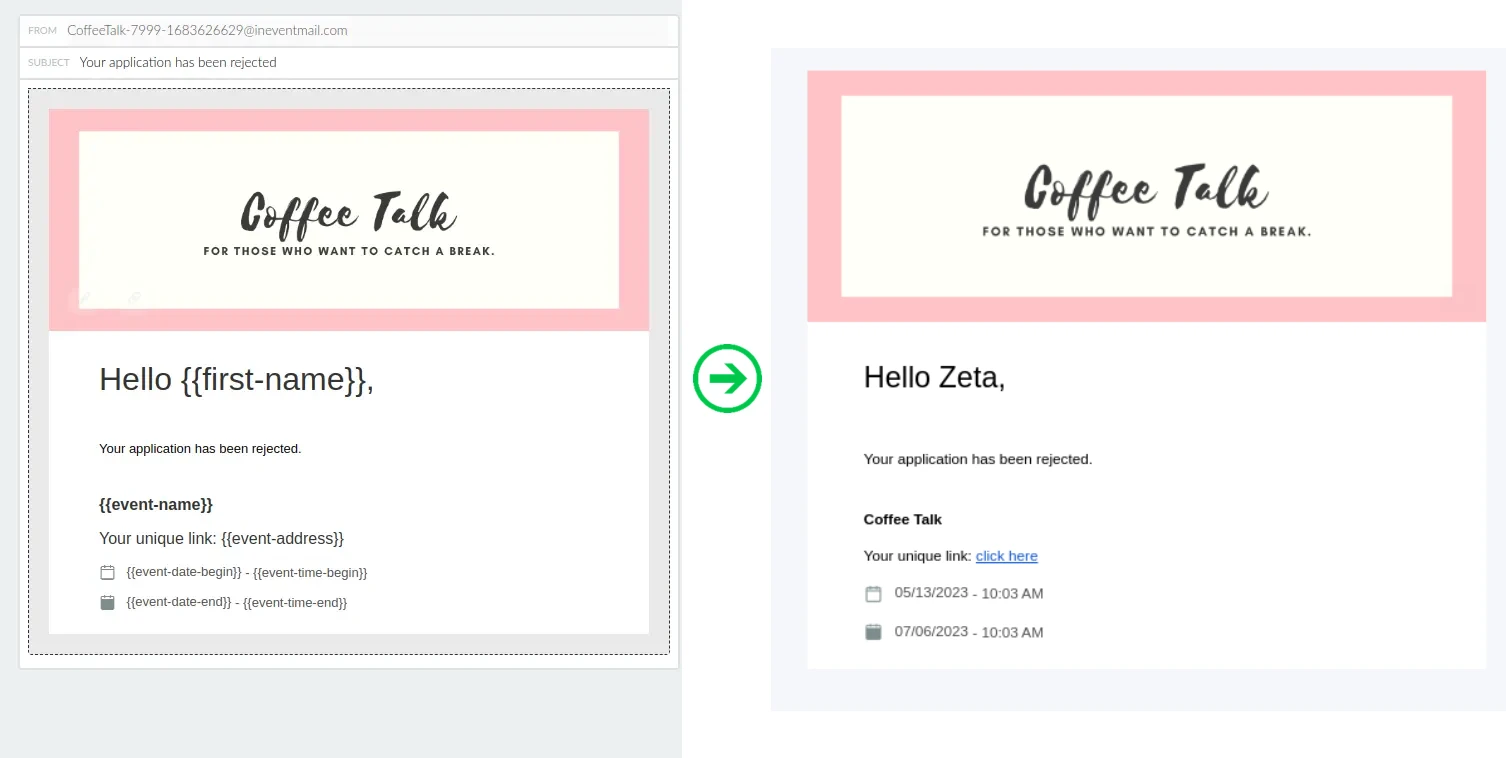
Rejection email
The platform sends a Rejection email when an event organizer rejects an attendee's registration.
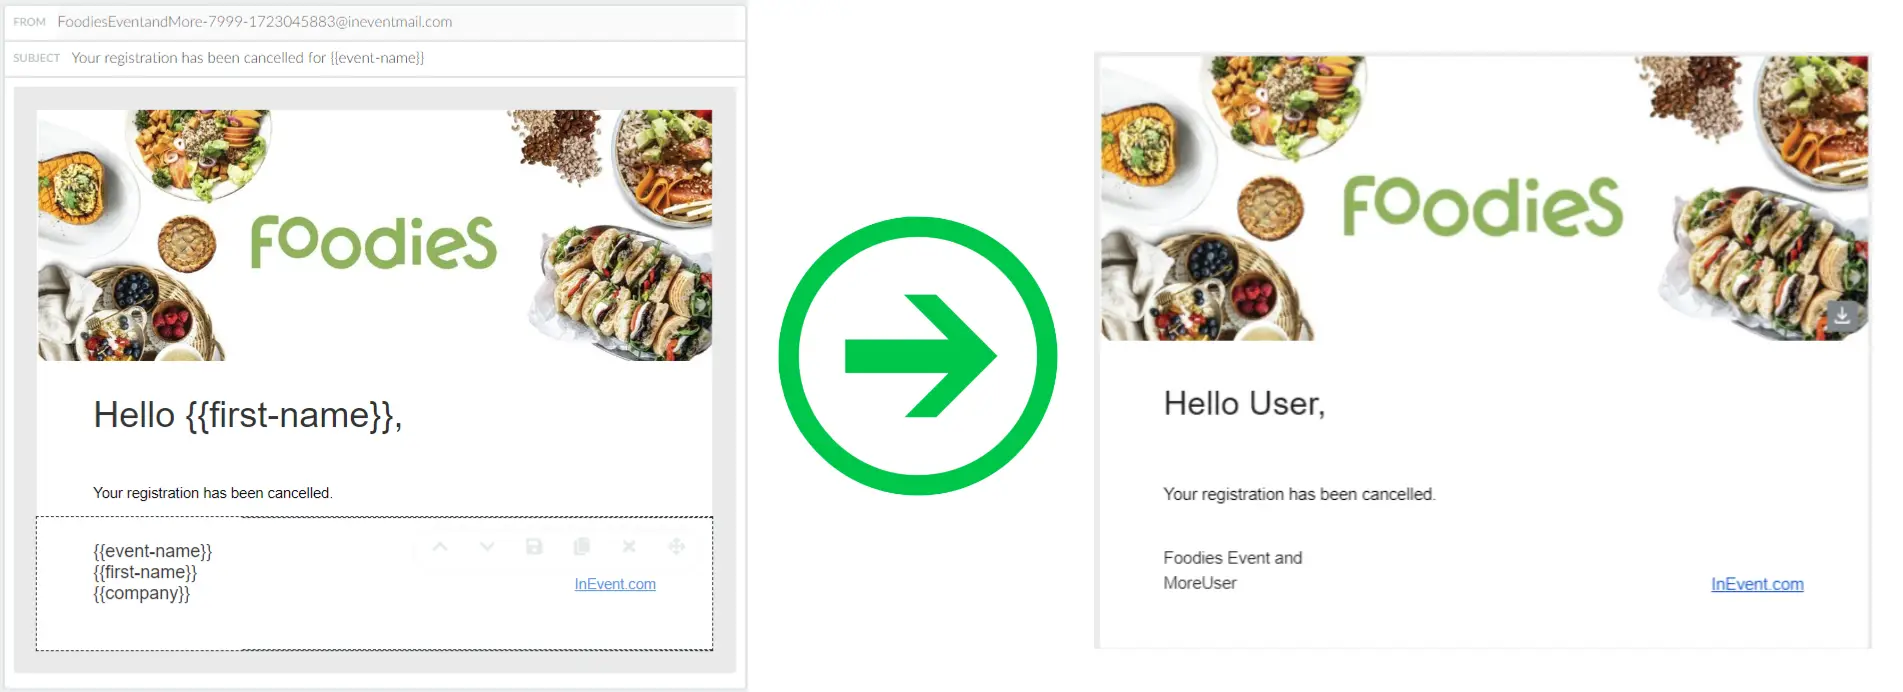
Cancellation email
The platform sends a Cancellation email when an attendee cancels their event registration by completing and submitting the cancellation form.
To use this email, you must enable the Allows Cancellation tool in your event. For more information, refer to the relevant article on event cancellation.
Payment automatic emails
This section describes the automatic emails related to payments and refunds.
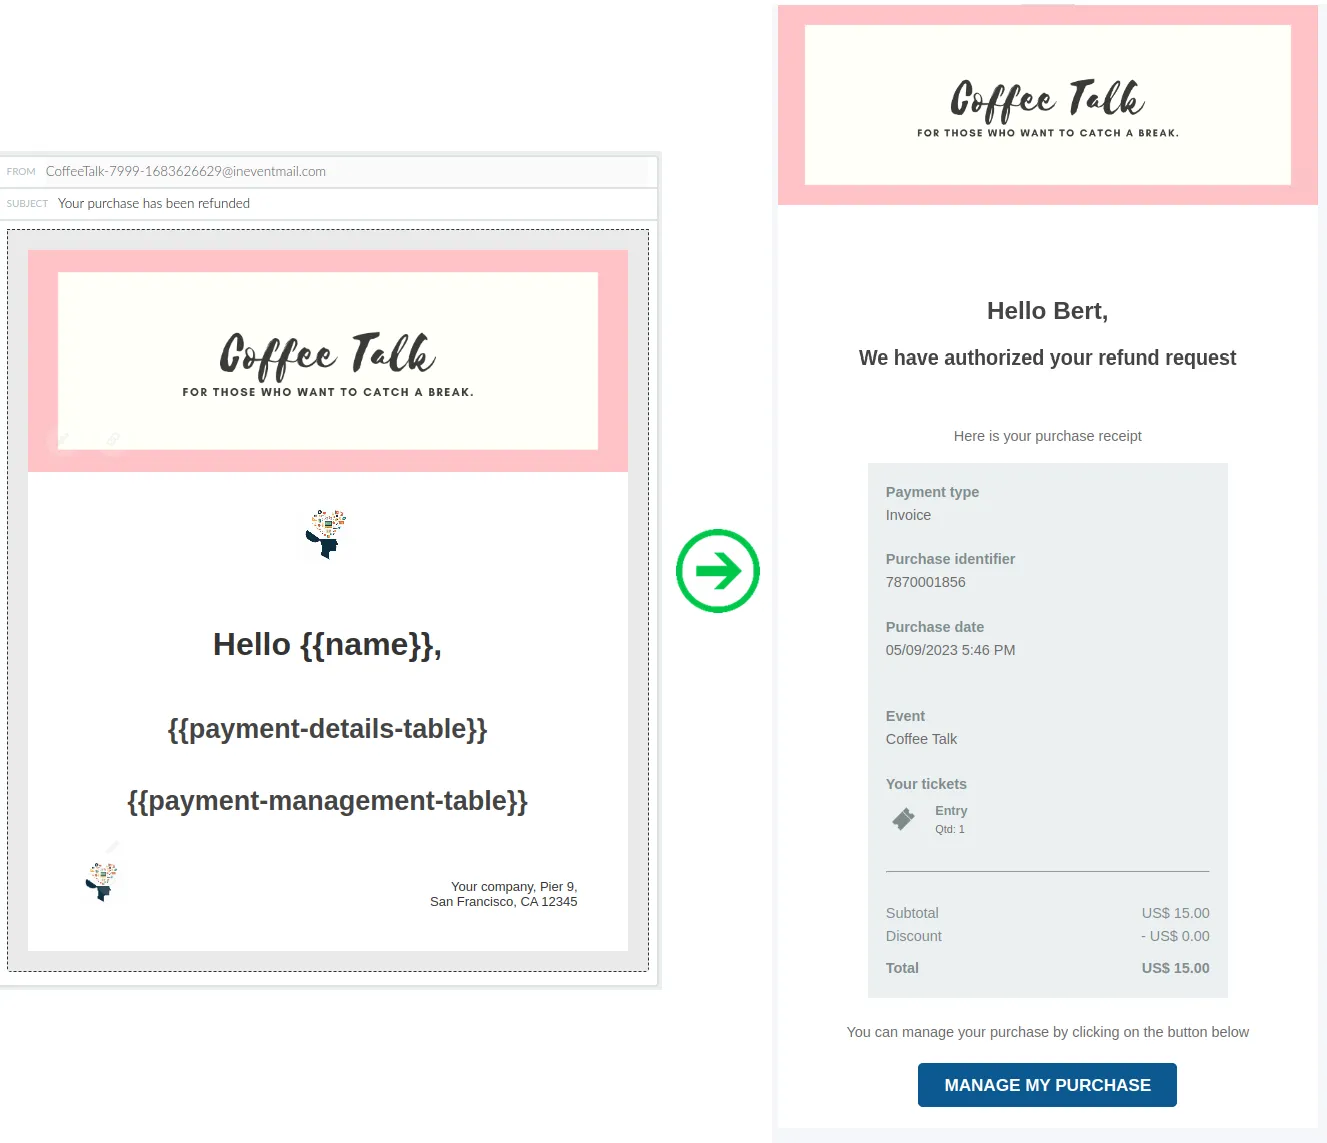
Refund email
The platform sends a Refund email when an event organizer approves an attendee's refund request or issues a refund directly to an attendee.
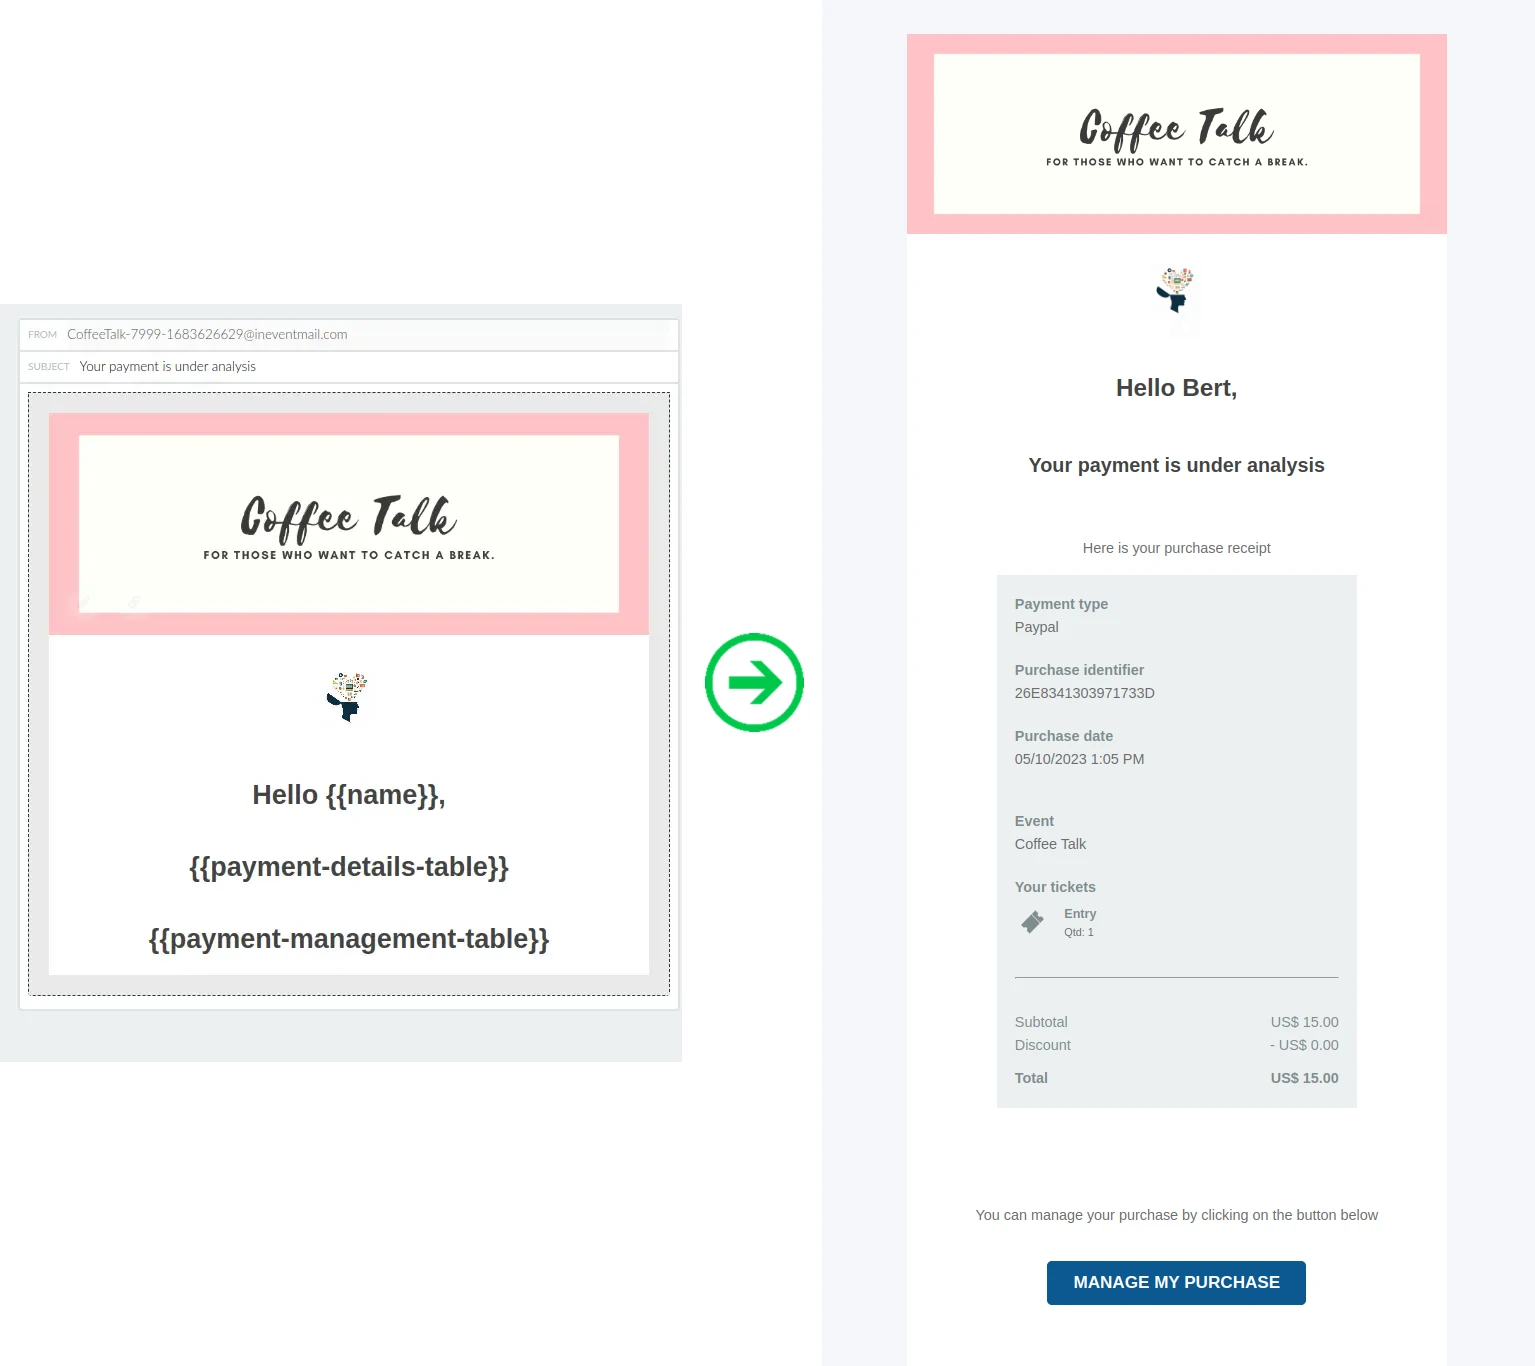
Payment in analysis email
The platform sends a Payment in analysis email when an attendee's payment is under review by the payment platform integrated with the event.
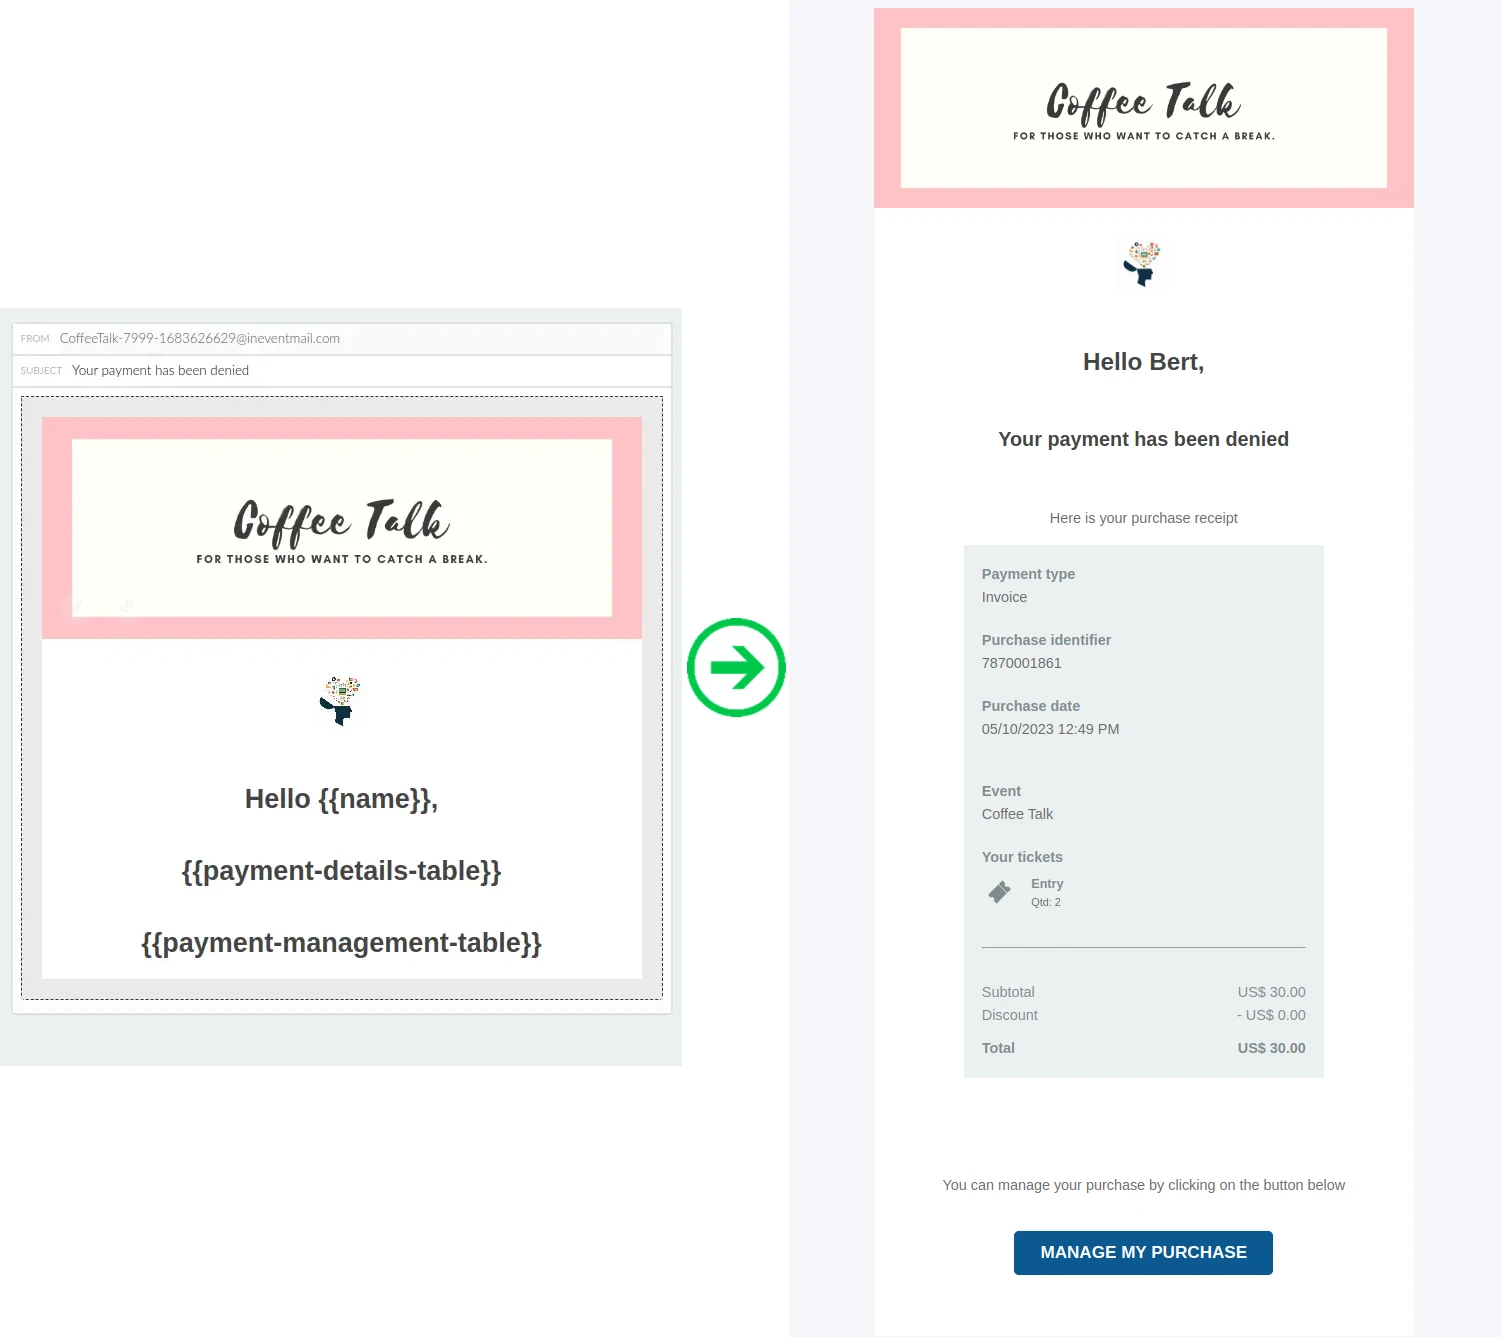
Rejected payment email
The platform sends a Rejected payment email when an event organizer rejects an attendee's payment. This email is also sent when the integrated payment platform cannot process the payment.
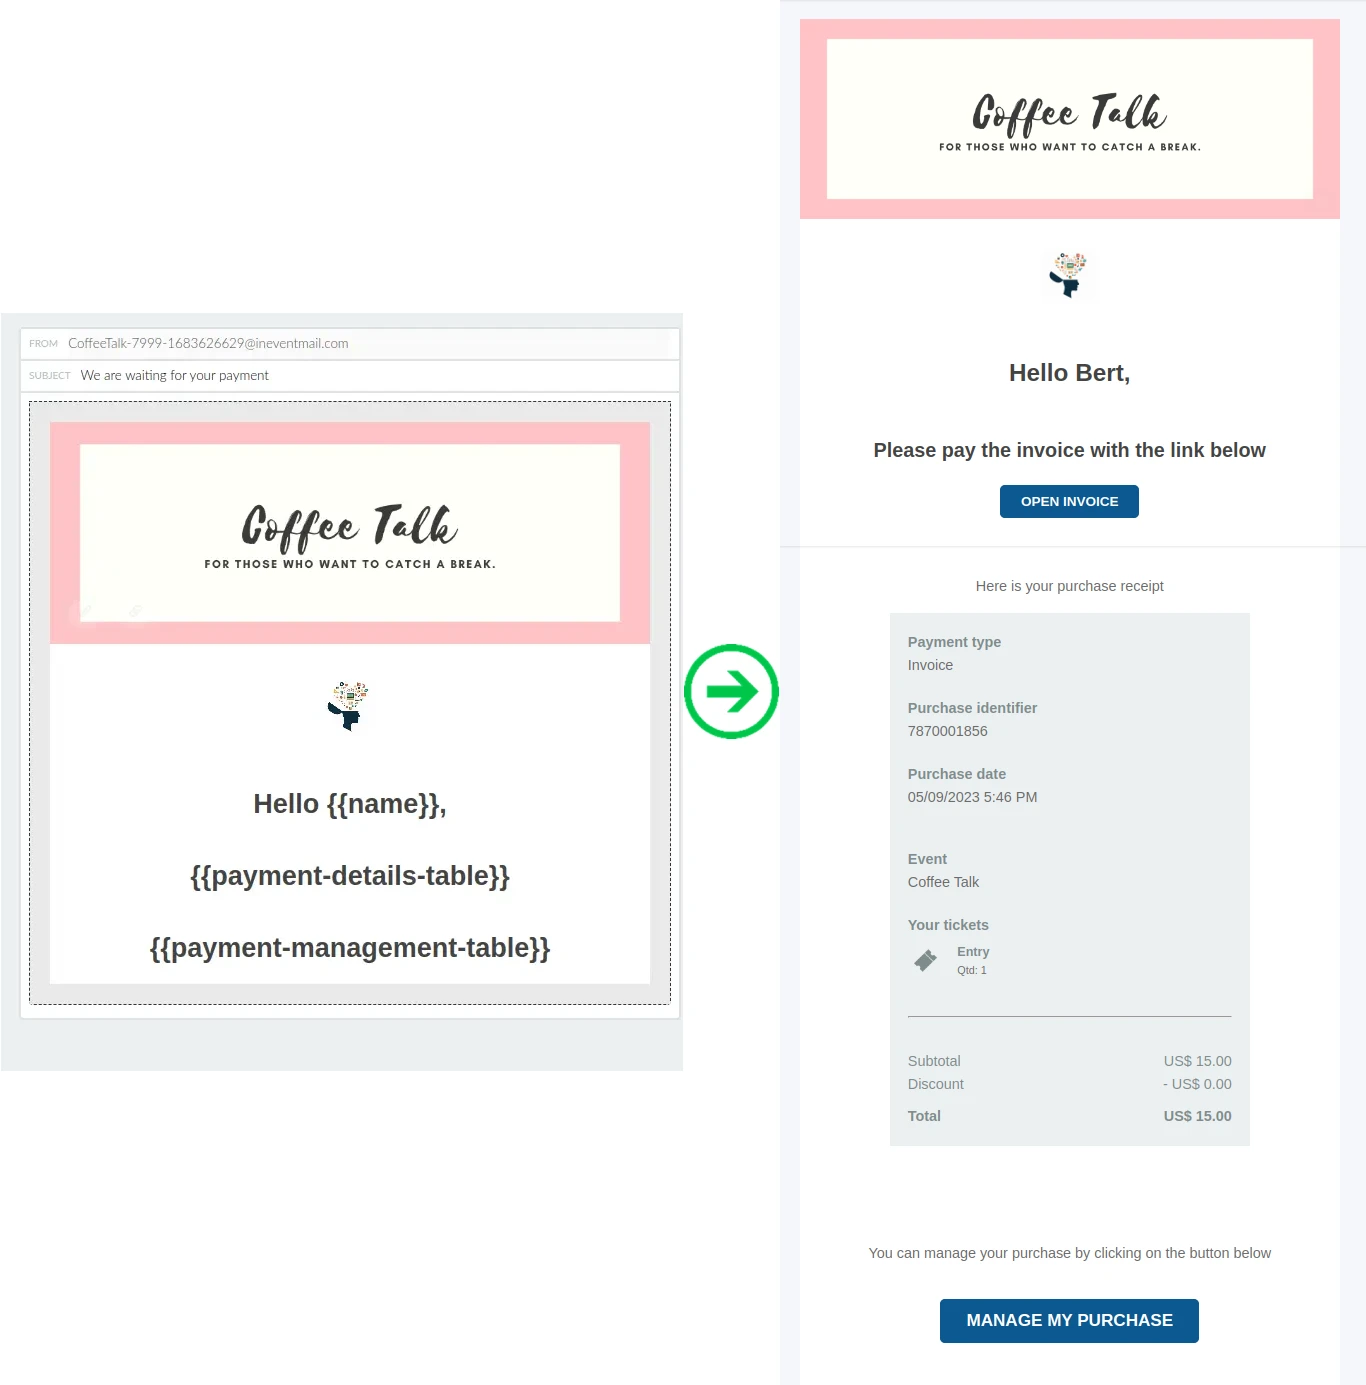
Waiting for payment email
The platform sends a Waiting for payment email when an attendee purchases a ticket using the Stripe automatic invoice option or manual invoice payment option. This email is sent from the platform when the attendee has not yet completed the payment.
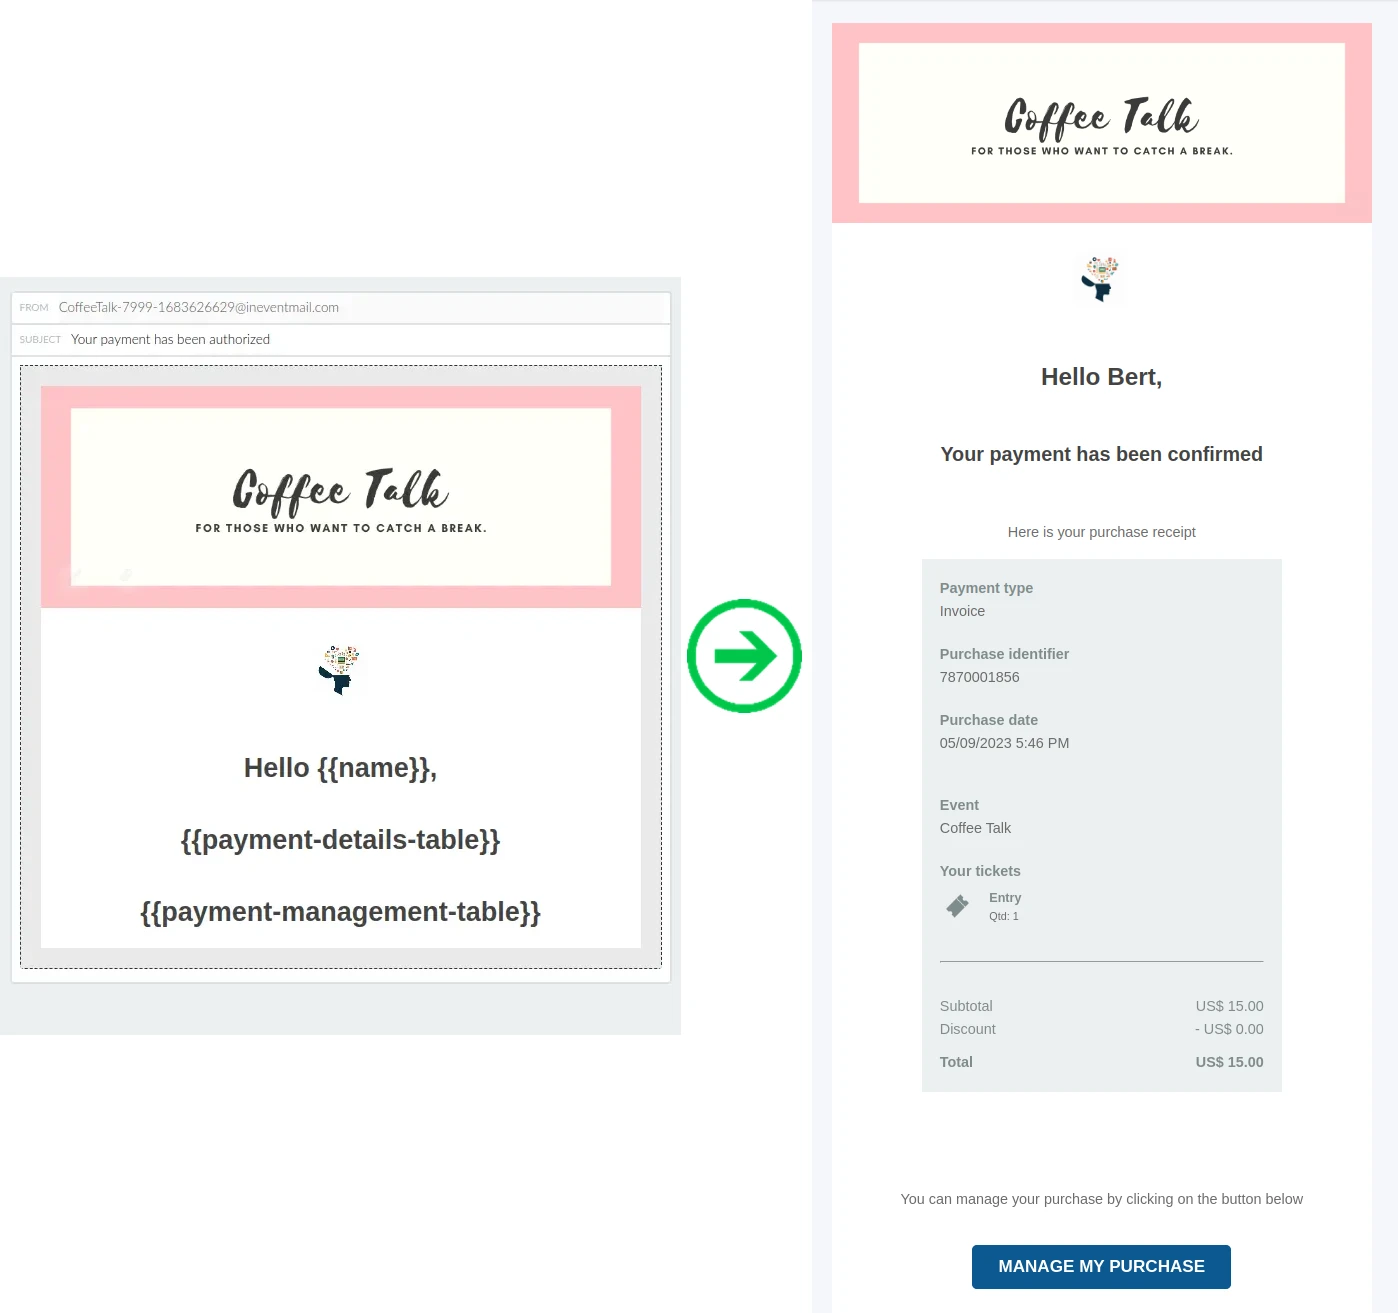
Authorized payment email
The platform sends an Authorized payment email when an attendee's payment is authorized by the event organizer or the integrated payment platform.
Activity automatic emails
To use Activity automatic emails, the Activity approval tool must first be enabled at the company level. It can then be enabled for individual events.
For more information, refer to the Company tools article.
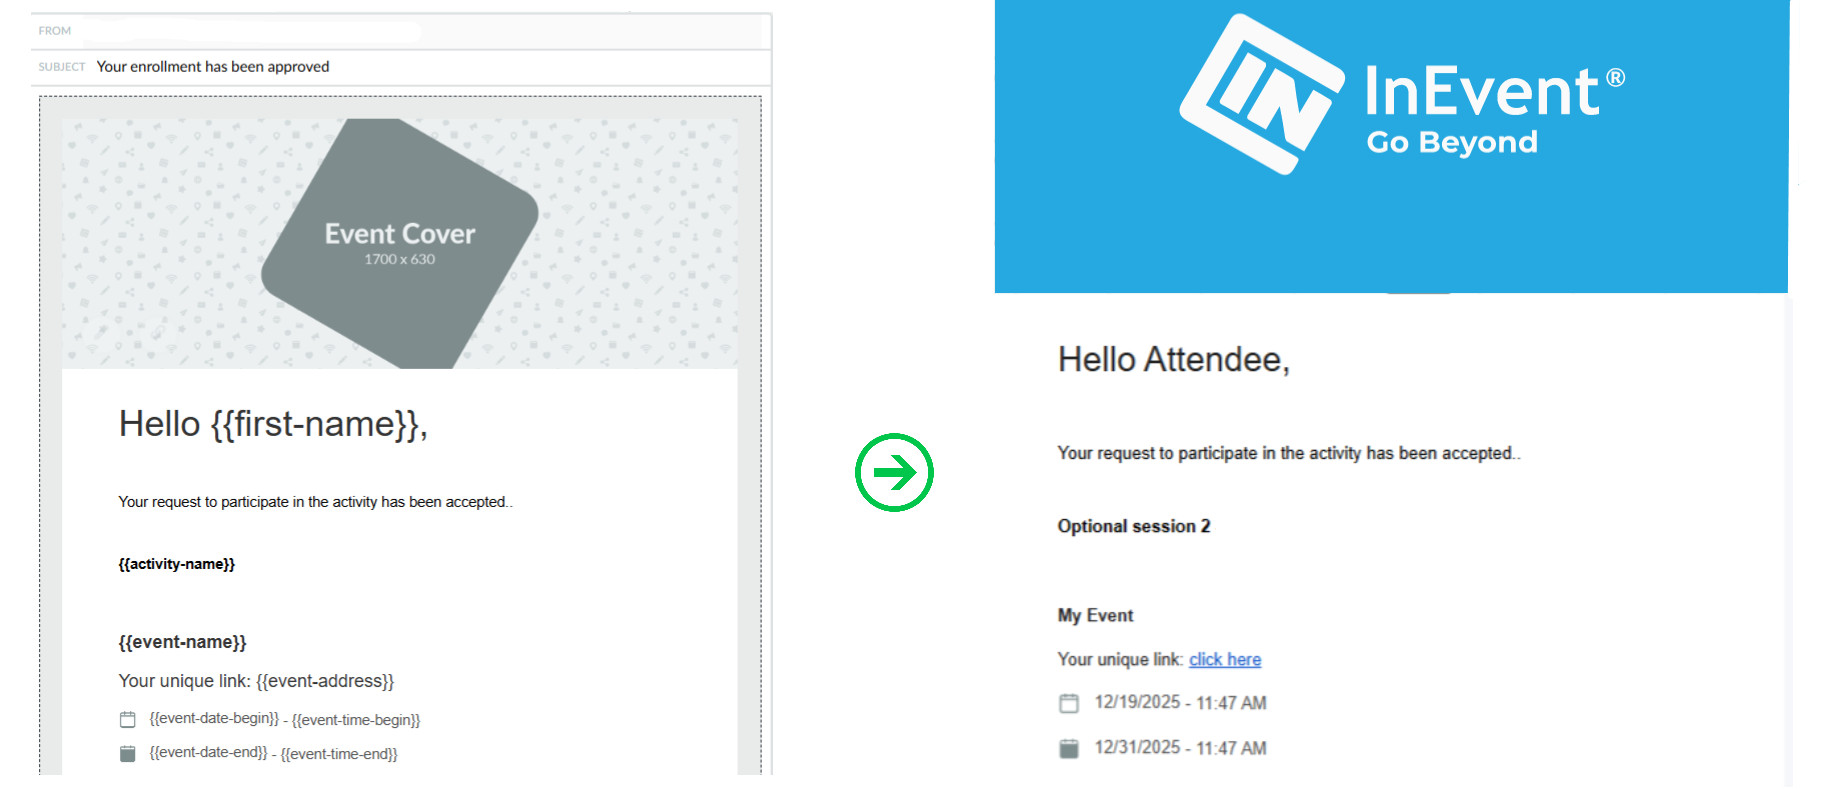
Activity approved email
The platform sends an Activity approved email when an attendee's enrollment in an activity is approved.
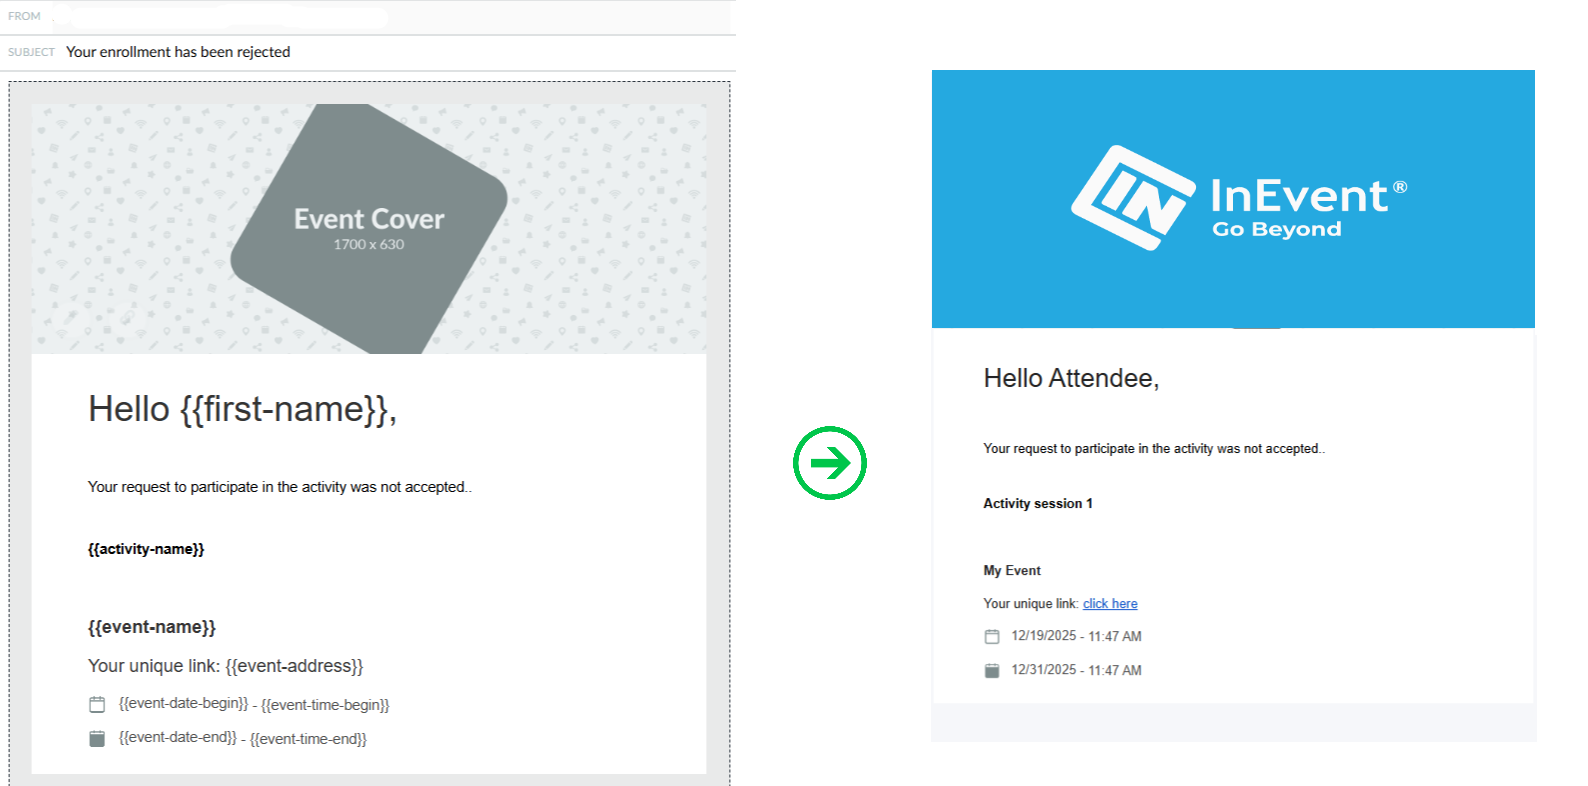
Activity rejected email
The platform sends an Activity rejected when an attendee's enrollment in an activity is rejected by the event organizer.
For more information about approving or rejecting activity enrollments, refer to the Agenda management article.
Meeting automatic emails
This section describes the automatic emails related to meetings scheduled in the Virtual Lobby.
Meeting invitation email - Host
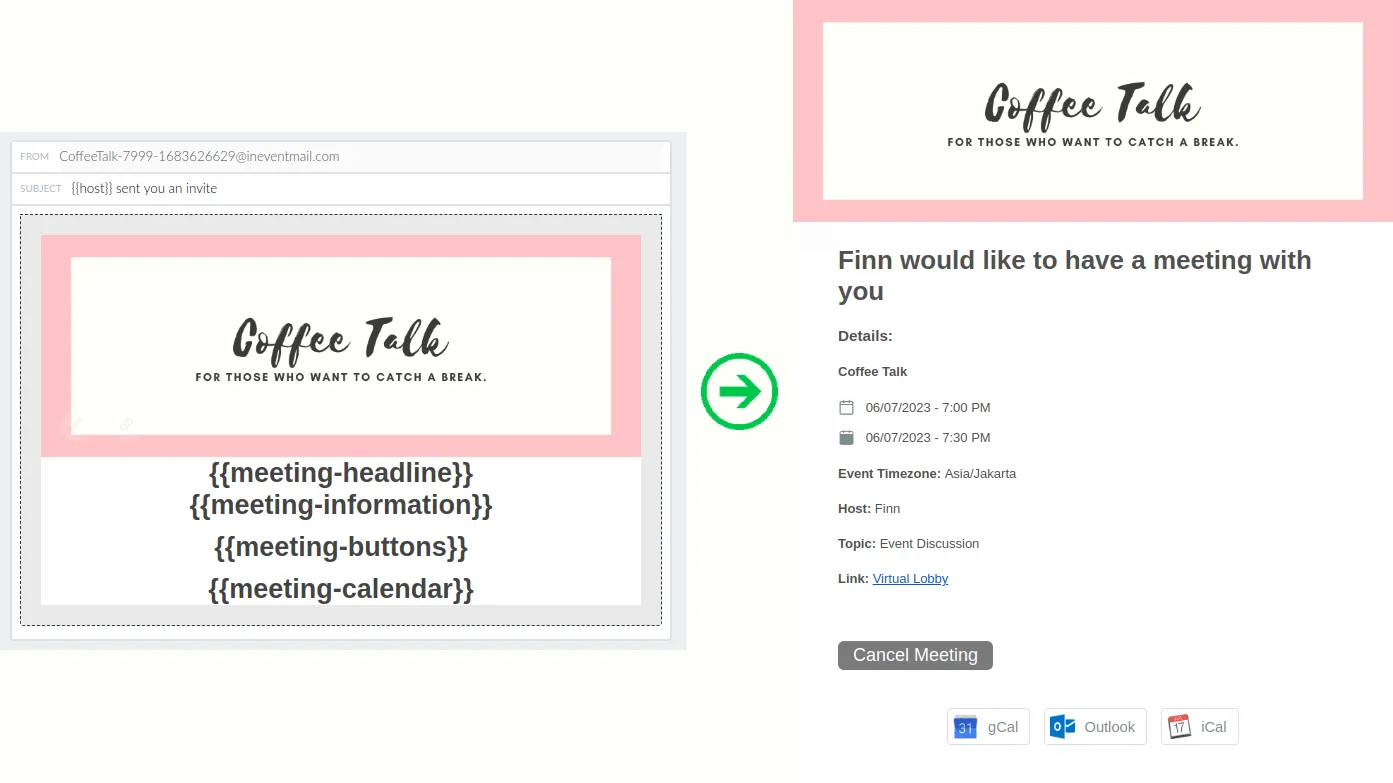
The platform sends the Meeting invitation email - Host email when an attendee schedules a meeting with another attendee in the Virtual Lobby.
Meeting invitation email - Guest
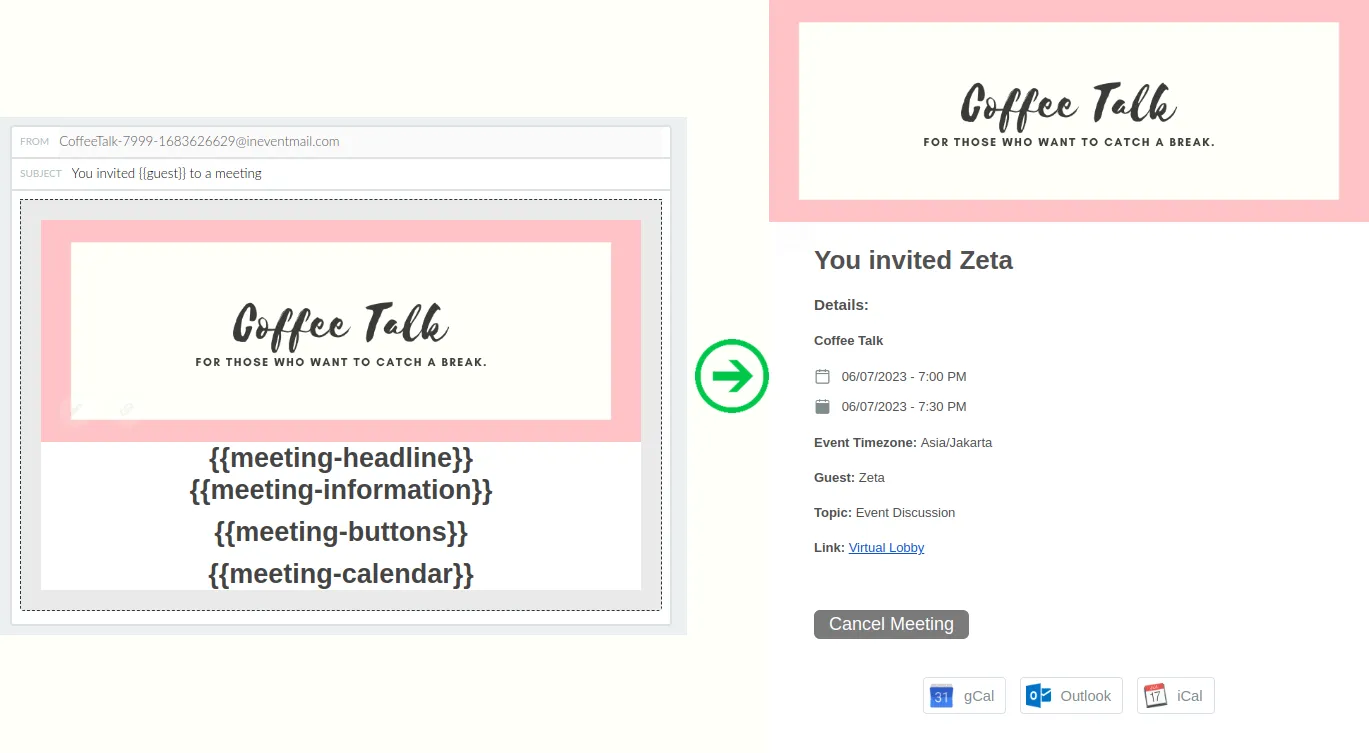
The platform sends the Meeting invitation email - Guest when an attendee receives a meeting invitation from another attendee.
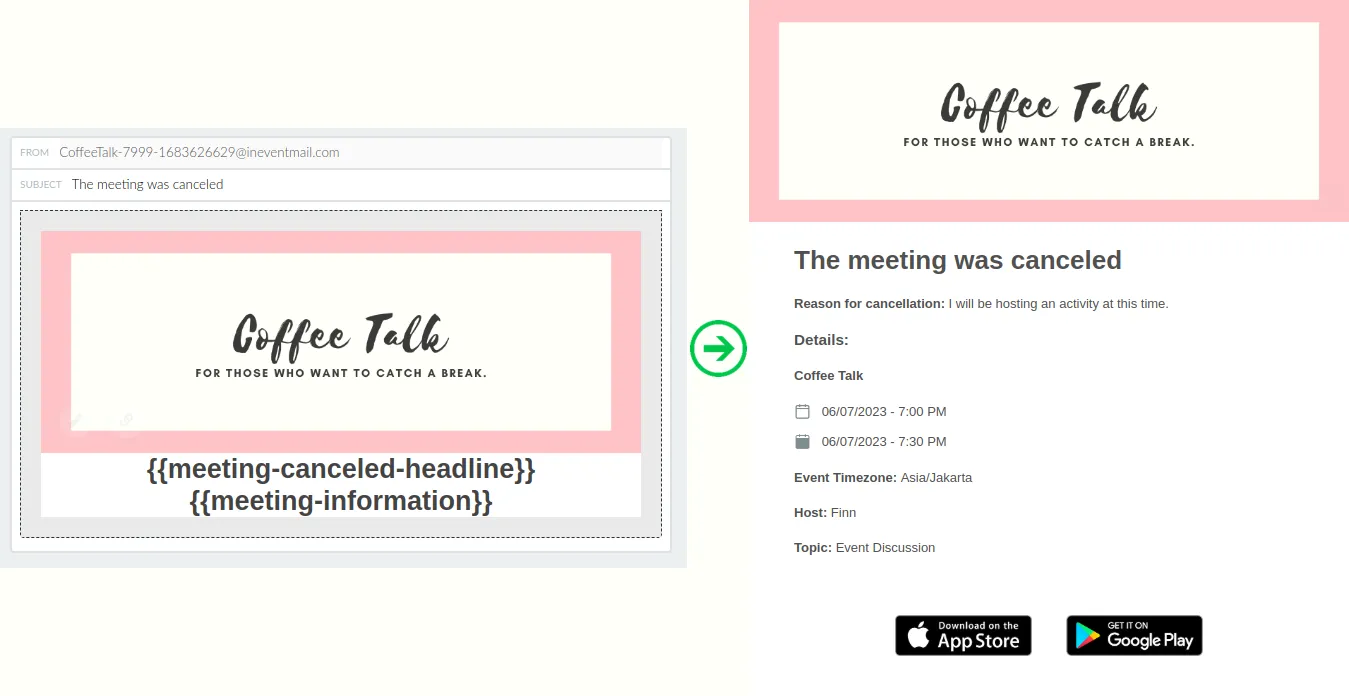
Canceled meeting email
The platform sends a Canceled meeting email to meeting participants when either the host or the guest cancels a meeting.
The email is sent from the platform to both the host and the guest.
Below is a preview of the email, showing how it appears in the editor and how it is received by the host.
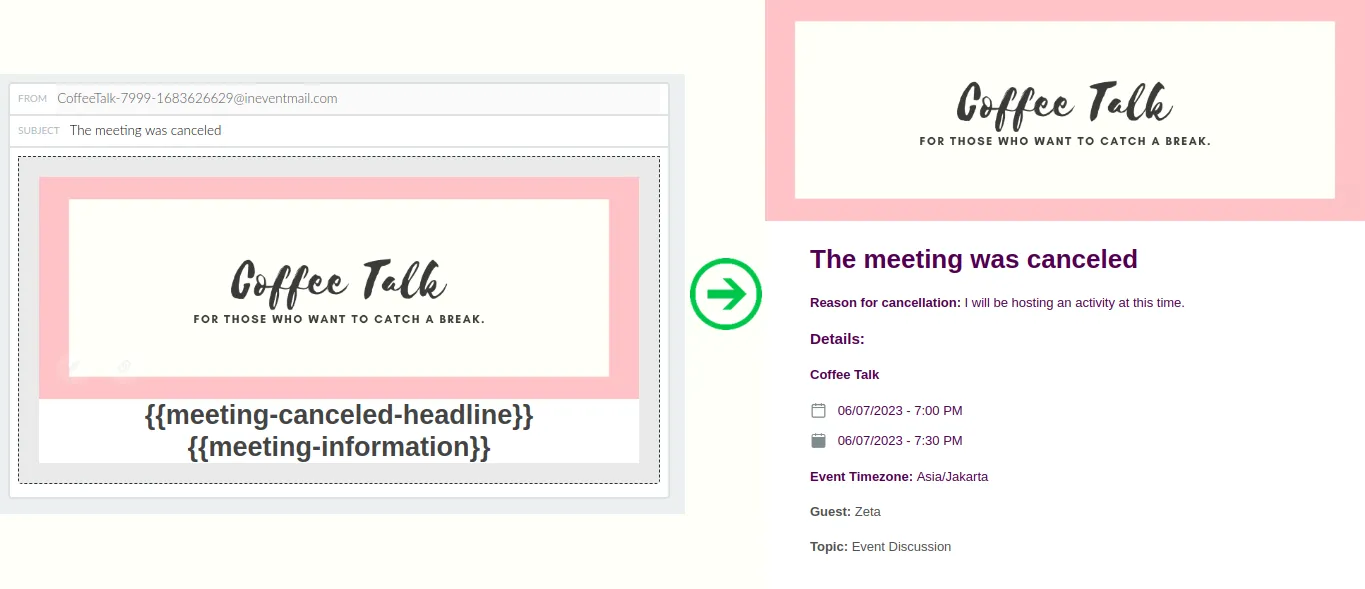
Below is how it is received by the guest.
Other automatic emails
This section describes other automatic emails sent by the platform.
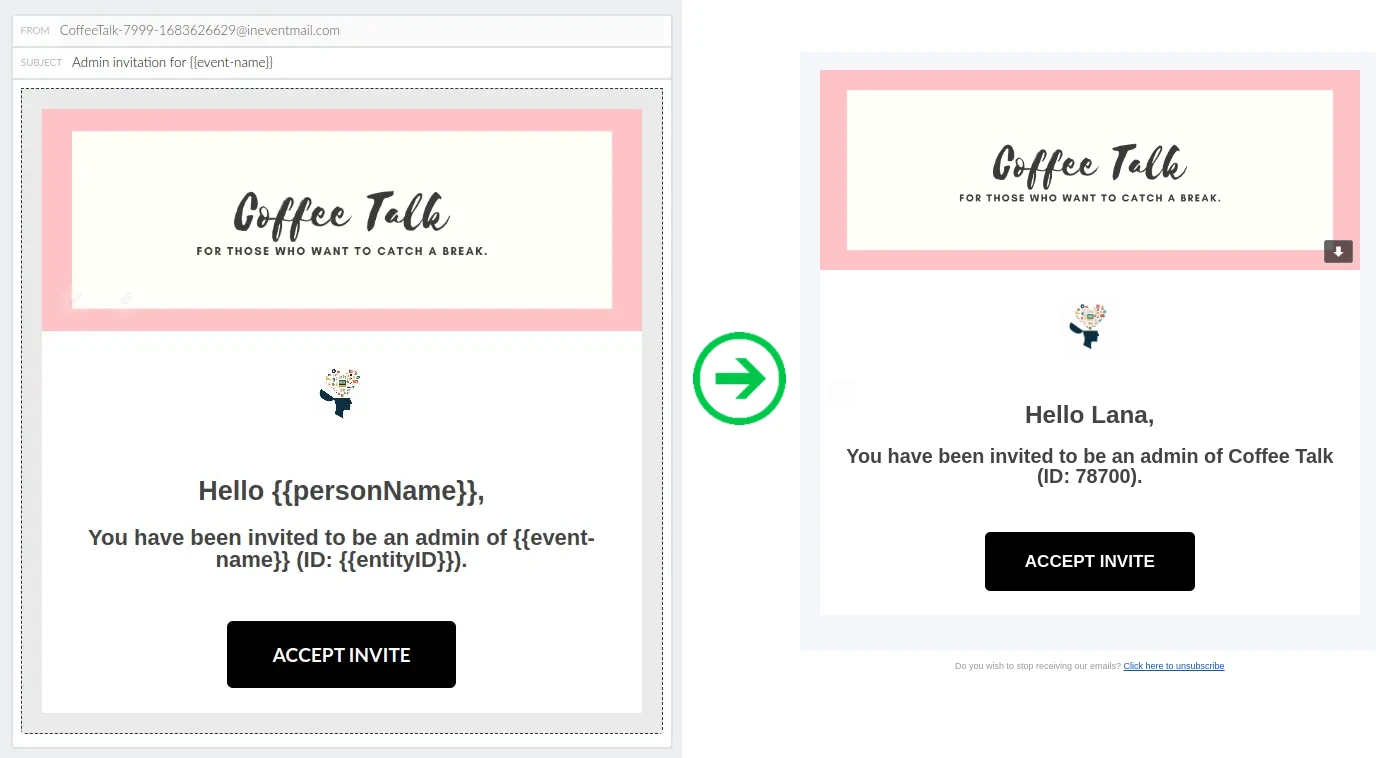
Event admin email
The platform send an Event admin email to an attendee granted admin permissions by an event organizer.
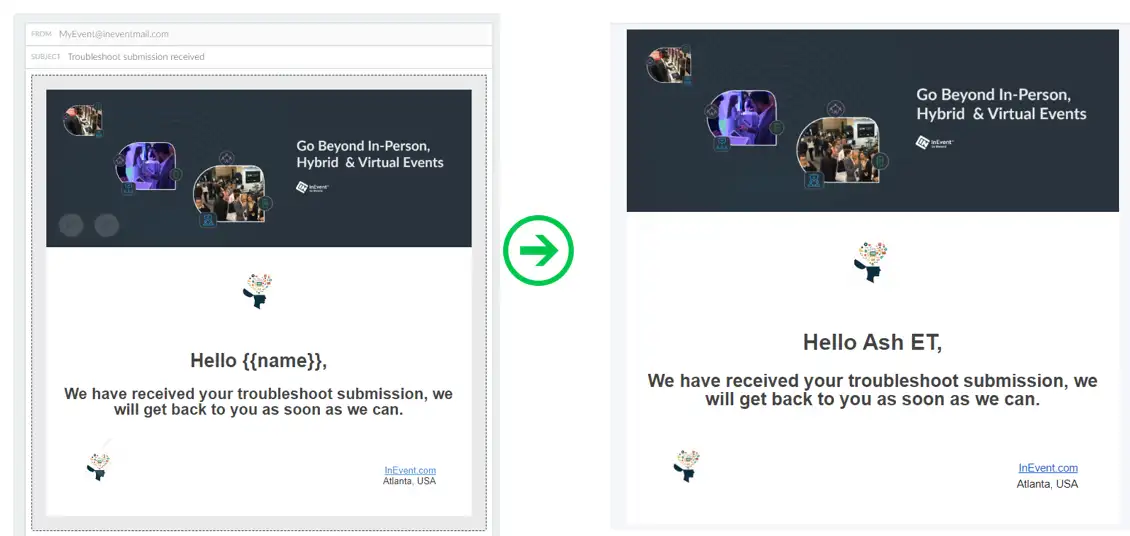
Email for new troubleshoot
The platform sends the Email for new troubleshoot when an attendee submits a troubleshoot report.
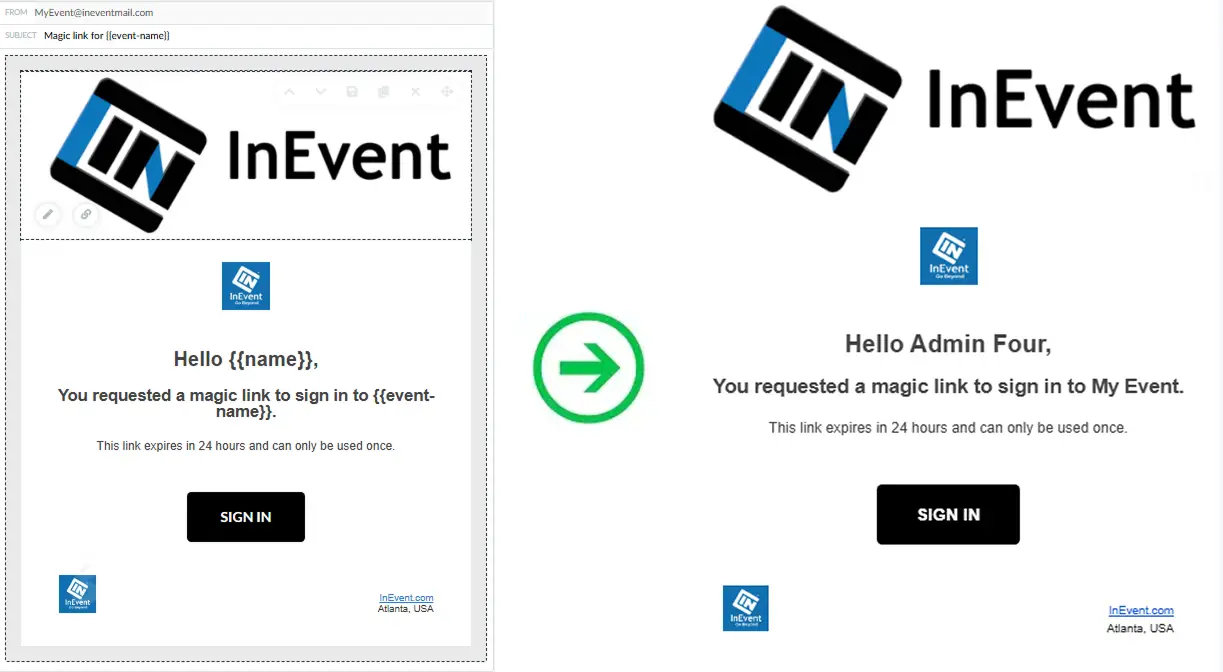
Magic link email
The platform sends the Magic link email when an attendee requests a new magic link to access the event.
Customizing automatic emails
You can customize automatic emails using the Email editor.
To edit an automatic email:
- Go to Marketing > Communication > Automatic emails.
- Locate the email you want to customize.
- Click the corresponding Open email editor button.
- Customize the email's layout, colors, subject line, images, dynamic links, and dynamic content.
For more information, refer to the Email creator article.

Dynamic content for automatic emails
You can use dynamic links and dynamic content to personalize automatic emails with event information and attendee details.
For more information, refer to the Dynamic content article.
Some dynamic content options are available only for specific automatic emails in the sections below.
Registration form answers table for Confirmation emails
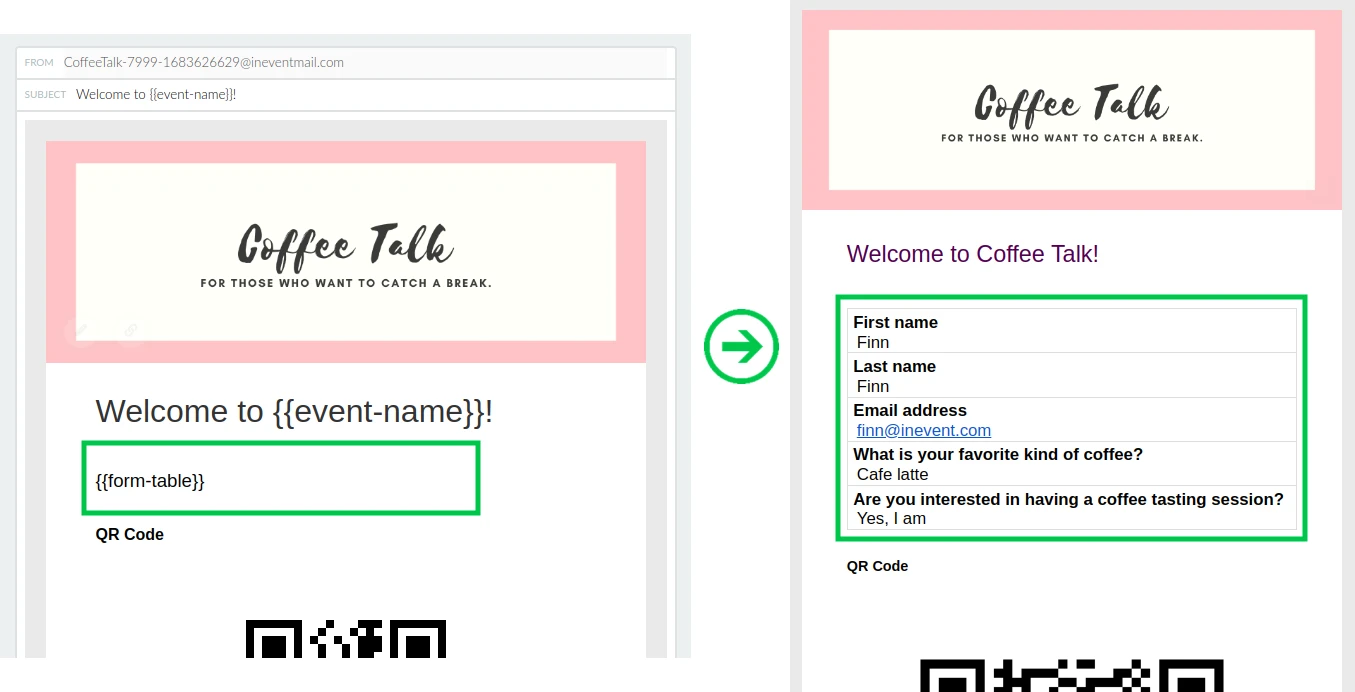
You can add a table displaying an attendee's registration form answers, including their personal information and responses to custom questions.
To add the table:
- Open the Confirmation email in the Email editor.
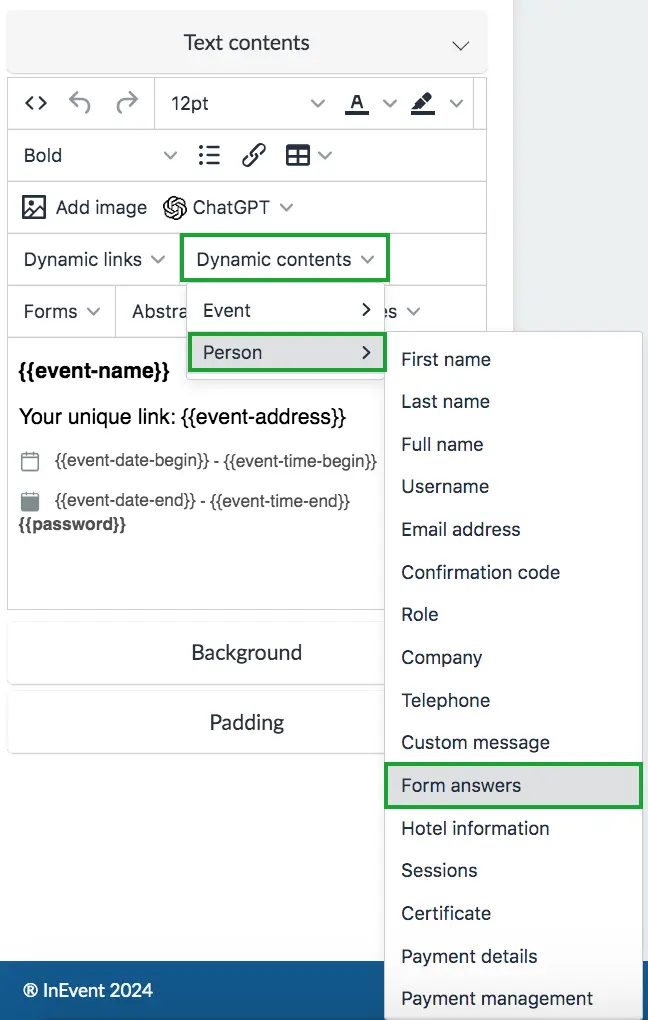
- Edit a text element.
- Select Dynamic content > Person > Form answers.
Alternatively, enter {{form-table}} directly into the text box.
The image below shows how the email appears in the editor and how it looks when sent to the recipient's email address.
Hotel information for confirmation emails
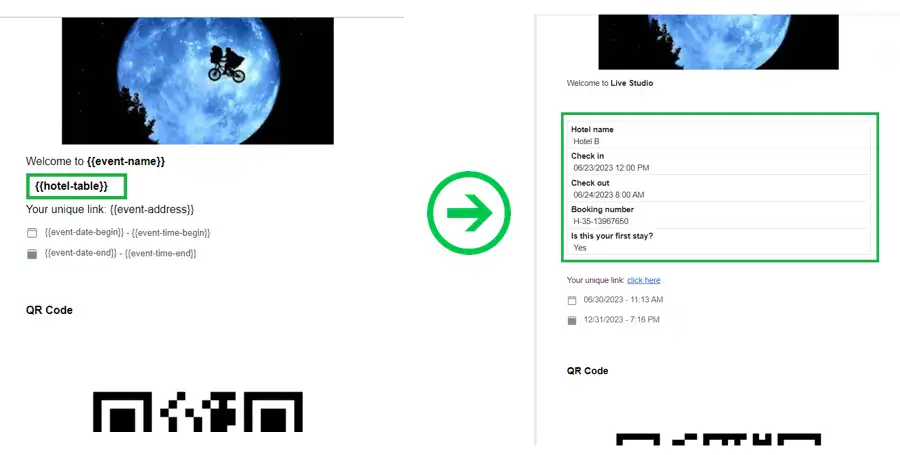
You can add a table displaying an attendee's hotel information, including the hotel name, check-in, and check-out details.
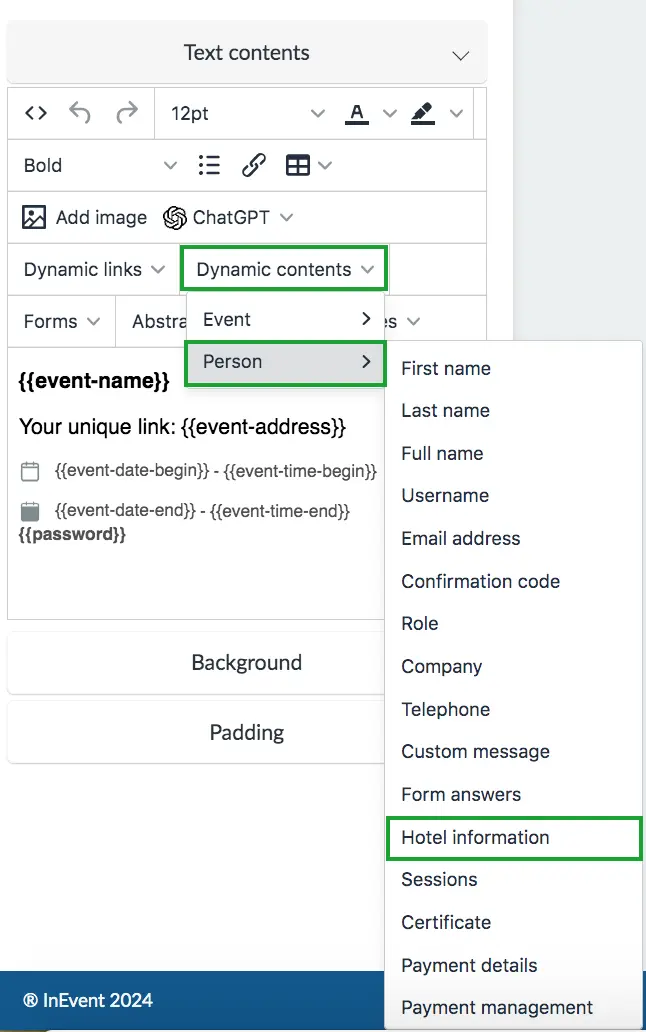
To add the table, edit a text element in the Email editor and select Dynamic content > Person > Hotel information.
Alternatively, enter {hotel-table} directly into the text box.
The image below shows how the email appears in the editor and how it looks when sent to the recipient's email address.
Payment details table for Payment automatic emails
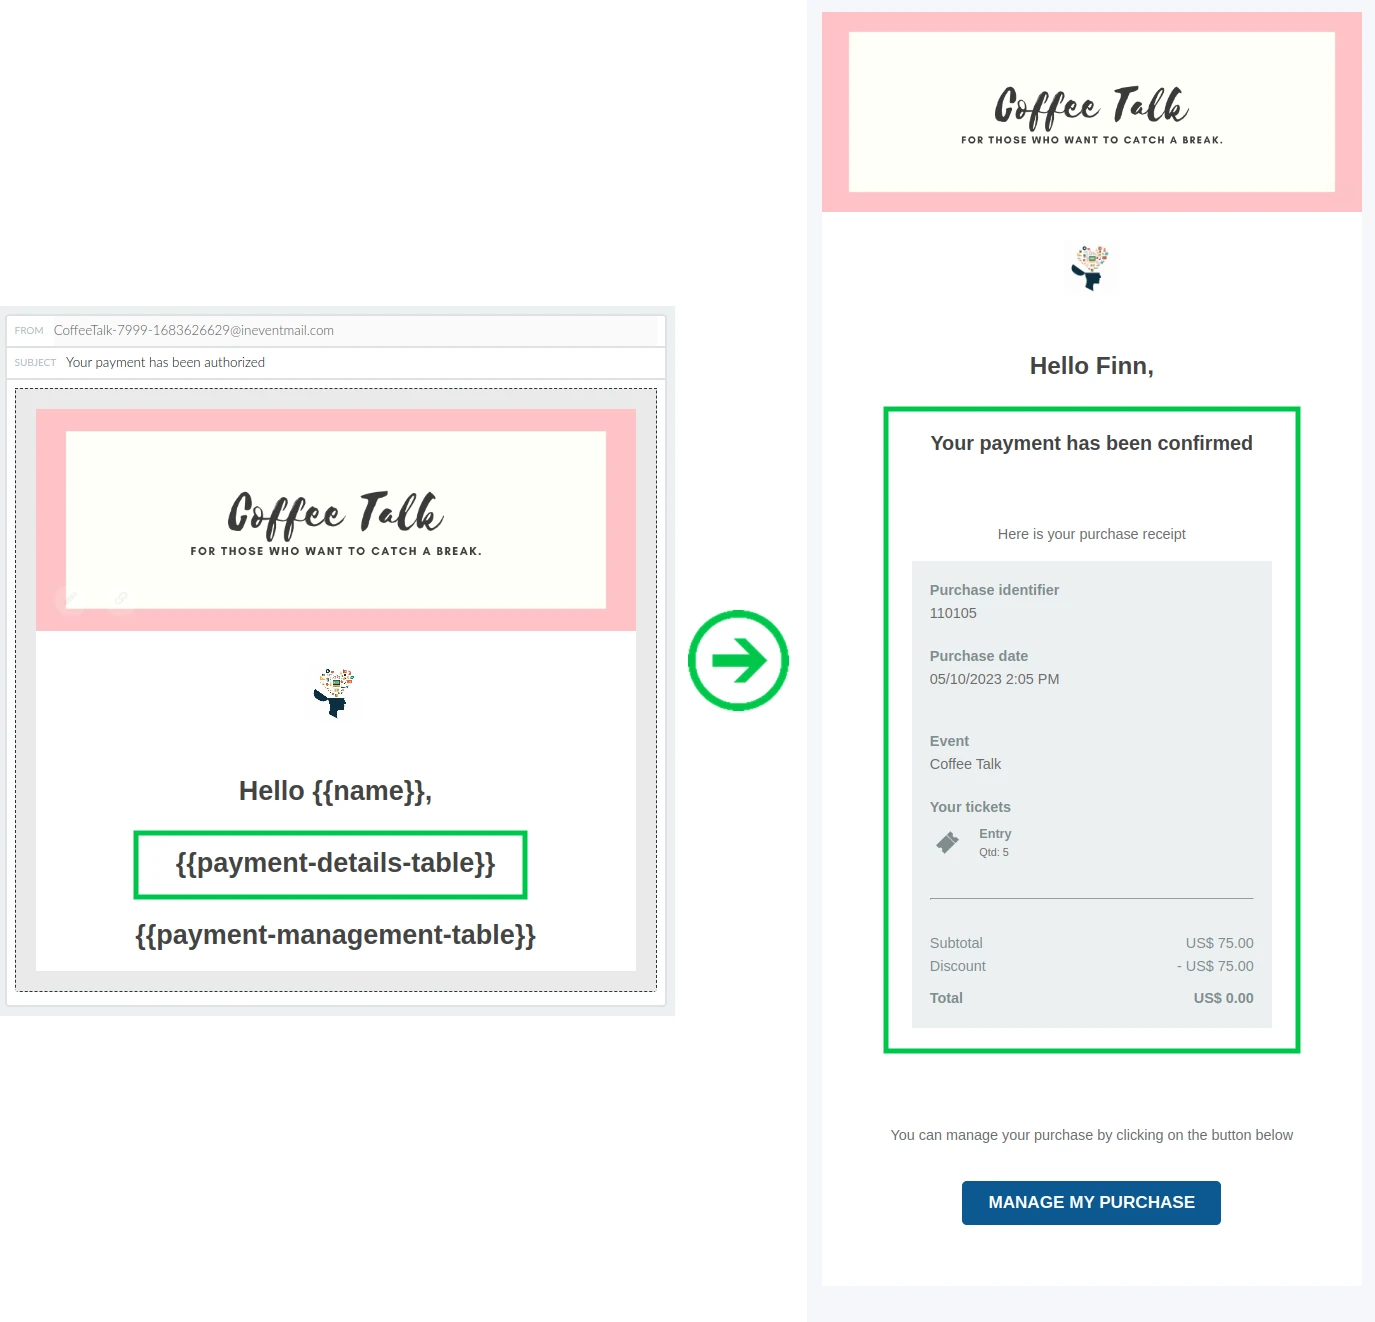
Payment automatic emails related to payment actions include a Payment details table by default. The table displays the attendee's payment information.
The table is available in the following emails:
- Waiting for payment
- Authorized payment
- Payment in analysis
- Rejected payment
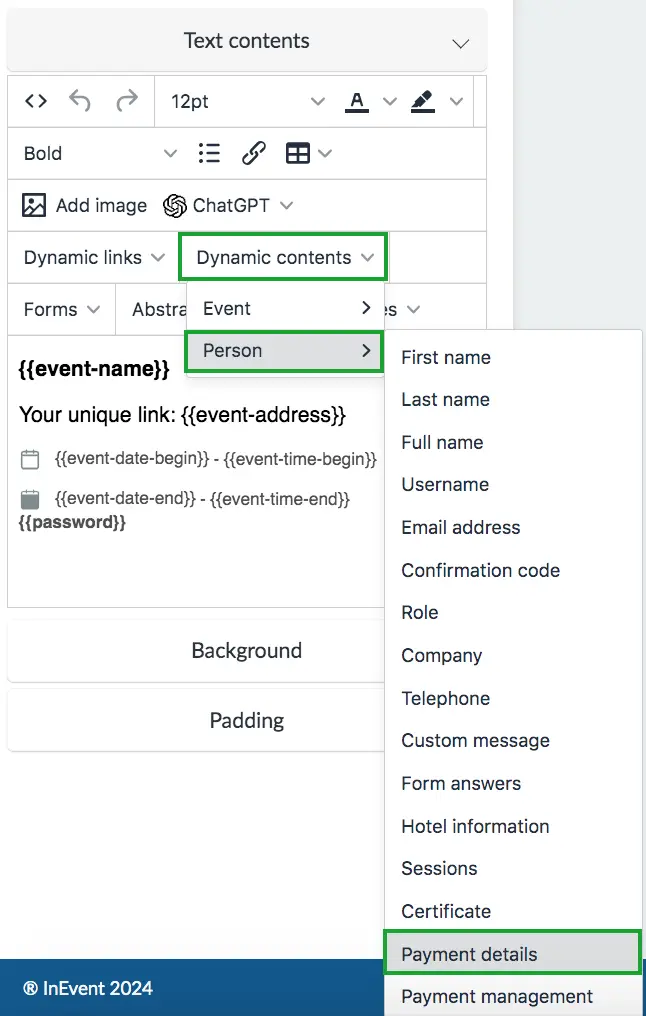
To add the table, edit a text element in the Email editor and select Dynamic content > Person > Payment details.
Alternatively, enter {{payment-details-table}} directly into the text box.
The image below shows how the email appears in the editor and how it looks when sent to the recipient's email address.
Payment management button for Payment automatic emails
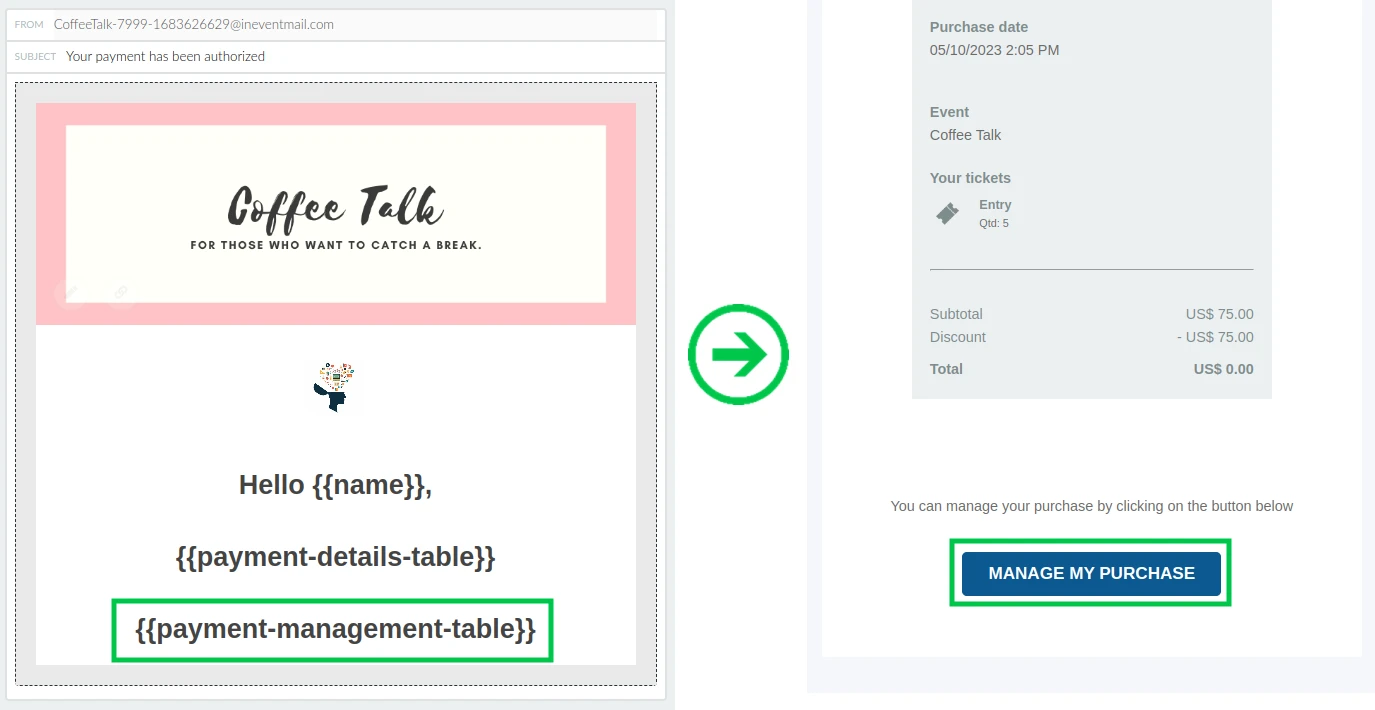
Payment-related automatic emails include a Payment management button by default. This button directs attendees to My tickets in the Virtual Lobby.
The button is available in the following emails:
- Waiting for payment
- Authorized payment
- Payment in analysis
- Rejected payment
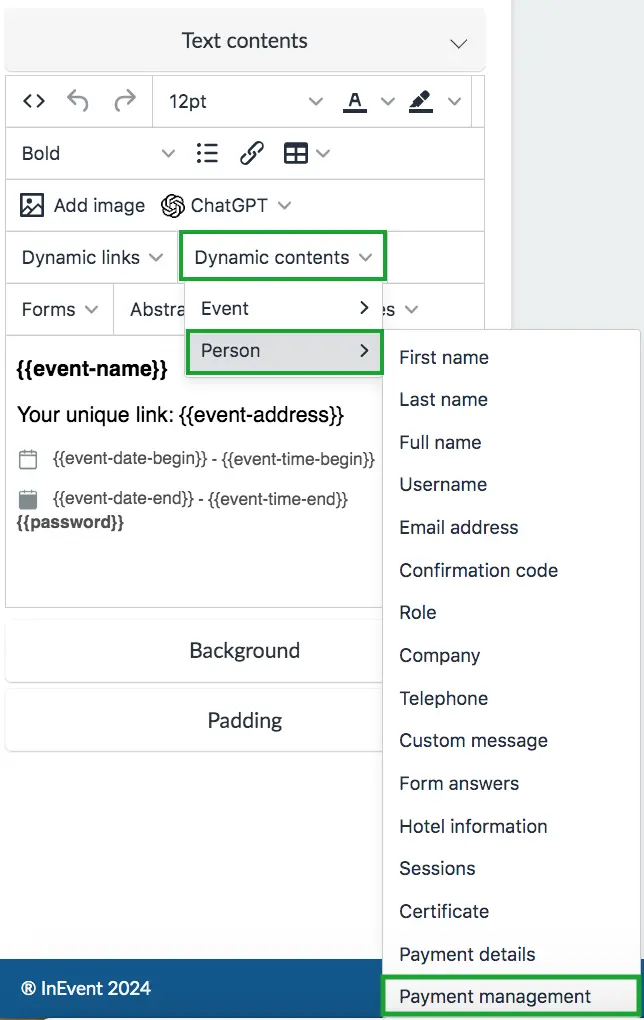
To add the button, edit a text element in the Email editor and select Dynamic content > Person > Payment details.
Alternatively, enter {{payment-management-table}} directly into the text box.
The image below shows how the email appears in the editor and how it looks when sent to the recipient's email address.
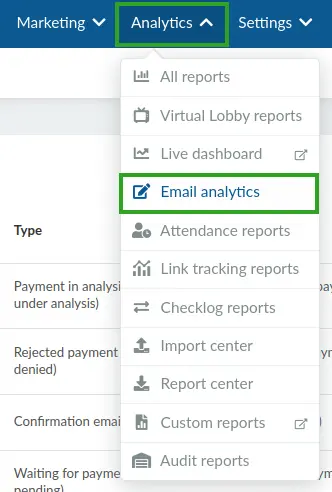
Email analytics
You can review automatic email performance under Analytics > Email analytics.
The analytics page provides metrics such as:
- Number of emails sent.
- Delivery success rate.
- Open rate.
- Click-through rate.
For more information, refer to the Email Analytics article.
Email credit consumption of automatic emails
Emails sent by the platform are categorized according to their recipients: event administrators or event users. The recipient category determines whether email credits are consumed.
Emails sent to event administrators
Emails sent to event administrators are generally notifications related to actions performed on the platform. These emails do not consume email credits.
Examples include:
- Download reports.
- New applicant notifications.
- New registration notifications.
- Event almost full and event full notifications.
- Refund request notifications.
- Event administrator invitation emails.
- Booking form confirmation emails sent to administrators.
Refer to the Automatic notification emails for admins for more information.
Emails sent to the users
Emails sent to event users consume email credits.
Examples include:
- Admission, Rejection, Ticket invite, and Confirmation emails.
- Payment-related emails, such as Waiting for payment, Authorized payment, and Rejected payment.
- Meeting invitation emails: Each meeting booked consumes two email credits because both the host and the guest receive an email.
- Custom emails.
