Sending invites to the invitation list
Creating an invitation list to your event allows you to invite your target public with no costs, only after confirming their presence, they will be counted as registration credit.
This article intends to teach you how to send out invites to your invitation list either in a bulk or individually.
How do I send out invites to the invitation list?
- First of all, you will need to create an invitation list. If you haven't created the invitation list yet, click here to learn how to do it.
- Then, you will need to create a registration form so you can collect data from the invitees and they can confirm their presence at the event. In the registration form, you will have default questions but you can add new ones as well as change the default labels. To learn how to create a registration form, click here.
- Finally, you can proceed to create a custom invitation email to send the invitation with the registration form attached in a bulk or you can send invites individually.
Sending invites in a bulk
First, you will need to create a custom email using the e-mail creator tool. To do so, press Marketing > Communication > Email Creator. Then, in the top left corner press the + New email button.
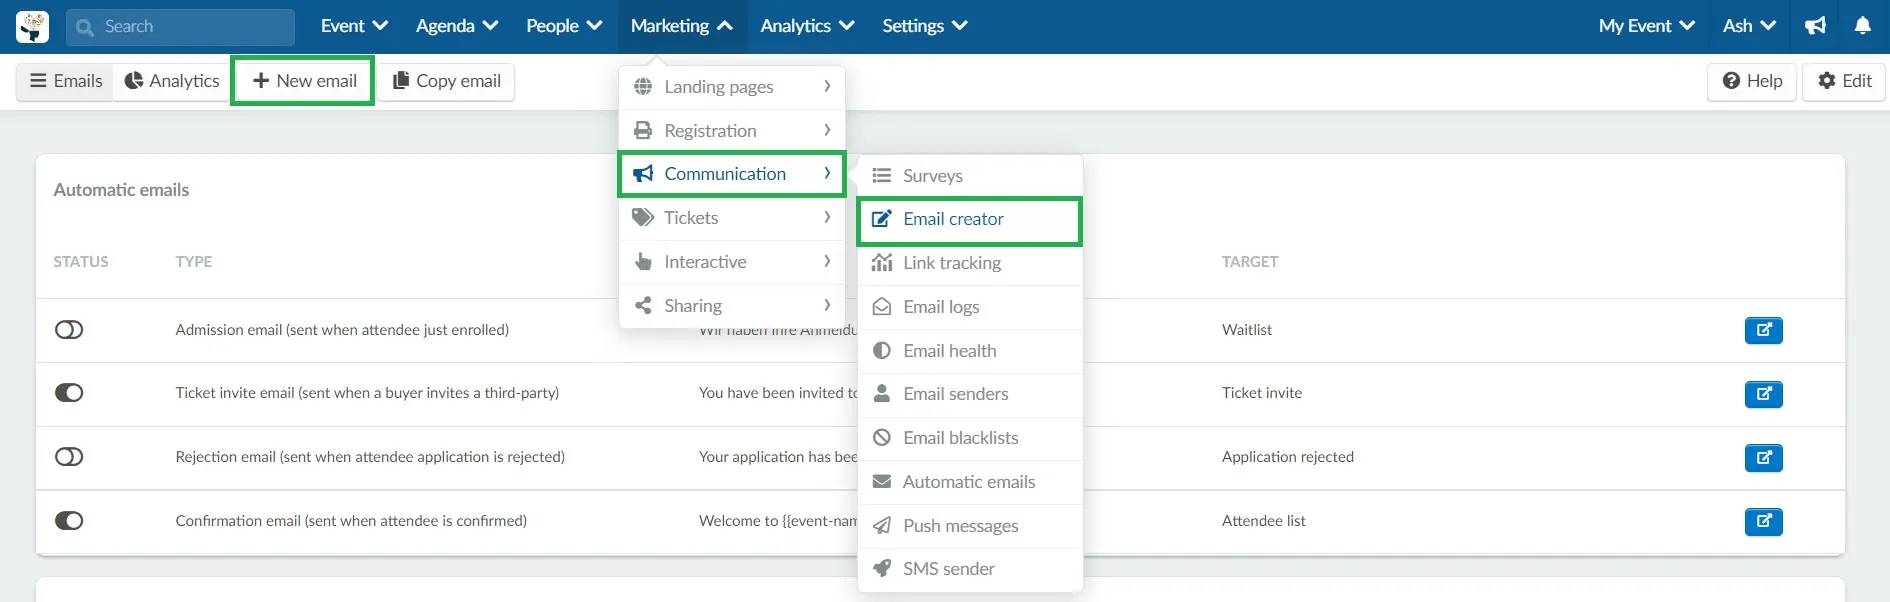
A window will pop up and you should enter the email subject, choose a Template and press the blue Create button. After completing these steps, you will be directed to the design and customization page of the email. Here you will have different options divided into 6 categories (Typography, Media, Layout, Button, Social, and Footer) to customize your email.

Adding the dynamic link to the email
To let your invitees register for your event, you can add the dynamic link of the registration form to the email.
To do so, you'll need to follow the steps below:
- Select the text displayed in the body of your email and, in the left-hand side menu an edit box will open up.
- Edit your text in the typograph box. You can, for example, write 'Register here'.
- Then, select the text and press Dynamic links > Registration form to create a hyperlink. A dynamic link to the registration form will be attached to the email and once invitees click it, they will be directed to the Registration form.
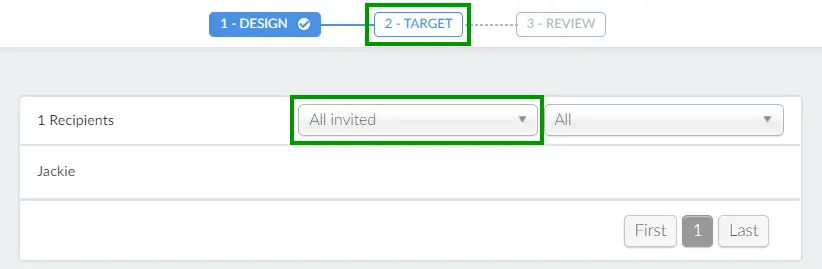
- Then, at the top of the page, click on Target and in the Recipients drop-down menu select All invited
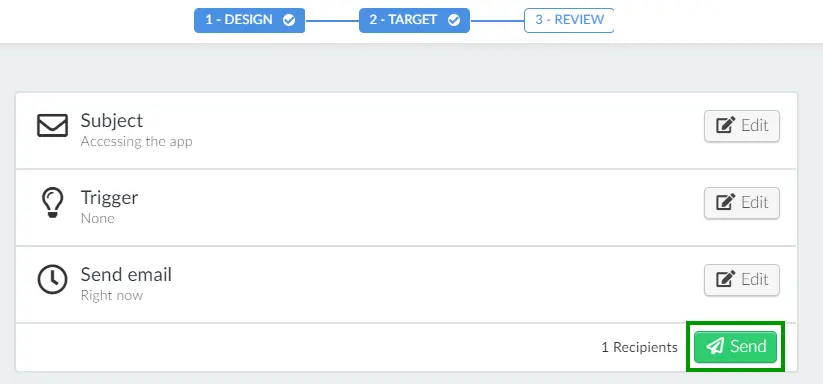
- Select Review and then click Send to send the email immediately.
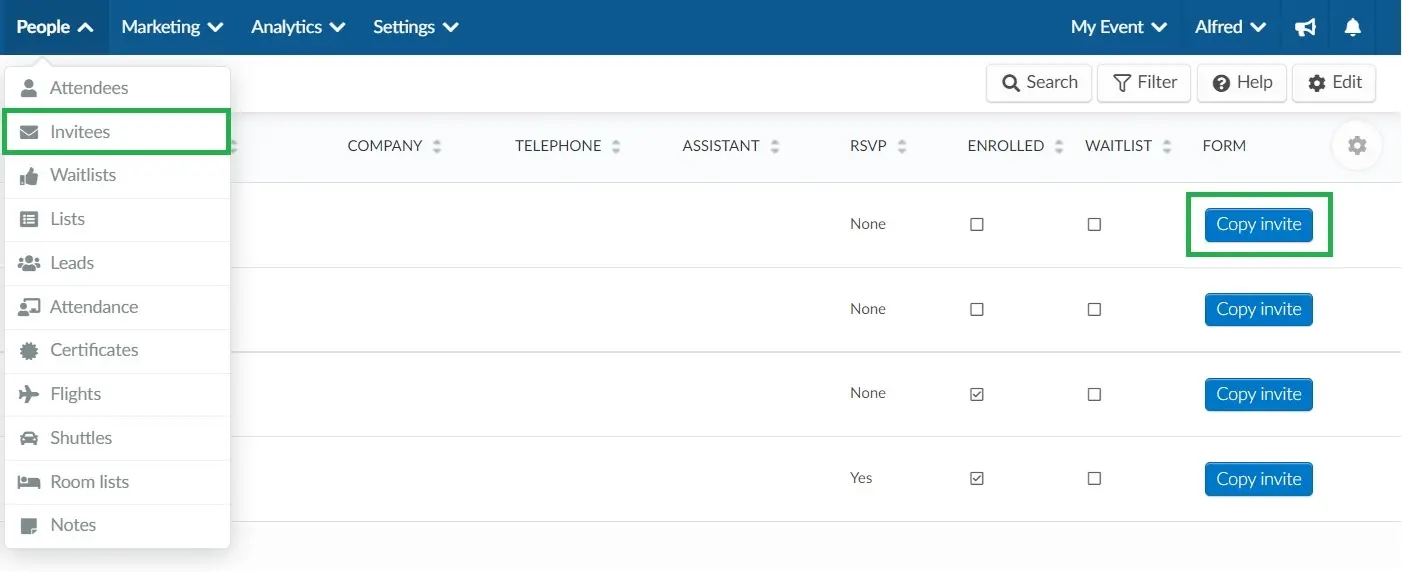
Sending invites individually
You can copy the custom invitation to a particular guest, who will do the custom redirect using the copy invitation button. Press People > Invitees, scroll to the right and press the blue Copy invite button
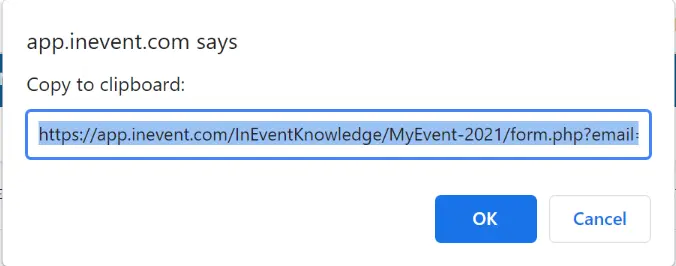
Here you have the link to copy
Troubleshooting possible errors
The invitees tried to answer the registration form but got some error messages. What can be causing this?
- If the error message says 'It seems like your access code has already been used or was not found' appeared. There are three possible causes:
- The invitee may have already answered the form. In this case, check if his name is on the Attendee's List or on the Waitlist.
- The invitee has typed a different email or user from the registered on the invitees' list. In this case, double-check if the email or username that the invitee is typing in the registration form matches the one in the invitation list.
- If the tool One time login is enabled.
- If the error message says: 'Person must have a valid email to enroll at this event'. The most probable situation was an invitee being added without the email address and later on the username tool was disabled at the company level.
- The username needs to be enabled again on the company tools.
- The admin needs to delete the invitee and add it back using an email address.