Setting up your Webinar
 Updated 1 year ago
by
Amalia
Updated 1 year ago
by
Amalia
Webinars are a great way to share information on a product or service. Companies and organizations usually host webinars to educate their audience or provide insight into a subject that might be relevant to their intended audience.
This article intends to teach you how to set up your webinar on the platform.
Enabling the Webinars feature
Before setting up a webinar, ensure that the Webinars feature is enabled at the Company level. To do so, follow the steps provided below.
- Navigate to Account > Tools from the Company level.
- Click on Start.
- Click on Edit.
- Enable Webinars using the corresponding toggle.
- Click on End to save your changes.

Creating a Webinar
After enabling the Webinars tool, event organizers can create a webinar by following the steps provided below.
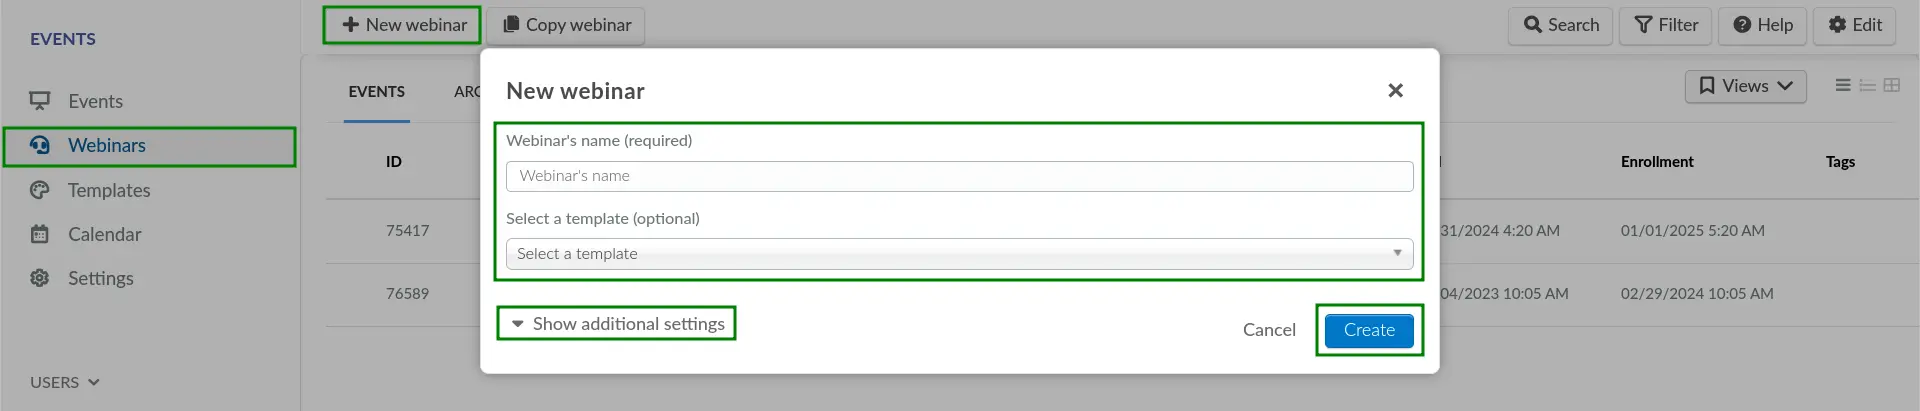
- Navigate to Events > Webinars at the Company level.
- Click on the +New webinar button.
- Enter the desired name for the webinar. You can also select a template and enter additional details by clicking Show additional settings.
- Click on Create.
After doing so, the new webinar will be created and organizers can start managing it as needed.
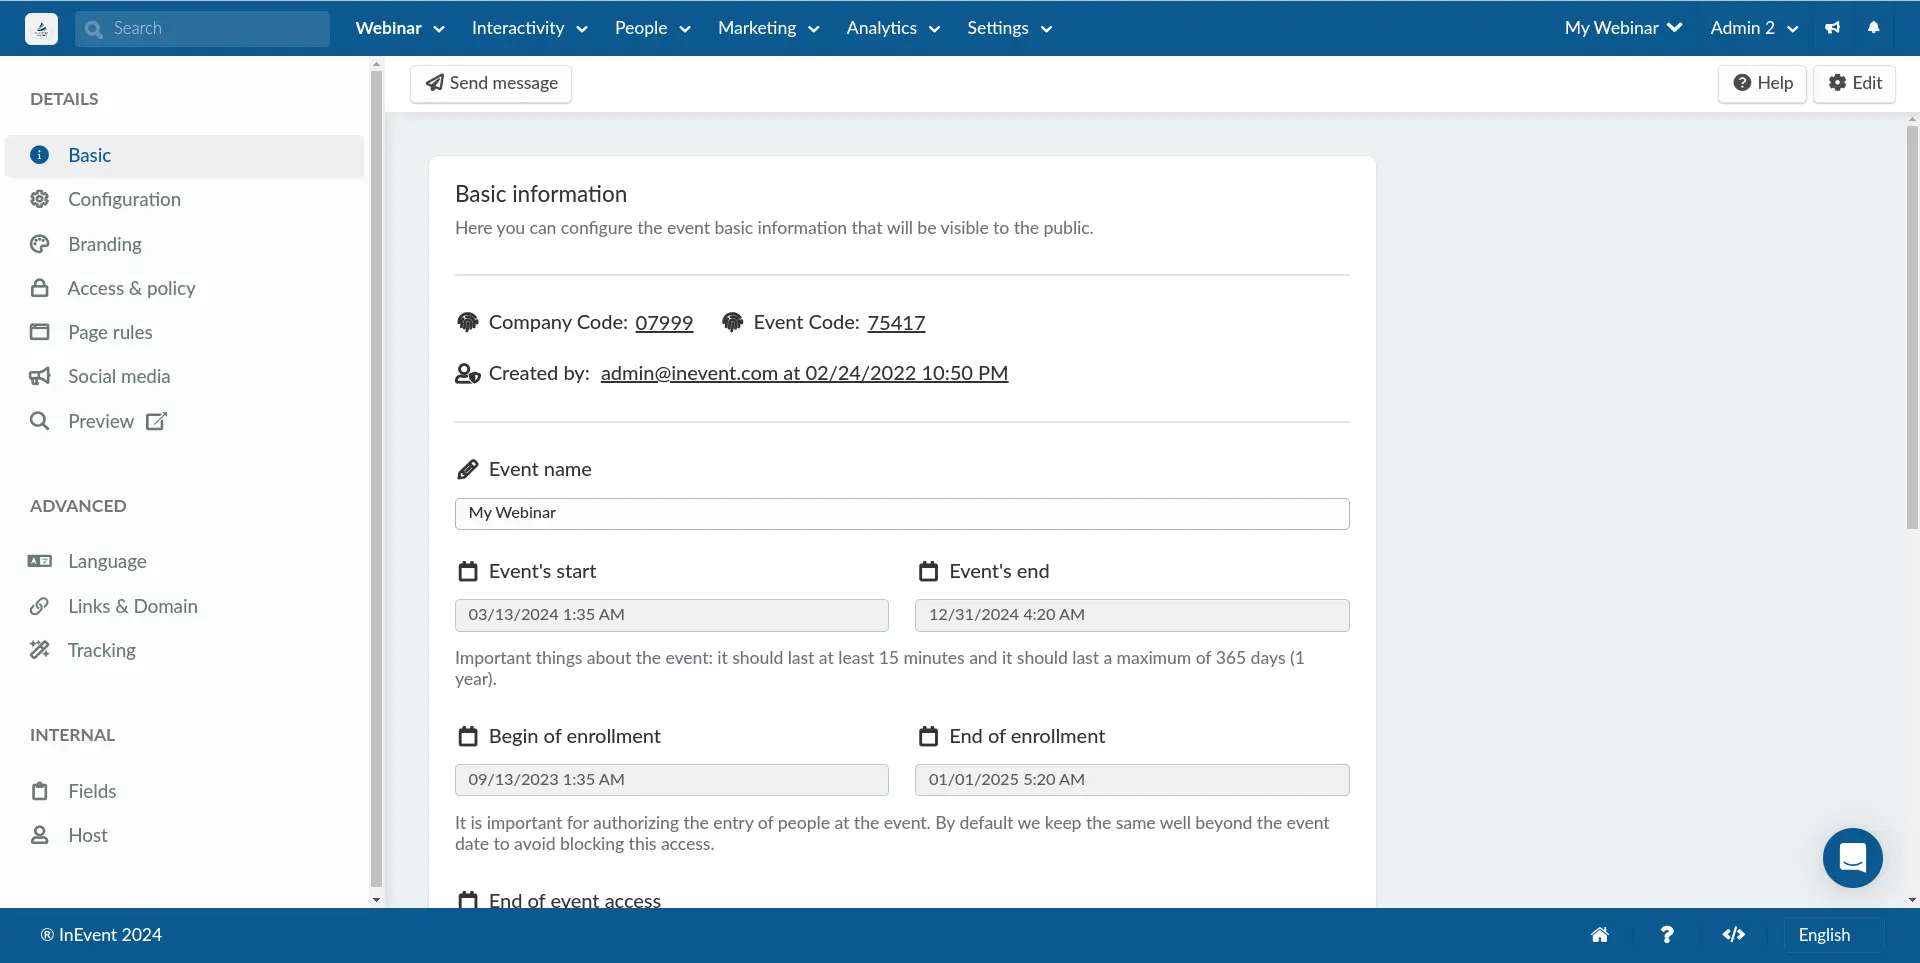
Webinar Details
On the Webinar > Details page, event organizers will be able to configure and define webinar information, such as start and end date, webinar capacity, access policy, social media links, custom domain, as well as other branding changes.
Settings
Event organizers are also encouraged to review the available Webinar tools. Doing so will ensure that the tools required in the webinar are enabled. For more information, refer to our article on Webinar tools.
Event organizers may also want to integrate CRM tools as well as payment gateways. For more information, refer to our article on Integrations.
Sponsors, Speakers, Files
Event organizers can start preparing and organizing Sponsors, Speakers, and any related Files for the webinar to ensure readiness. For more information, refer to our articles on Sponsors, Speakers, and Files.
Live Stream
To configure the webinar's streaming details and specifications, navigate to Live Stream > Details. For complete information, refer to our Webinar - Configuring your Live Stream article.
You may also want to check out information on the following topics:
Interactivity
Event organizers can enable interactive features for their webinar Live Stream.
For more information, refer to the articles listed below:
Marketing
Event organizers can easily conduct marketing efforts directly from InEvent. The platform allows you to set up and manage ticket sales, promotional emails, registration and purchase forms, as well as a custom website for your event.
For further information, refer to the articles listed below:
People
The InEvent platform allows you to add users to your webinar. Event organizers can immediately add attendees to their webinar, or add users as invitees instead. The platform also offers other attendee-related features, such as Waitlists, attendance tracking, and certificates of attendance.
For further information, refer to the articles listed below:
Analytics
The InEvent platform also provides analytics functionality to help event organizers review statistics related to their webinar.
For further information about the available analytics functionalities at the InEvent platform, refer to the articles listed below: