Custom Forms
 Updated 6 months ago
by
yasmine haj sassi
Updated 6 months ago
by
yasmine haj sassi
In the InEvent platform, it is possible to set custom forms and collect information about your attendees on any subject.
Custom forms can be closed (available only to logged in attendees) or open (available for everyone regardless of login status). Links to custom forms are easy to share with attendees, and all submissions can be exported to a spreadsheet document.
How do I enable this tool?
It is necessary to enable the Custom forms feature in the Event tools before using it. To enable Custom forms, complete the following steps:
- Navigate to Settings > Tools.
- Locate Custom forms under the Registration section.
- Click Edit on the top right corner of the screen.
- Toggle on the button beside the Custom forms box to enable the feature.
- Press End to save your changes.

If you are unable to toggle the button on, then it means the tool is locked globally. Go to the company tools page and enable it.
How do I enable Custom forms in the Company tools?
Follow the steps below to enable Custom forms in the Company tools:
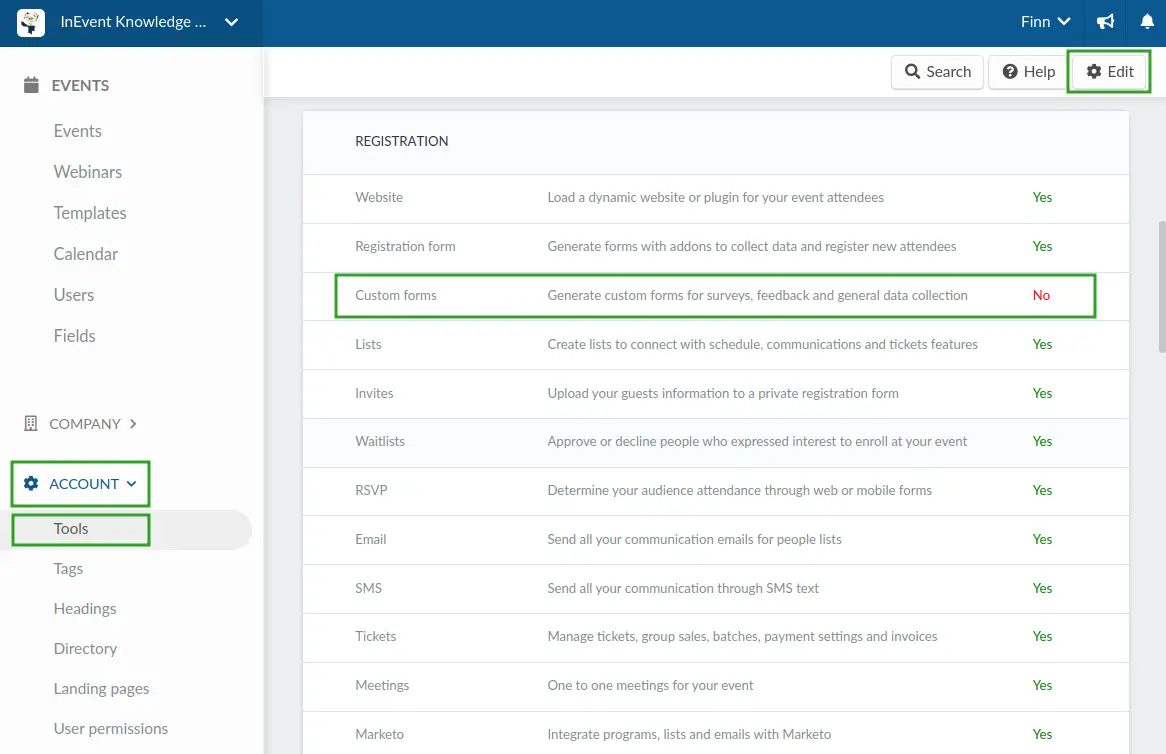
- Navigate to Account > Tools from the Company level.
- Locate Custom forms under the Registration section.
- Click Edit on the top right corner of the screen.
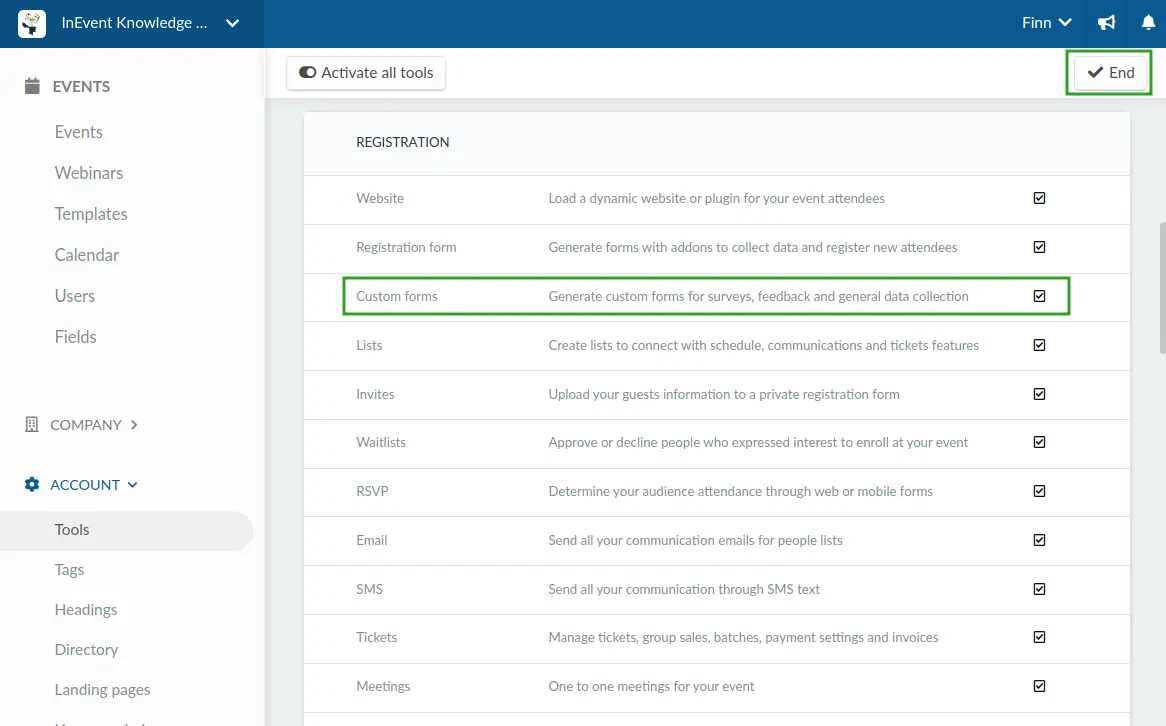
- Check the Custom forms box to enable the feature.
- Press End to save your changes.
How do I create a custom form?
To create a custom form, complete the following steps:
- Navigate to Marketing > Registration > Custom forms at the Event level.
- Click Add form on the top left corner of the screen. A pop-up box will appear.
- Enter your form title.
- Press Create. You will be directed to the edit interface of your new form.
Fields: How do I add fields to the form?
Once you have created a custom form, you can add fields or questions to the form. To do so, follow the instructions below:
- Select your form from the Custom forms interface. You will be directed to the edit interface of your form.
- Click Add field. A pop-up box will appear.
- Enter your field title or question.
- Choose an answer type from the drop-down box.
- Press Create.
Sections
Sections allow you to separate fields of your custom form into their own group. With sections, you can group similar fields on your form for better organization. You can also add titles and subtitles to better describe each section. To learn how to add sections to Custom forms, check our article How do I configure Sections and Dividers on forms.
Submissions: How do I view submitted forms?
To view forms that have been submitted, click Submissions.
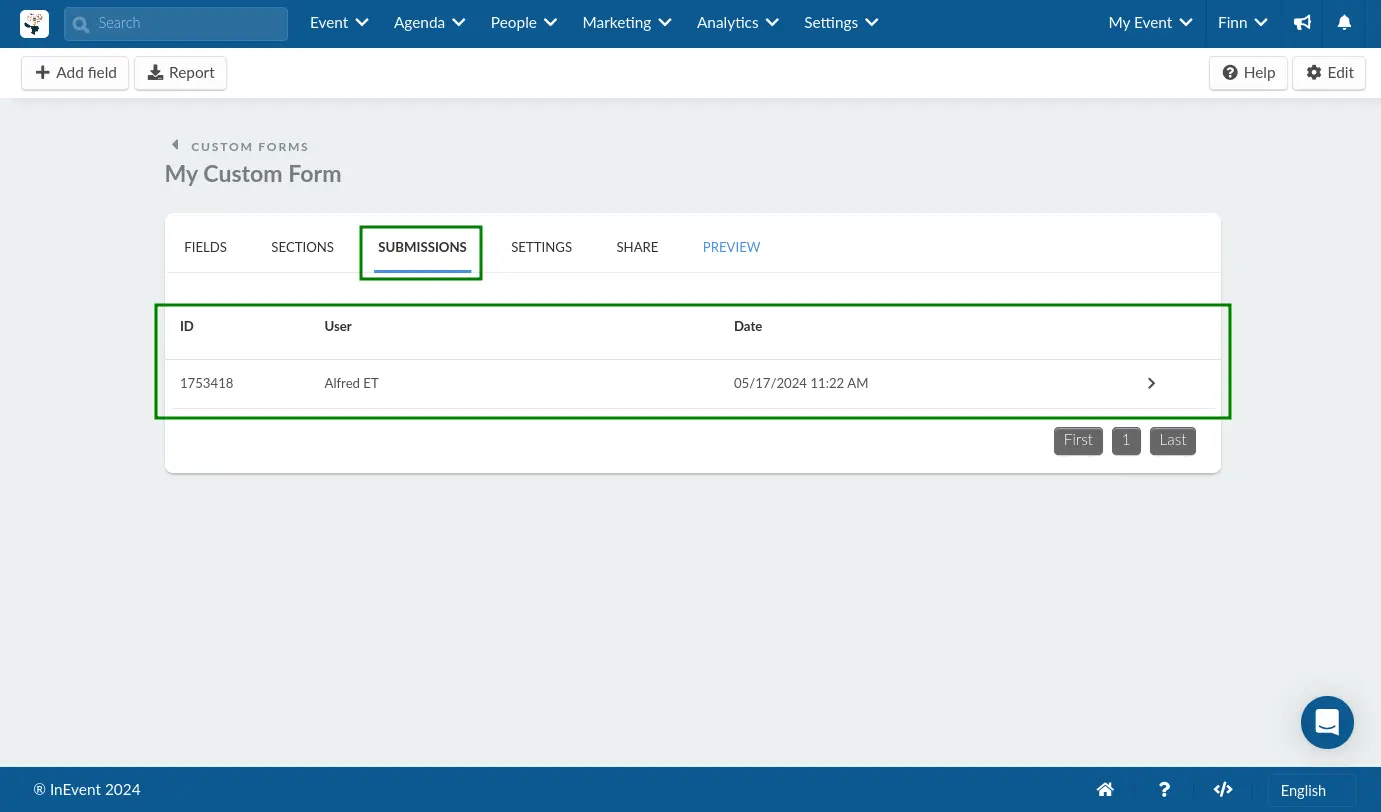
Click on a user's submission to view their answer to the form.
To learn more about form submissions, click here.
How do I extract submitted forms data from the platform?
Submitted forms can be extracted into a spreadsheet format and sent to your email address. In order to do so, simply click on a form and click on Report. The platform will notify that your requested report is being processed, as seen below.
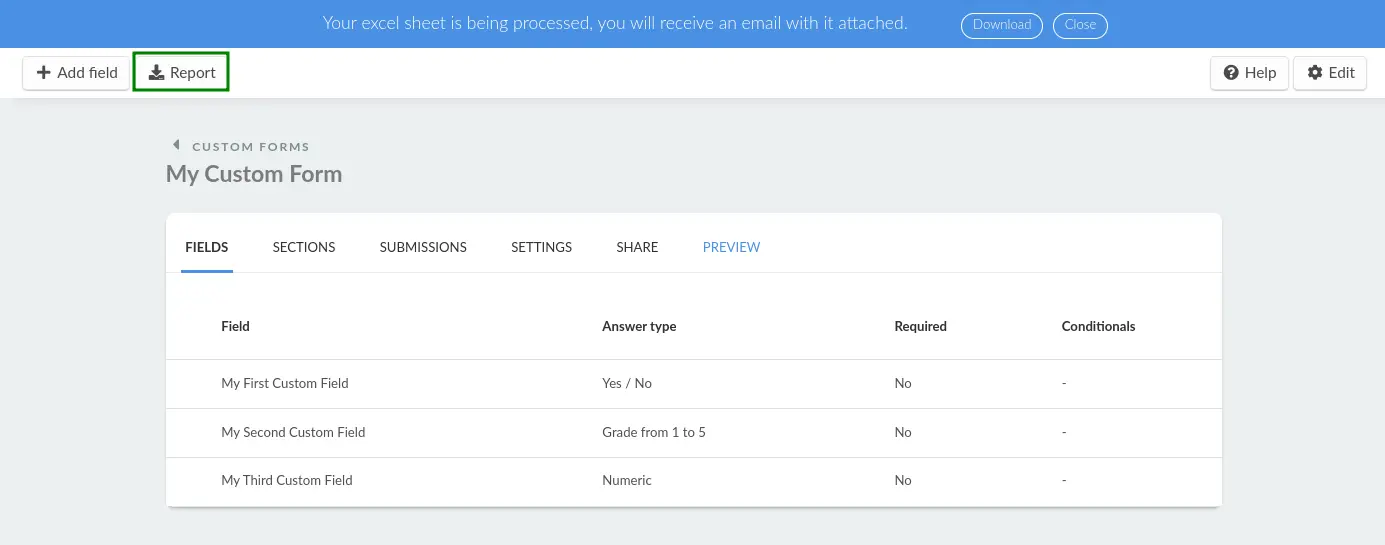
The report will contain information such as: personID, responses to the custom form question, submittedDate and updatedDate.

Settings
You can configure your custom form by clicking Settings. The available options are listed below:
- Form title: Modify the title of your form, as well as add a translation.
- Subtitle/Disclaimer: Add a subtitle to your form or a disclaimer. You can use this field to specify any instructions which will appear at the top of the form. You can also add a translation.
- Public form: Set the visibility of your form. To set the form as open (available for everyone regardless of login status), check the box. To set the form as closed (available only to logged-in attendees), uncheck the box.
- Close date: Set a submission deadline for your form.
- Action to execute after the form is finished: Set automated action after form submission. To send automated notification emails following a form submission, select Send email in the first drop-down box and select the email to be sent., then click on Add trigger.
- Lists allowed to answer form: Select which lists will be allowed to fill out the form. If empty, no restrictions are applied.
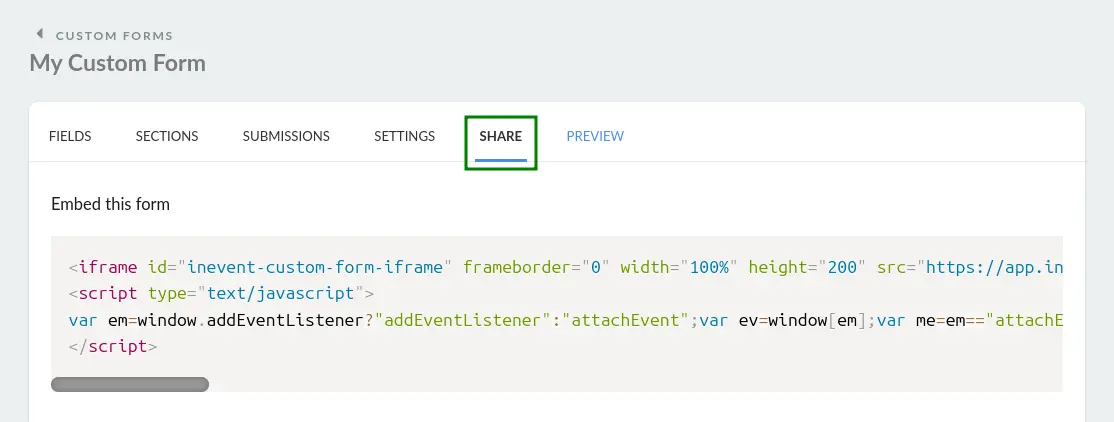
Share: how do I share my forms?
Custom forms can be embedded to an external website using its HTML iframe tag. Upon clicking on the Share tab, you will be able to copy an iframe to embed the form, you can then paste the displayed code to the desired website.
Other than sharing the custom form link, you can find different options on how to share your custom form with your attendees:
- Text message
Custom form links can be shared using the Text message feature. To add your custom form link to a text message, make sure to use a URL shortener tool so the link fits in the 140 characters limit.
Click here to learn more about the Text messages feature.
- Push messages
A push notification is a message that attendees receive via their web browser or mobile app. To add your custom form link to the push message, make sure to use a URL shortener tool so the link fits in the 140 characters limit.
Click here for further information on how to send Push notifications.
You can send your custom form link via email to all event attendees or to predetermined lists of attendees.
Click here to learn more about Custom emails.
- Website
You can create a tab to share your custom form or simply paste it to any existing section.
Click here for learn more about the Website feature.
- Custom tabs
You can create a tab in the Virtual Lobby or mobile app that will redirect your attendees to your custom form.
Click here to learn more about Tabs.
- News feed
The News feed feature can be used to share files or information about your event. You can use this feature to share your custom form link.
Click here for further information on the News feed feature.
- Activity description
Custom form links can be shared or embed through the Activity description, which will be displayed to all attendees participating in the activity.
Click here for further information on Activity description.
- Virtual Lobby Chat
Attendees are able to use the Chats feature to interact during the session. As an administrator, you can pin a message with the link to your custom form.
Click here to learn how to do so.
Preview
To view your custom form, select Preview. Your custom form will be opened in a new tab.
Below is a gif showing how the fields will appear in their linked sections if the Dedicated page for the sections is set to Yes. You only need to click on the Next button to view the section(s). Click Previous to go back.
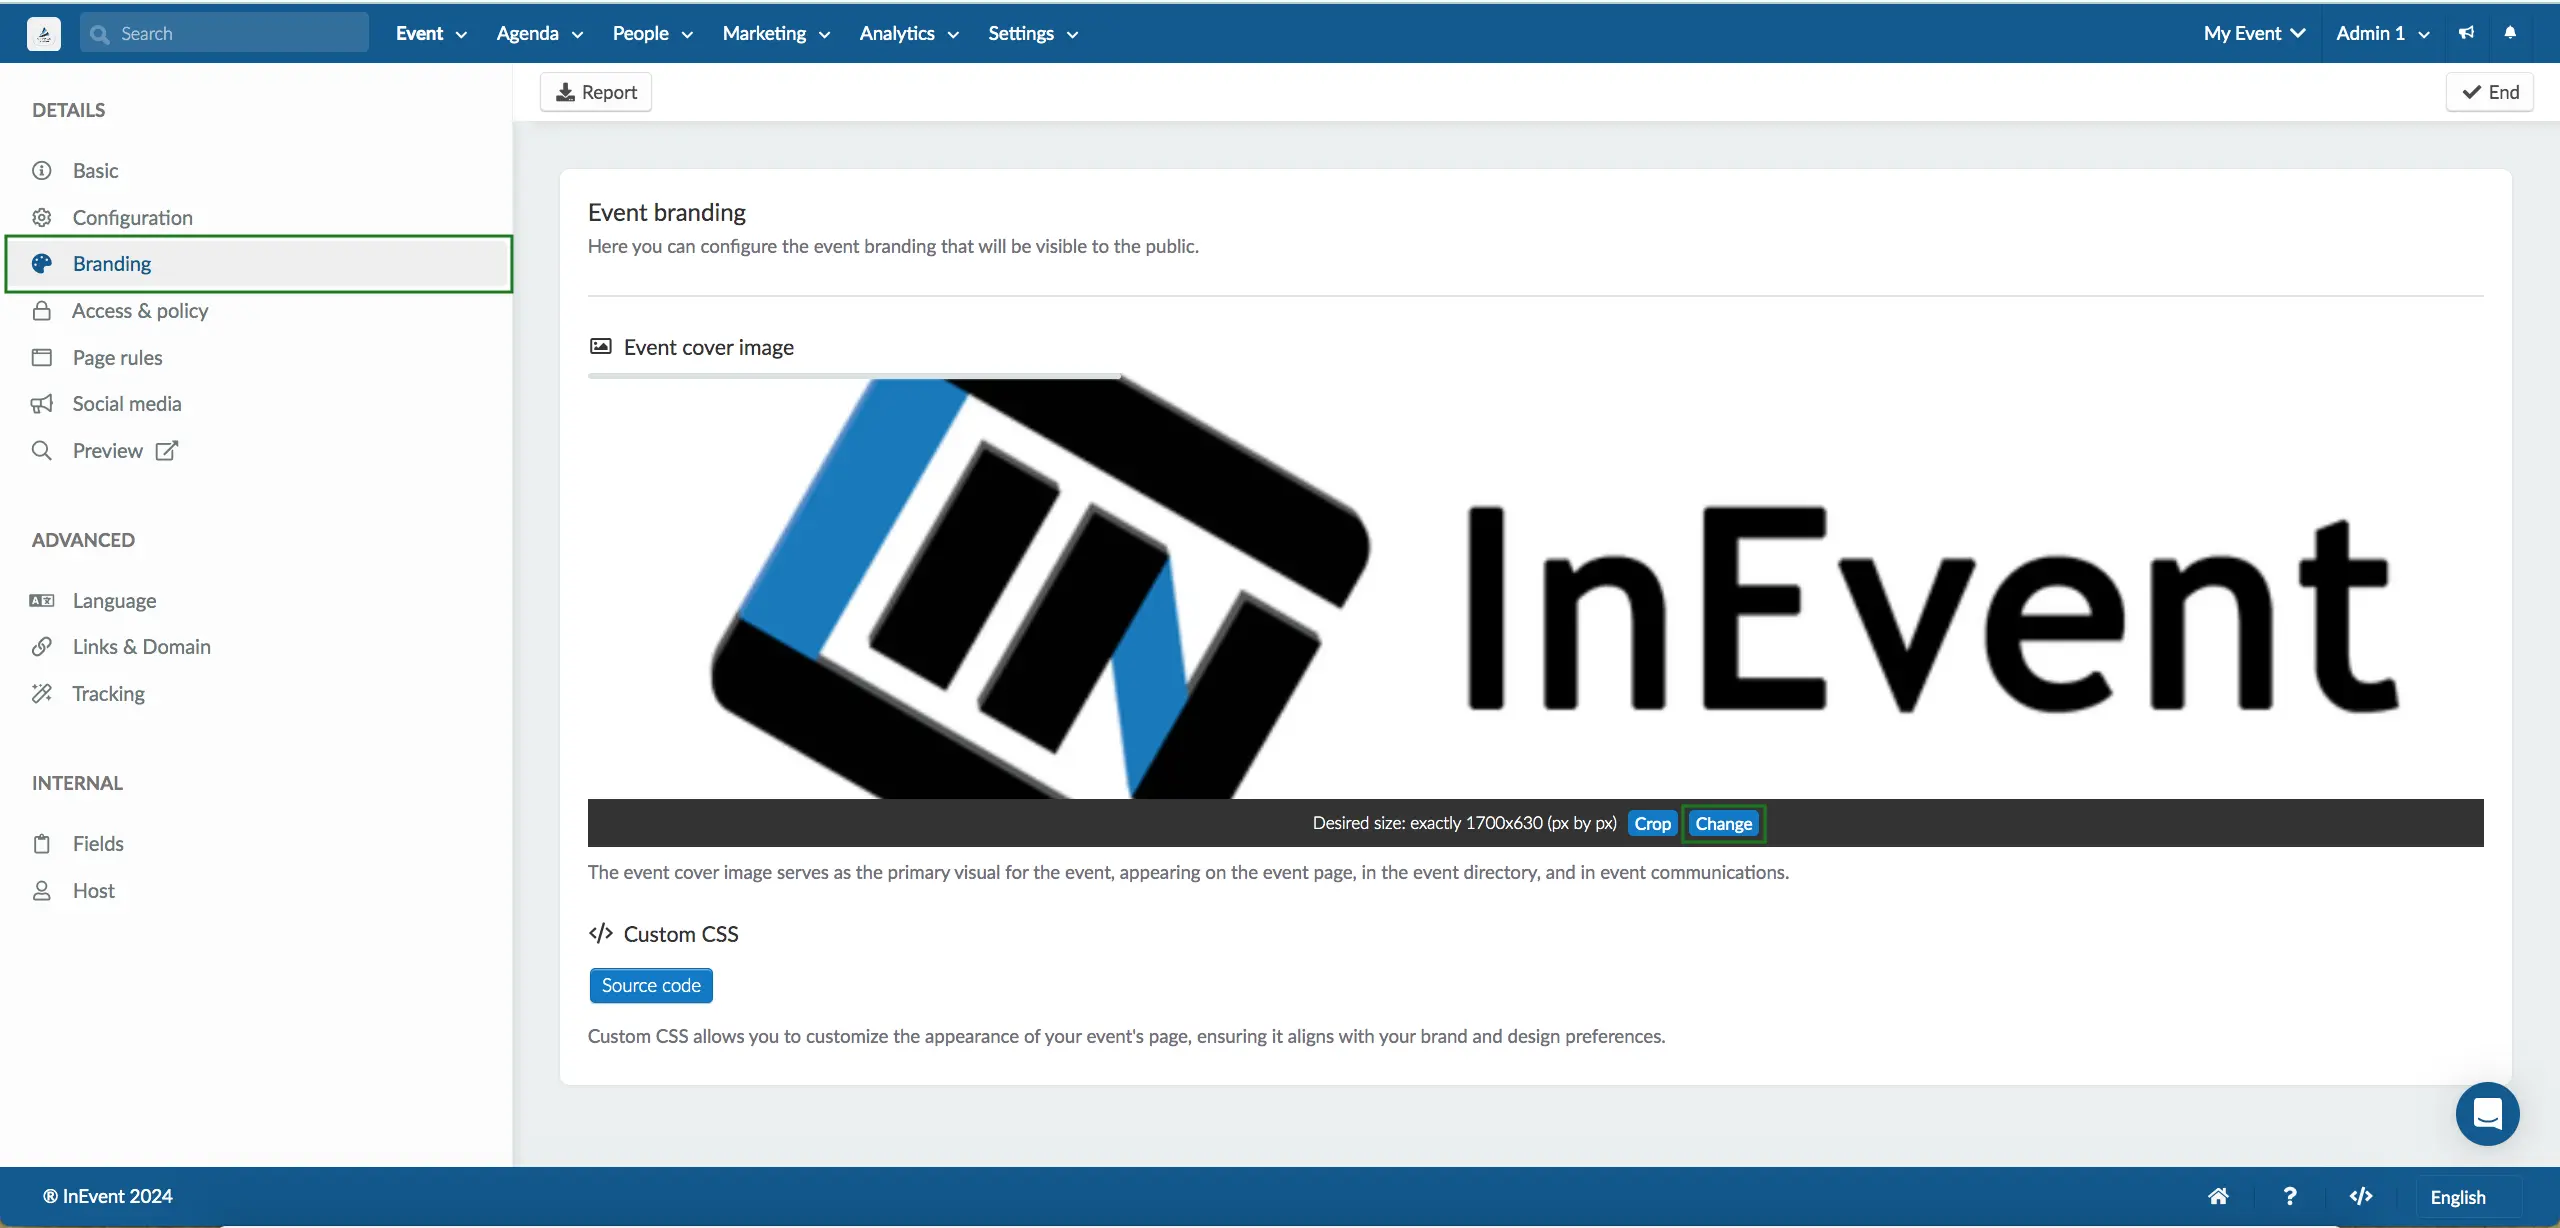
Can I add a cover photo for a custom form?
The custom form uses the same cover image as your event's cover image, which is uploaded in the Event > Details section under Branding. To edit the cover image, go to Event > Details > Branding, click Edit, and upload a new image or click Change to replace the current one.