Setting up your online activities
 Updated 11 months ago
by
Chioma Okenwa
Updated 11 months ago
by
Chioma Okenwa
- Room cover
- Pre-control cameras and microphones
- Session replica
- Room status label
- Choosing your Room Video Mode
- Dial-in
- Setting a room host
- Recording your session
- Follow up session
- Setting the maximum number of presenters
- Speech-to-text transcription
- Closed Captions
- Asking for feedback
- Access policy
- People
- Adding files before the event starts
- User control options
- Setting up activities via spreadsheet
- Extracting a report
- Clearing analytics from an activity
To set up your activities, go to Agenda > Activities > select the activity and click Edit (top right). The Details tab contains the settings for your activity, including the possibility of making it a virtual room.
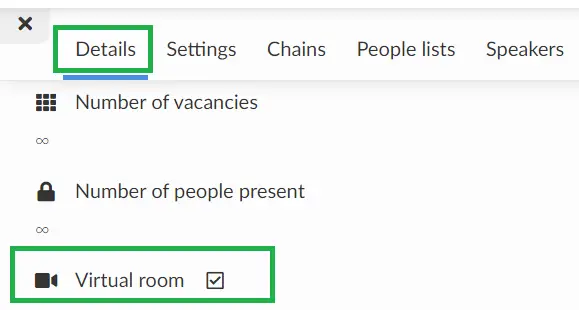
By checking the Virtual room option, a link will be generated, making the activity accessible within the Virtual Lobby.
Refer to the Agenda management article to learn how to edit your activity's details.
Room cover
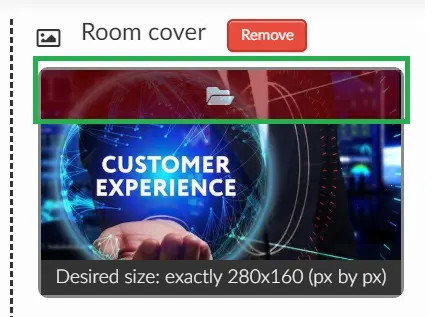
Adding a room cover to your activity will display a thumbnail icon for this session. If you do not add a room cover, this tile will be a plain, block color.
To add an image, click on the red folder icon, and upload a Room Cover from your computer, which will be viewed by the participants in the lobby. The desired image size is 280x160 pixels.
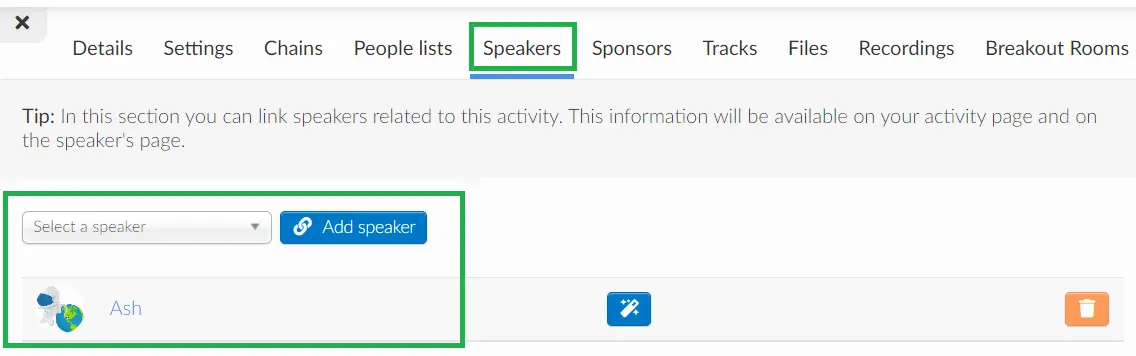
Pre-control cameras and microphones
To ensure that your speakers will enter the activity with microphone and camera enabled, go to Event > Speaker and select your speaker. Link the attendee profile to the matching speaker, and then add this speaker to the activity.
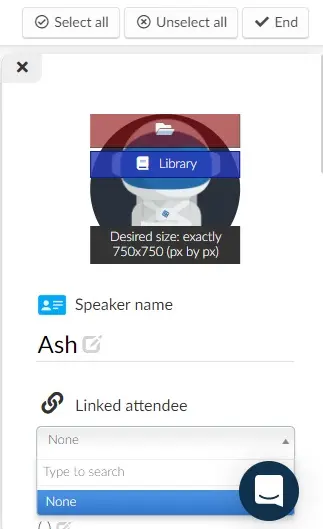
Adding the speaker to the activity will ensure their attendee profile is recognized as a speaker, and they will be able to join the event prior to the event starting, as well as have presenter capabilities
Session replica
If you wish to replicate an activity, you should follow the steps below:
- Make sure you have created two activities: the activity you wish to make into a replica and the main session (the activity the settings will be copied from)
- Click on the activity you wish to make into a replica, press Edit, and click Enable replica.

- A window will pop up asking you to select the session you wish to copy the settings from. Once you have selected the activity, press Enable replica.
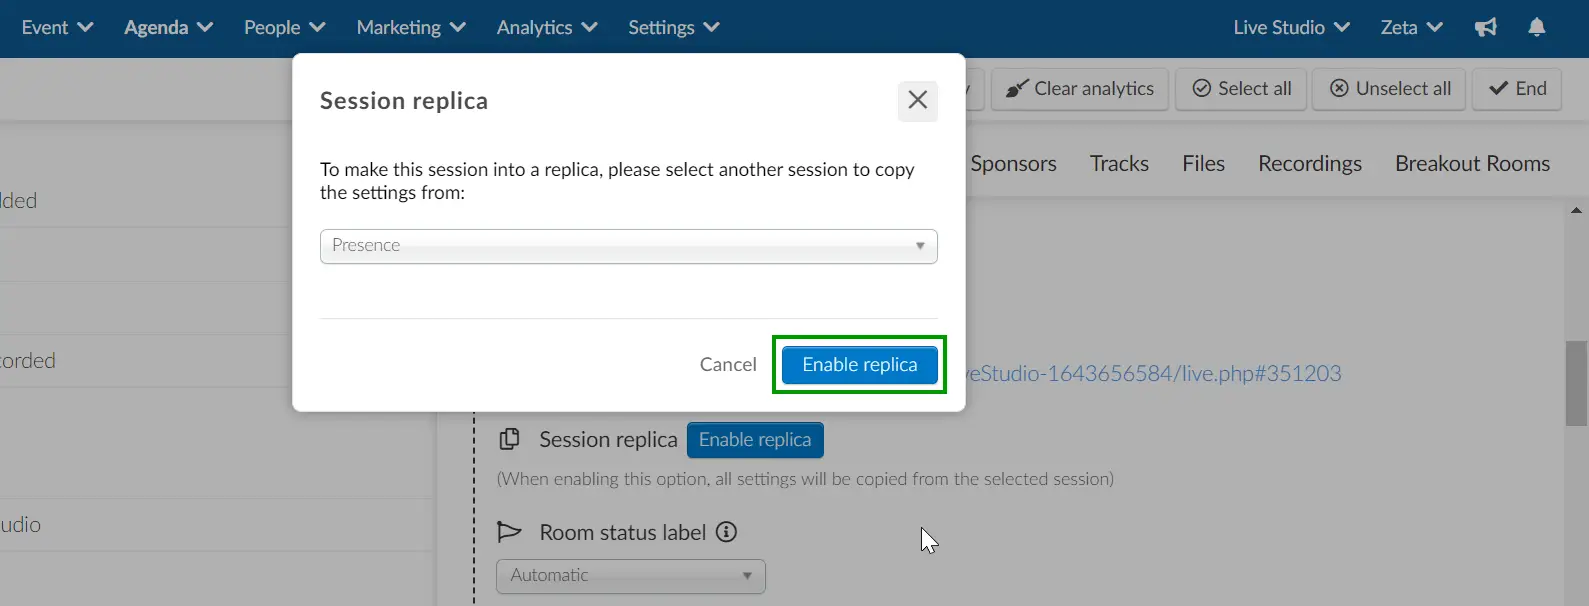
- Once the settings have been replicated, you will see a note explaining that the activity is a replica and the option to Disable replica.

Room status label
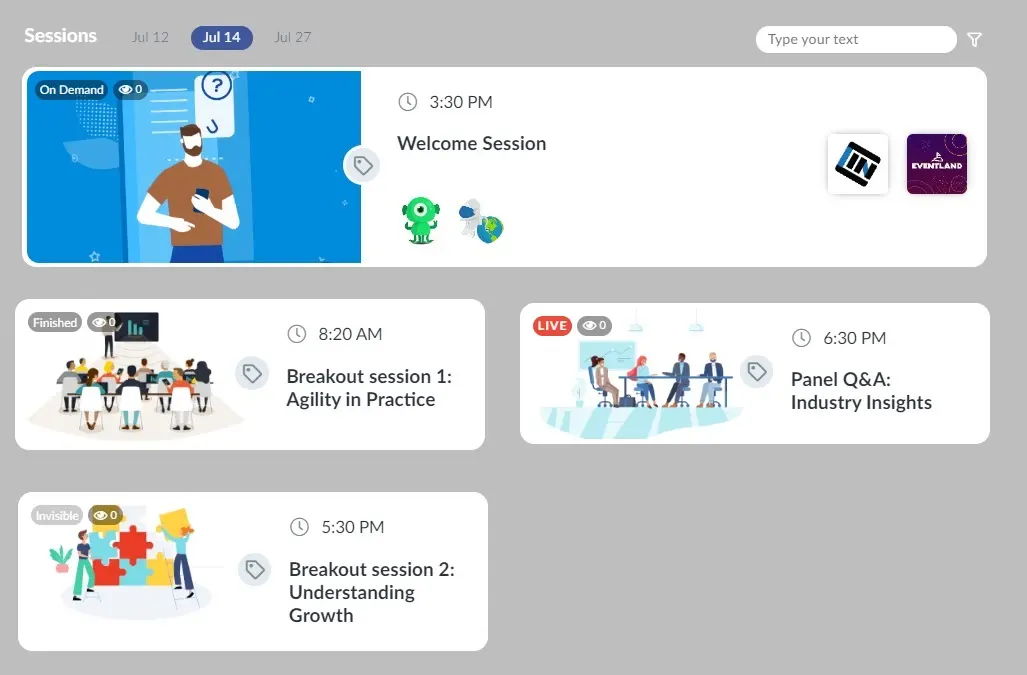
By default, depending on the activity's room video mode, settings, start and end time, each room will display a status label in its upper left corner.
The existing statuses are: On Demand, Live, Finished and Invisible.
Under the Room status label, you will be able to define manually which label will be displayed on each room.
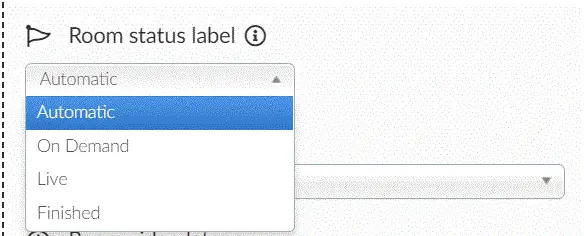
If you wish the activity to follow the default behavior and define the room status label based on the room video mode, settings, start and end time, you should select Automatic.
If you wish the room label to override the activity's details and be assigned manually, you can choose from:
- On-Demand: the On-Demand label be displayed to all attendees, regardless of the activity's details. For example, even if the activity is Live, if you select On-Demand as the room status label, this status will be displayed to all attendees.
- Live: the Live label be displayed to all attendees, regardless of the activity's details. For example, even if the activity is On-Demand or even Finished, if you select Live as the room status label, this status will be displayed to all attendees.
- Finished: the Finished label will be displayed to all attendees, regardless of the activity's details. For example, even if the activity is Live or On-Demand at the moment, if you select Finished as the room status label, this status will be displayed to all attendees.
Changing the labels' default text
If you wish to customize the default text of the room label status - On-Demand, Finished, Invisible, and Live, you can do so under Headings. Refer to the Headings article to learn how to do it.
Choosing your Room Video Mode
Once you have activated your virtual room, you will be asked to choose your Room Video Mode.
Your room video options are:
Refer to the Choosing your room video mode article for further information.
Dial-in
The dial-in feature allows speakers to join online the event from their phones. This option is useful for the ones who do not own a computer, do not have a microphone or speaker on their computer, or do not have access to a WiFi network at the moment of the session. Refer to the SIP Dial-in: joining the event by phone article if you wish to learn more about it.

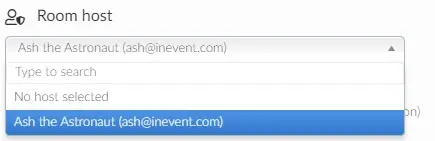
Setting a room host
You can select who will be the host of the room. The host will need to be in the room to start the stream and ensure that the session is being recorded. The host can be anyone from your attendee list.
Recording your session
InEvent allows you to download any type of live broadcasting you created and use it to promote your virtual and hybrid events.
Refer to the Room recording article for further information on how to enable and download the recordings.
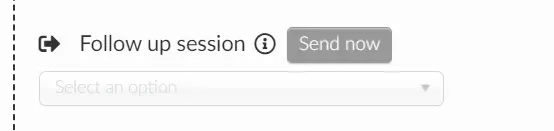
Follow up session
You can define to which session the attendees should be moved to once the activities they are attending finish. Refer to the Follow up sessions article for further information.
Setting the maximum number of presenters
All administrators when entering a session can enable the camera and microphone, if you want to define the maximum number of administrators who will have that access in that room, just enter the amount in the Maximum number of presenters in the room field.

Speech-to-text transcription
By using our Speech to Text Transcription feature, you’ll be combining both speech recognition and live translation, which means your online events will now have real-time subtitles during your sessions.
Refer to the Live transcription and translation in the Virtual Lobby article for further information on this feature.
Closed Captions
When using the Live Studio, RTMP as your room video mode, you can enable the Automatic closed captions and make the content of your video sessions readable. To learn more about this feature, refer to our Event accessibility article.
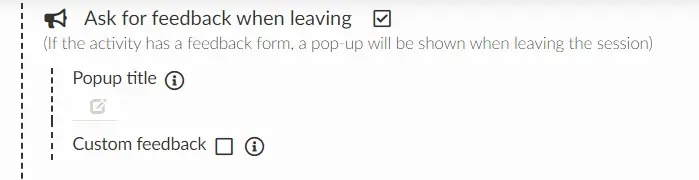
Asking for feedback
If you would like for the attendees to see a feedback form pop-up once they leave a session, make sure to enable Ask for feedback when leaving.
Refer to the Feedback article for further information on that.
Access policy
Define whether you would like the attendees to be able to join activities before their start time and after their end time.
Refer to the Agenda management article to learn how to set up your preference for each activity.
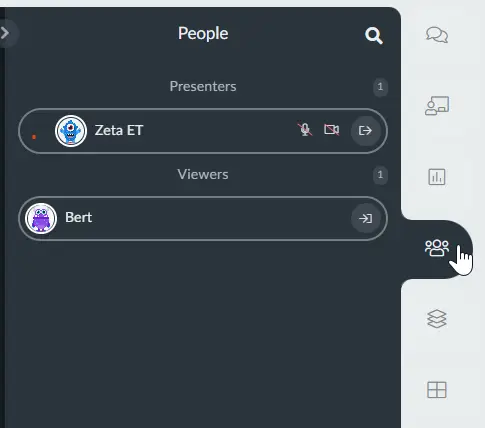
People
In the People tab, all participants who are online in this session will be listed.
Adding files before the event starts
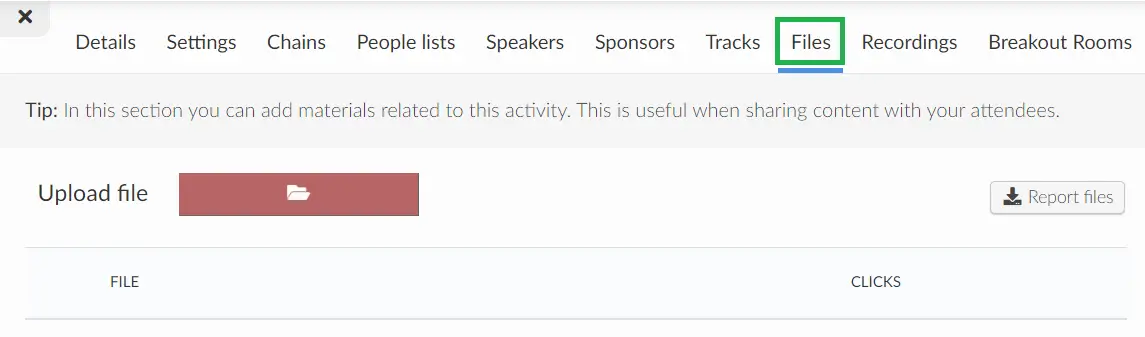
To add a file to an activity, select an activity, in the right side corner press Edit and then on the right-hand side press the Files tab. After that click on the red button to choose a file to upload.
Which formats are supported?
- Documents: "xlsx", "pdf", "ppt", "doc", "docx", "xls", "csv", "pptx";
- Video: "mp4", "mov", "3gp";
- Images: "gif", "jpeg", "jpg", "png";
- Transcription audio files.
Refer to the Files and documents article for further information on files.
User control options
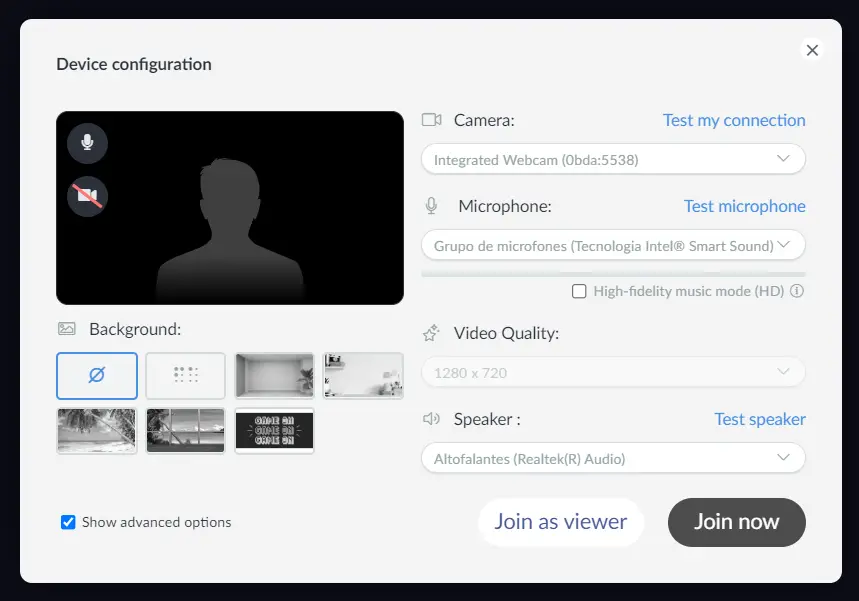
The participants who join the sessions as presenters will be shown control options.
They will be able to enable or disable the microphone and camera by selecting the icons on their profile picture.
They can also choose which camera, microphone and speaker to use for the session (helpful for those using external hardware)
They can also choose to join the session as a viewer, and perform connection tests if any of these configurations fail.
Setting up activities via spreadsheet
You can also set up activities by downloading InEvent's demofile and filling it in. Learn how to set up your activities via spreadsheet.
Extracting a report
For specific activities
If you wish to generate a report for specific activities, select the activity, press Edit in the top right, and click Report activity.
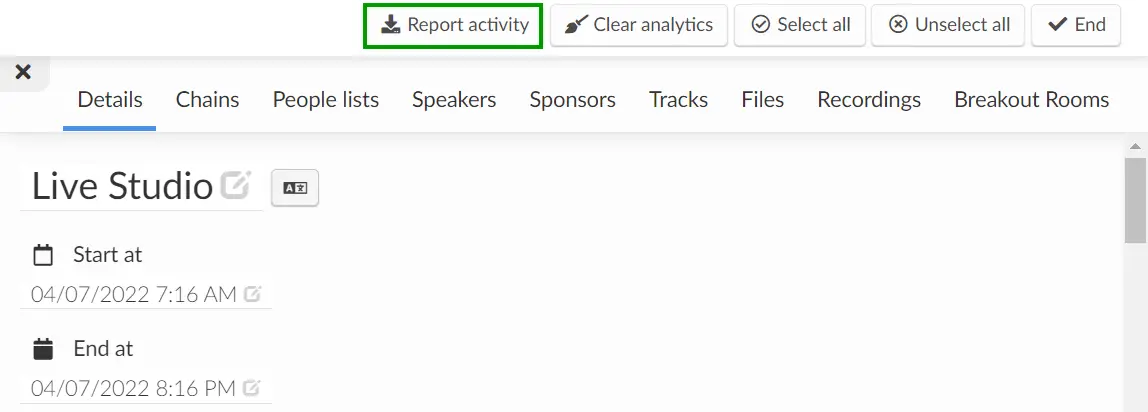
Once you click on the Report activity button, a message will appear at the top of the screen, with a notice that you will receive the excel file with the data in your email when the process is complete.
The spreadsheet will cover categories such as total and unique views, total and average time spent in the room, and interactions (feedback, polls, questions), among other data.
For all activities
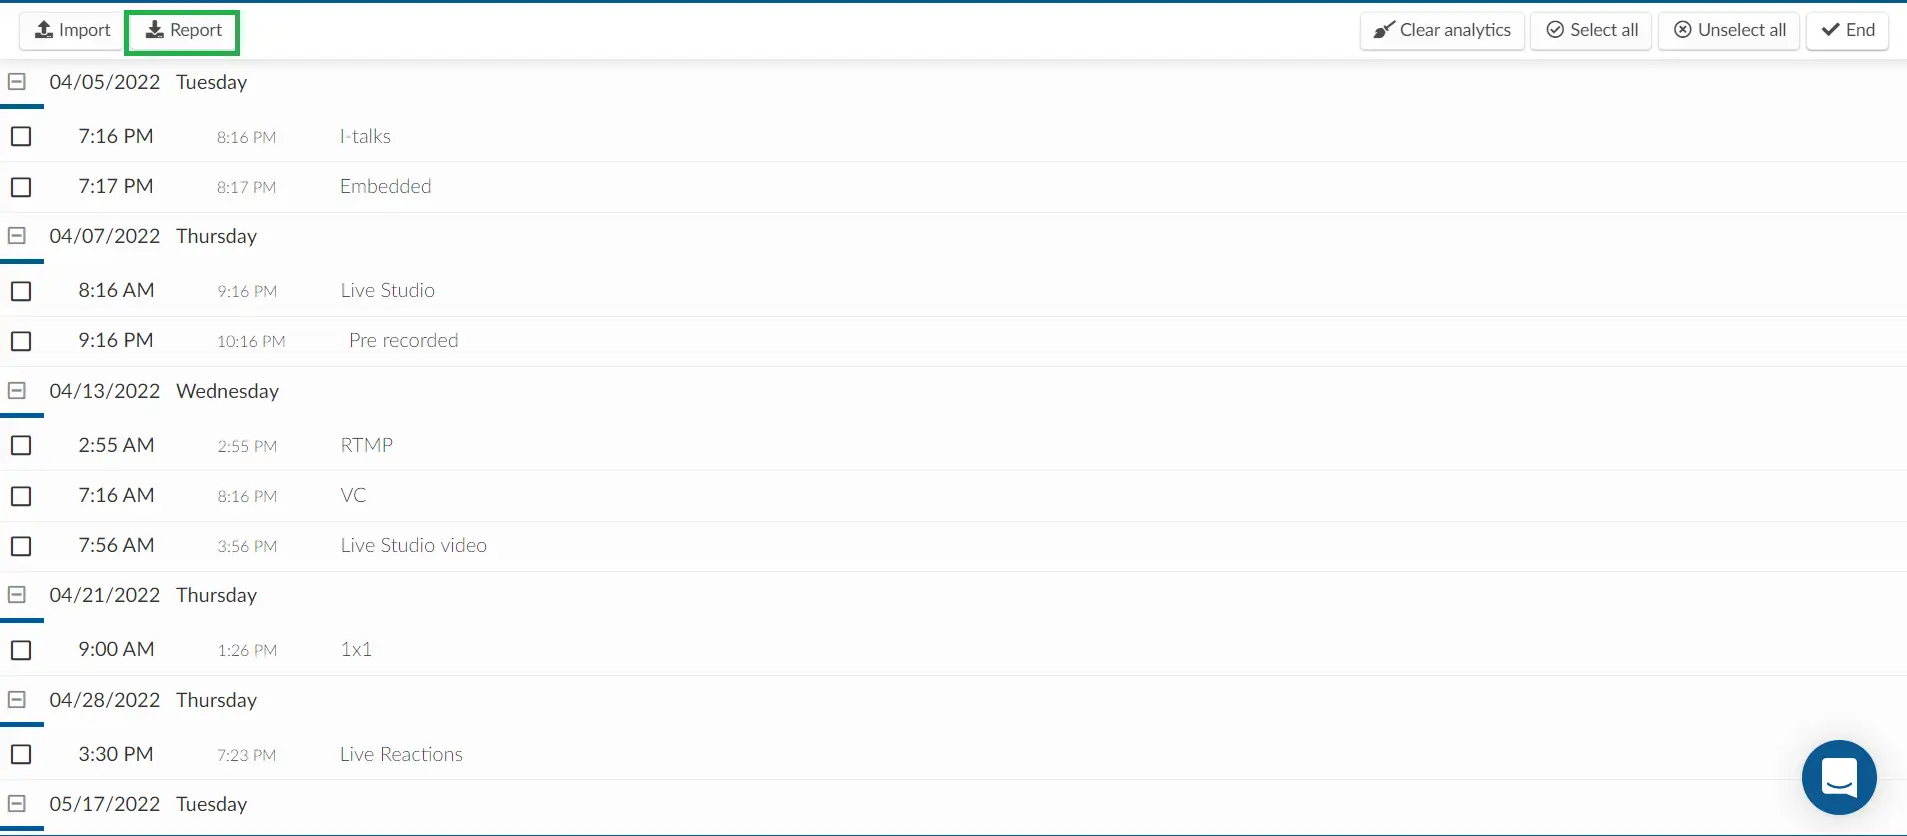
If you wish to generate a report for all activities at once, go to Agenda > Activities, click on the Edit button at the top right, then click on Report at the top left of the page.
Once you click on the Report button, a message will appear at the top of the screen with the notice that the excel file with the data will be sent to your email once the process is complete.
The spreadsheet covers general information of the activities, such as begin and end date of the activities, activity time zones, number of guests, number of quiz, number of feedback on the activities, people lists and tags, among other data.
Clearing analytics from an activity
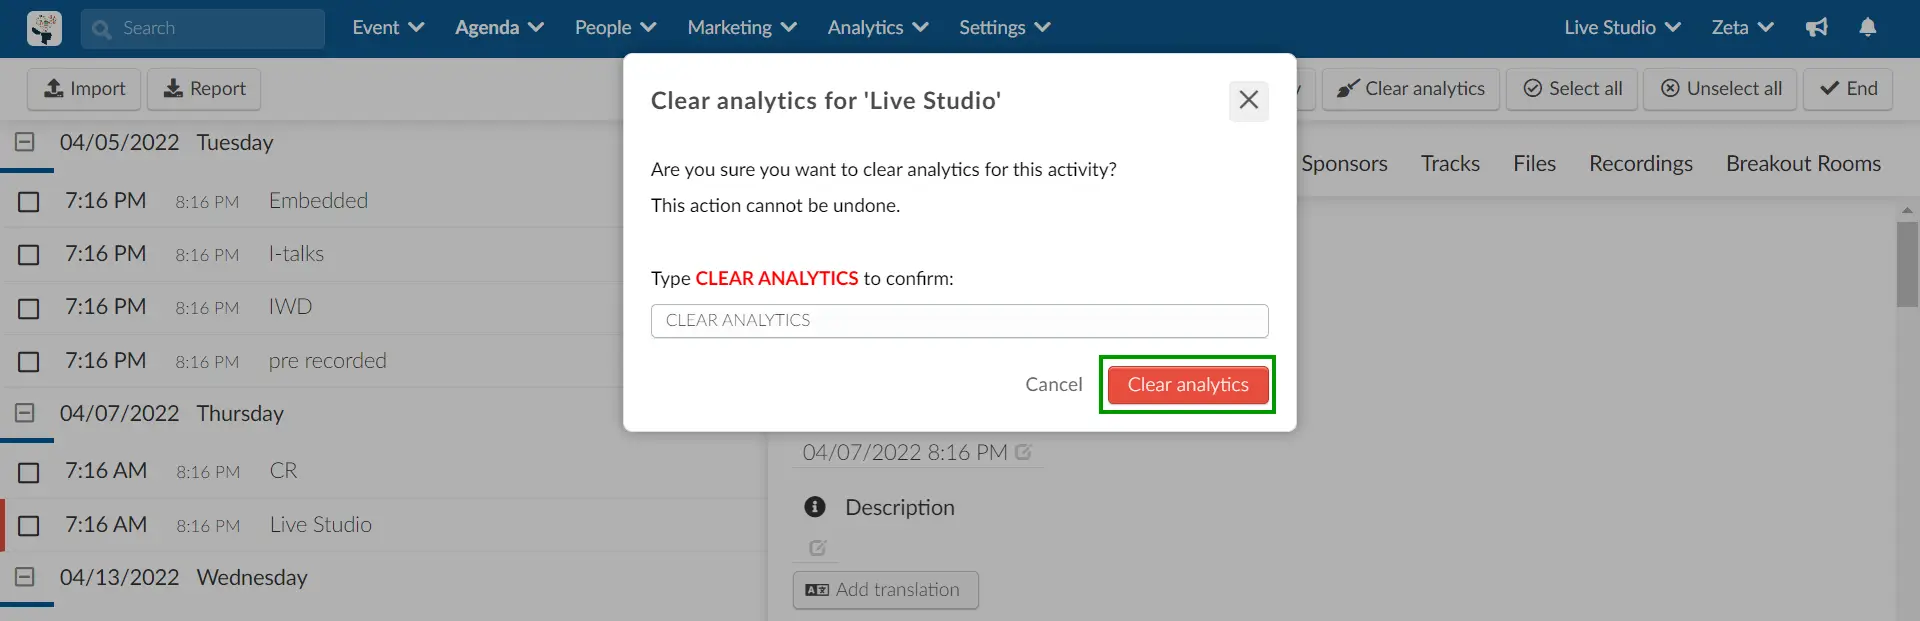
If you wish to clear analytics from an activity, you should select the activity, press Edit in the top right, and click Clear analytics.
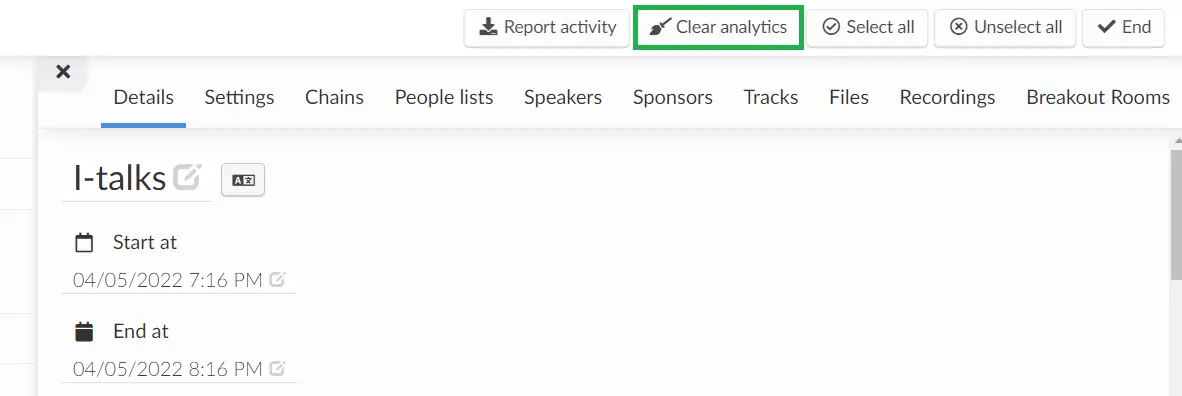
You will be asked to type CLEAR ANALYTICS to confirm this action. By doing so, this activity's analytics will be removed from your Virtual Lobby reports. However, the room recording and interactions in general, such as the activity's comments, polling, etc. must be manually deleted.