Web app
 Updated 10 months ago
by
Faisal Durrani
Updated 10 months ago
by
Faisal Durrani
The Web App provides a space where attendees can engage with the event. It includes various tabs that give users access to information and opportunities to participate in activities. This article intends to guide users on how to navigate the Web app.
Creating and customizing Web app tabs
The Tabs feature allows you to customize and create new tabs for the Live app, Web app, and Virtual Rooms.
You can customize the tabs of your web app by altering their names, icons and order of presentation. You can also create new custom tabs to add additional contents you wish to your event.
To navigate to the Tabs page, on the platform, go to Settings and click on Tabs.
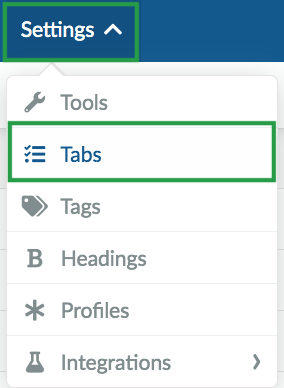
On the Tabs page, click on Web app to be able to view all the existing tabs. You can make tabs visible, select their icon and label. You can also embed tabs, add new tabs for additional content using external links, and add website sections.
Accessing the web app on your mobile device
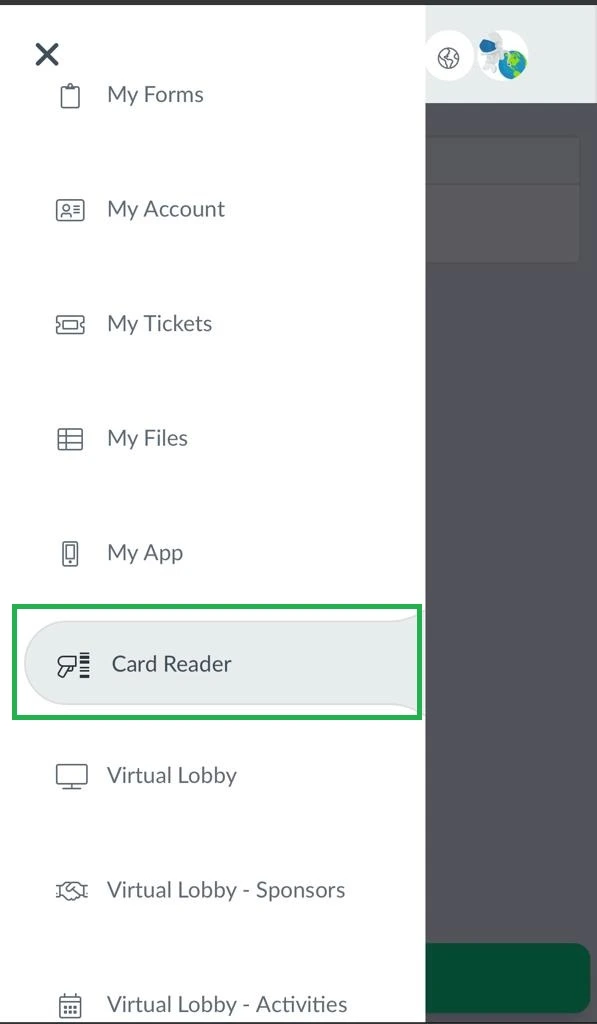
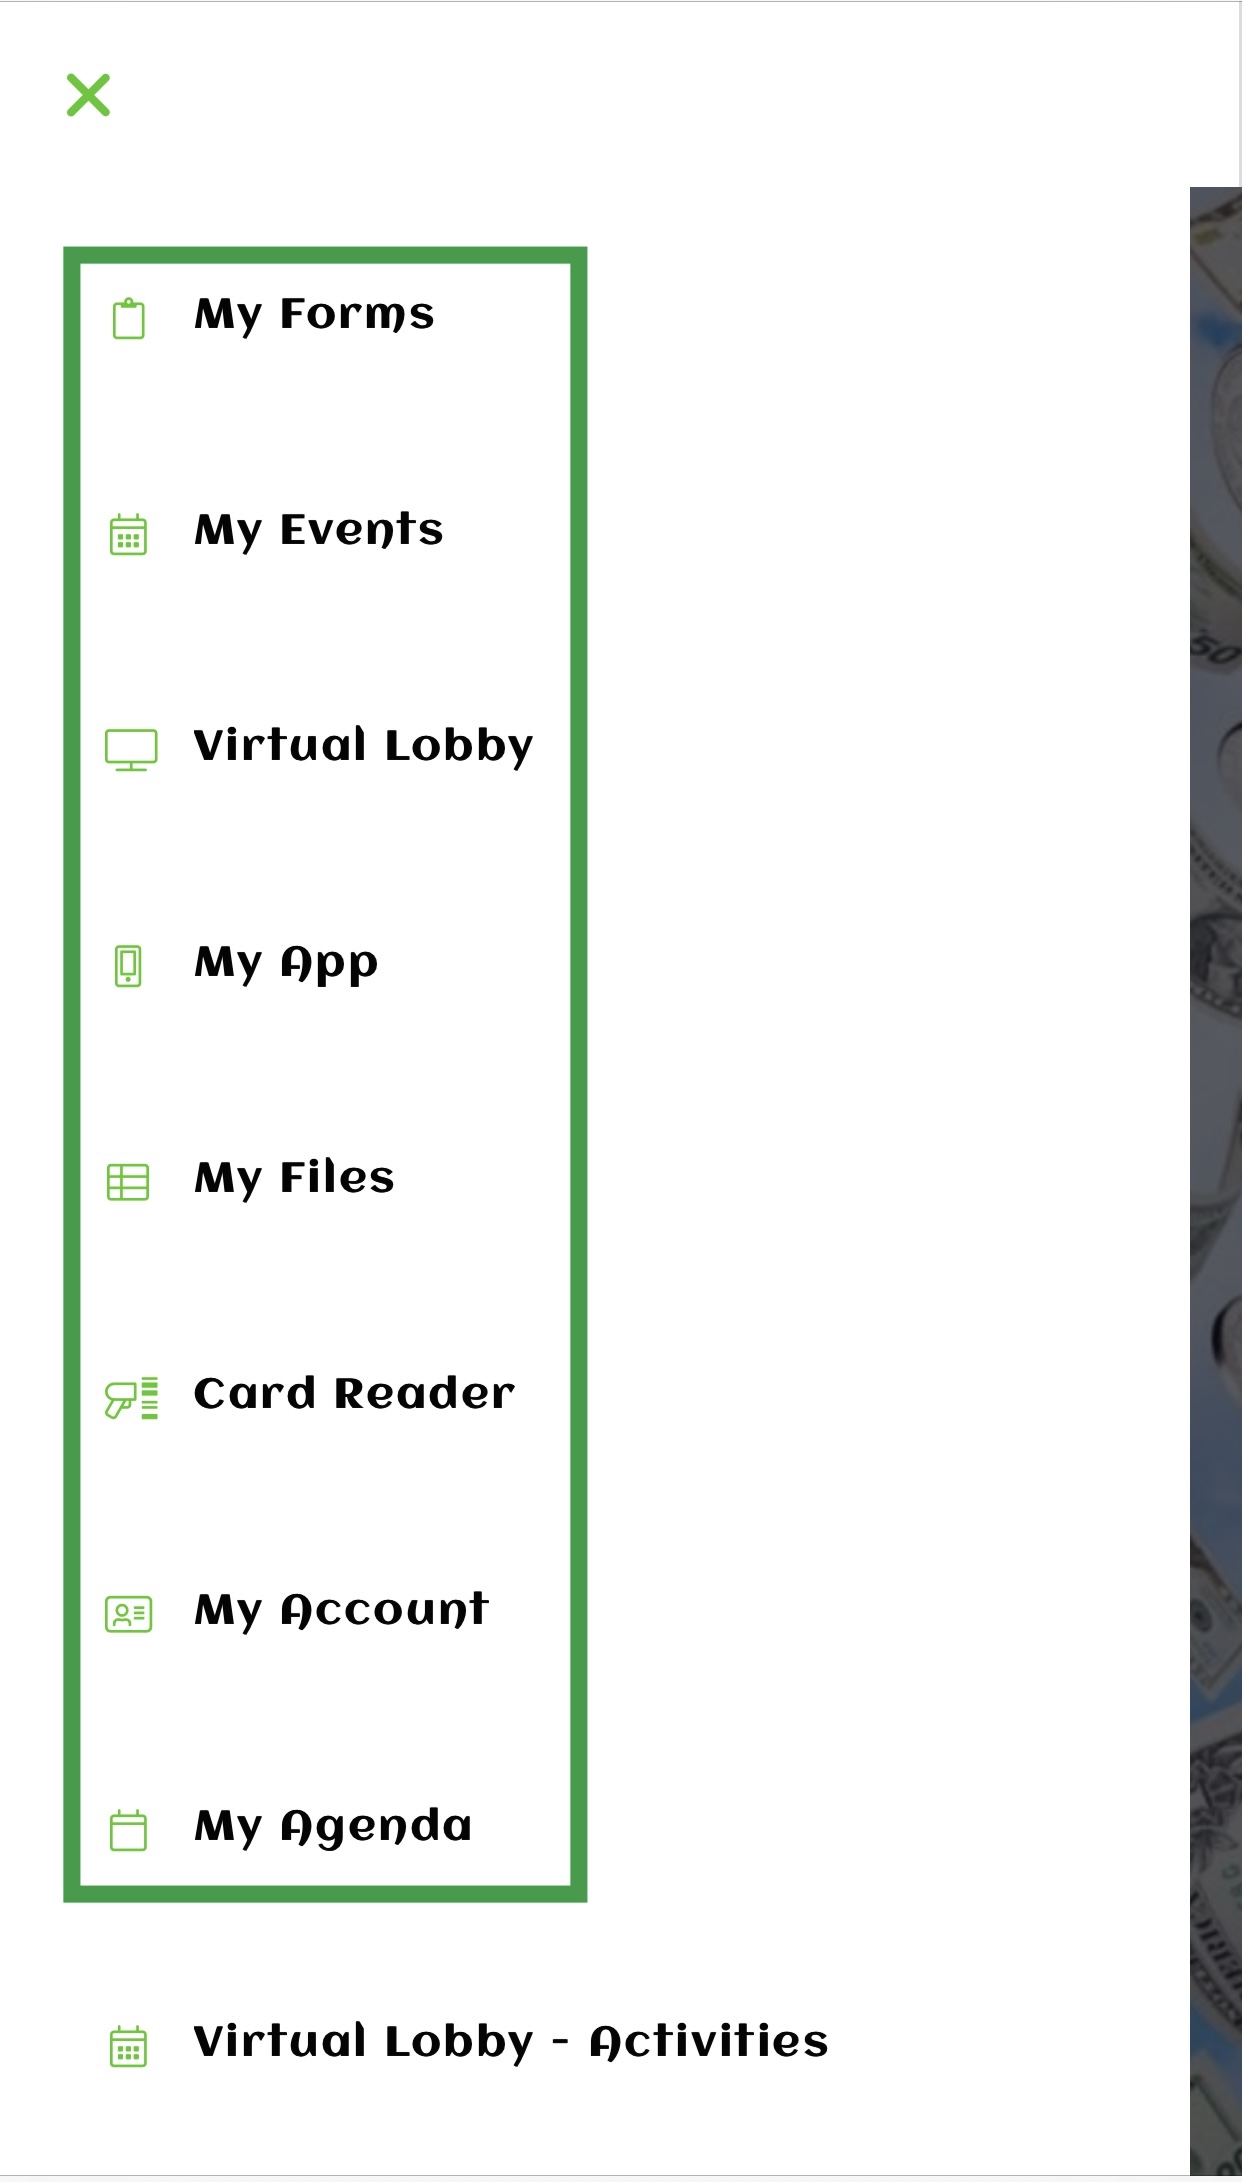
To access the web app on your mobile device, simply copy and paste the link of your Web app on your preferred mobile browser. All the tabs that you have added to your Web app from the platform (backend), will be displayed in the left menu bar of the web app, as shown below:
Adding the web app to the home screen
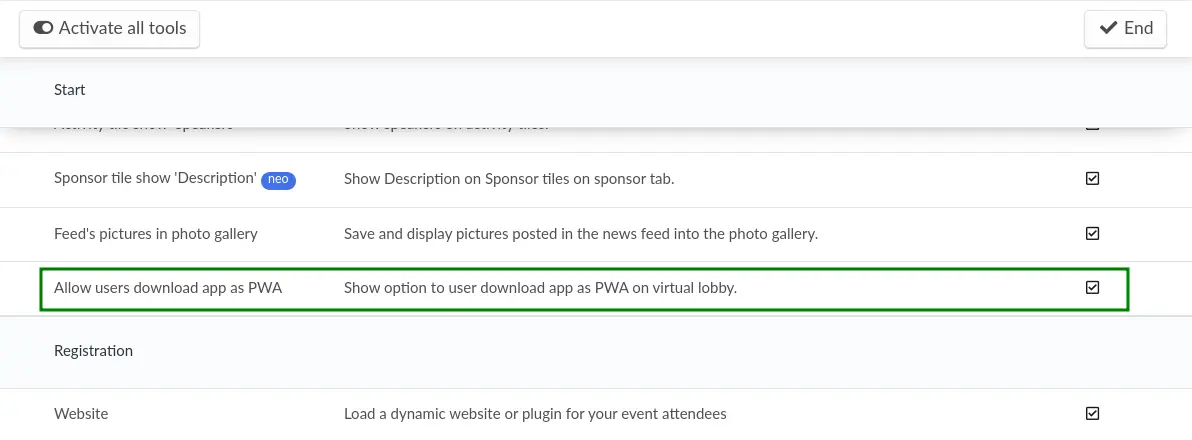
The web app can be added to the home screen of a mobile device when the Allow users download app as PWA tool is enabled in Event tools.
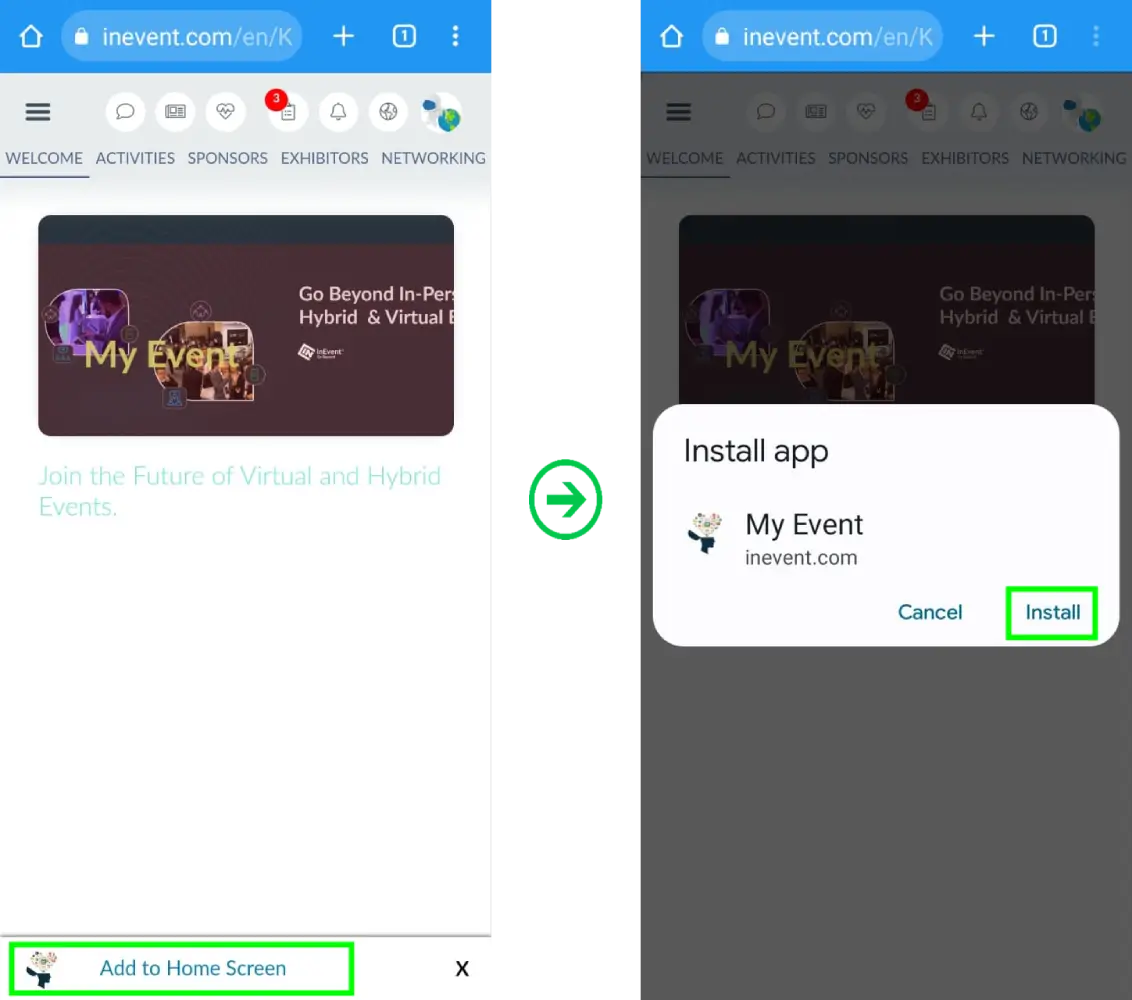
After enabling the tool, the web app can be added to the home screen of a mobile device by completing the steps below:
- Access the web app using your magic link from your mobile device.
- Locate and tap the Add to Home Screen notification banner at the bottom of the screen. The Install app pop-up box will be displayed.
- Tap on Install. The app will start being installed by your mobile browser, and you will be notified when it is finished installing.
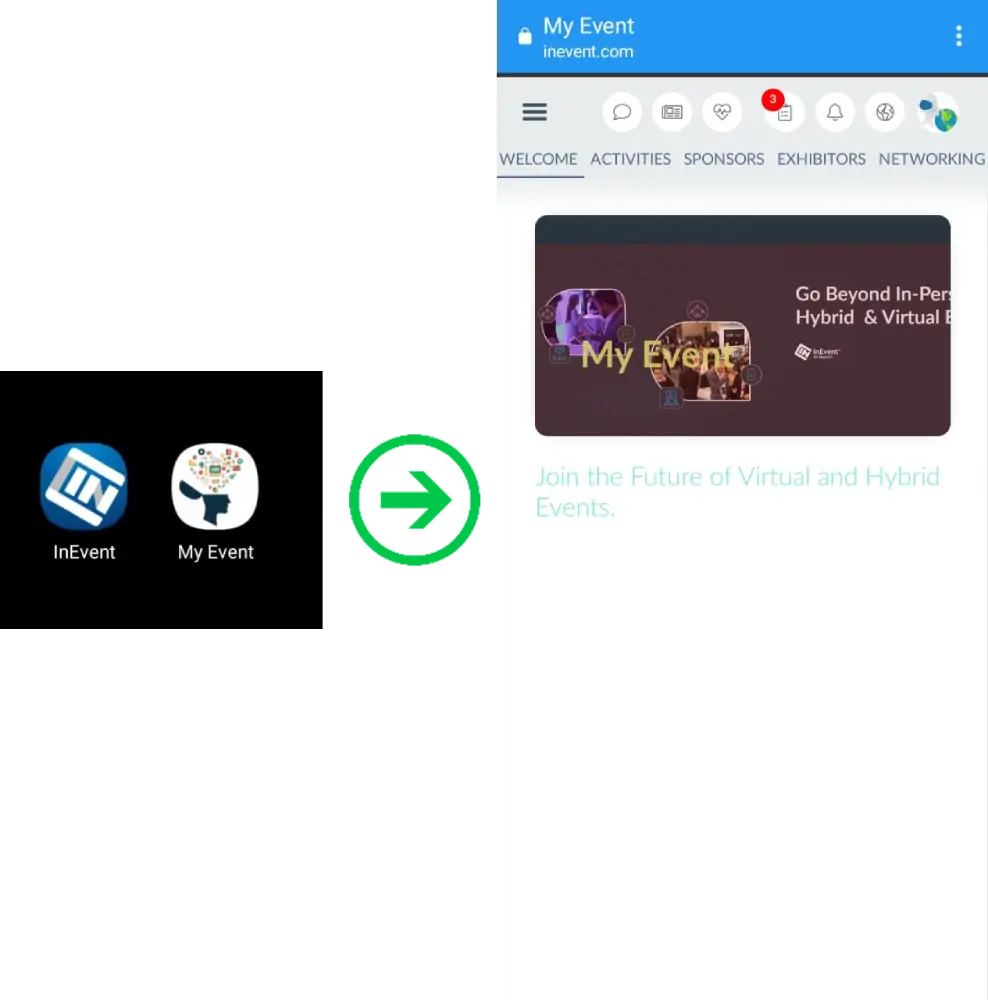
- Navigate to your device's home screen or app drawer and locate the web app icon.
Once you have completed the steps above, the web app will be accessible directly from your home screen or app drawer.
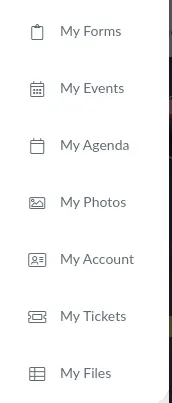
Attendee Center tabs
The Attendee Center tabs include My Forms, My Events, My Agenda, My Photos, My Account, My Tickets, My Files, My App.
Event Photos tab
The Event Photos tab displays all photos in your Photo Gallery. For more information, refer to our Photo Gallery article.

Abstracts tab
The Abstracts tab displays the submission form for users and Abstract submission controls for Reviewers. For more information, refer to our Abstract Management article.
Card reader tab
The Card reader is used to generate leads for your event by reading participants' business cards and automatically sending their information to the platform. For more information, refer to our Card Reader article.
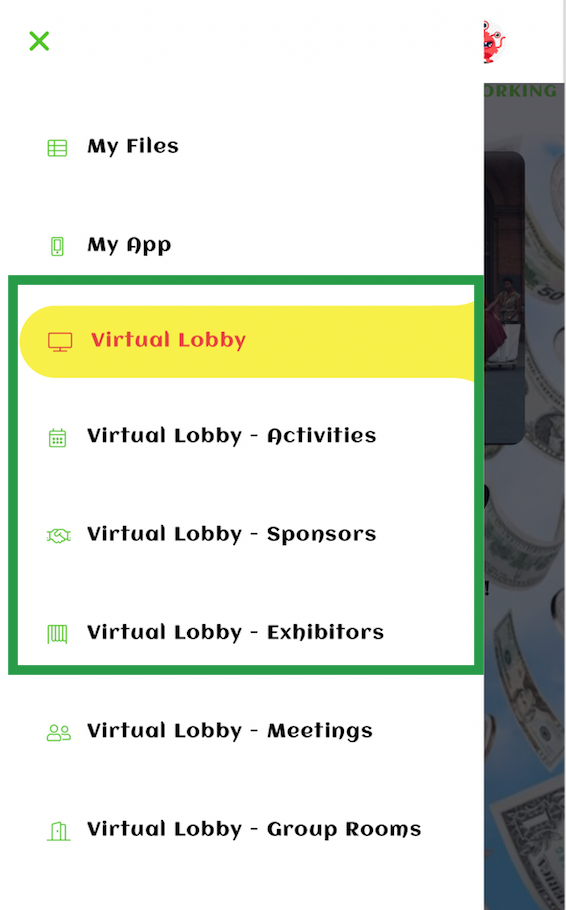
Virtual Lobby pages
If you are hosting a Virtual or Hybrid event, you can make use of the Virtual Lobby tabs as explained below:
These include Virtual Lobby, Activities, Sponsors and Exhibitors.
Virtual Lobby
The Virtual Lobby is an online environment that allows your events to happen virtually.
How your web app will look, depends on the Virtual Lobby settings. InEvent offers two types of layouts and template modes to choose from as well as multiple customization options.
- To learn how to set up your Virtual Lobby, refer to the Virtual Lobby Settings article.
- To learn about Virtual Lobby layouts, refer to the Virtual Lobby layouts article.
- To learn how to fully customize your Virtual Lobby using the Virtual Lobby Editor, refer to the Virtual Lobby Editor for Neo Layout article.
- To learn how to create a 3D environment in the Virtual Lobby, refer to the 3D environments in the Virtual Lobby article.
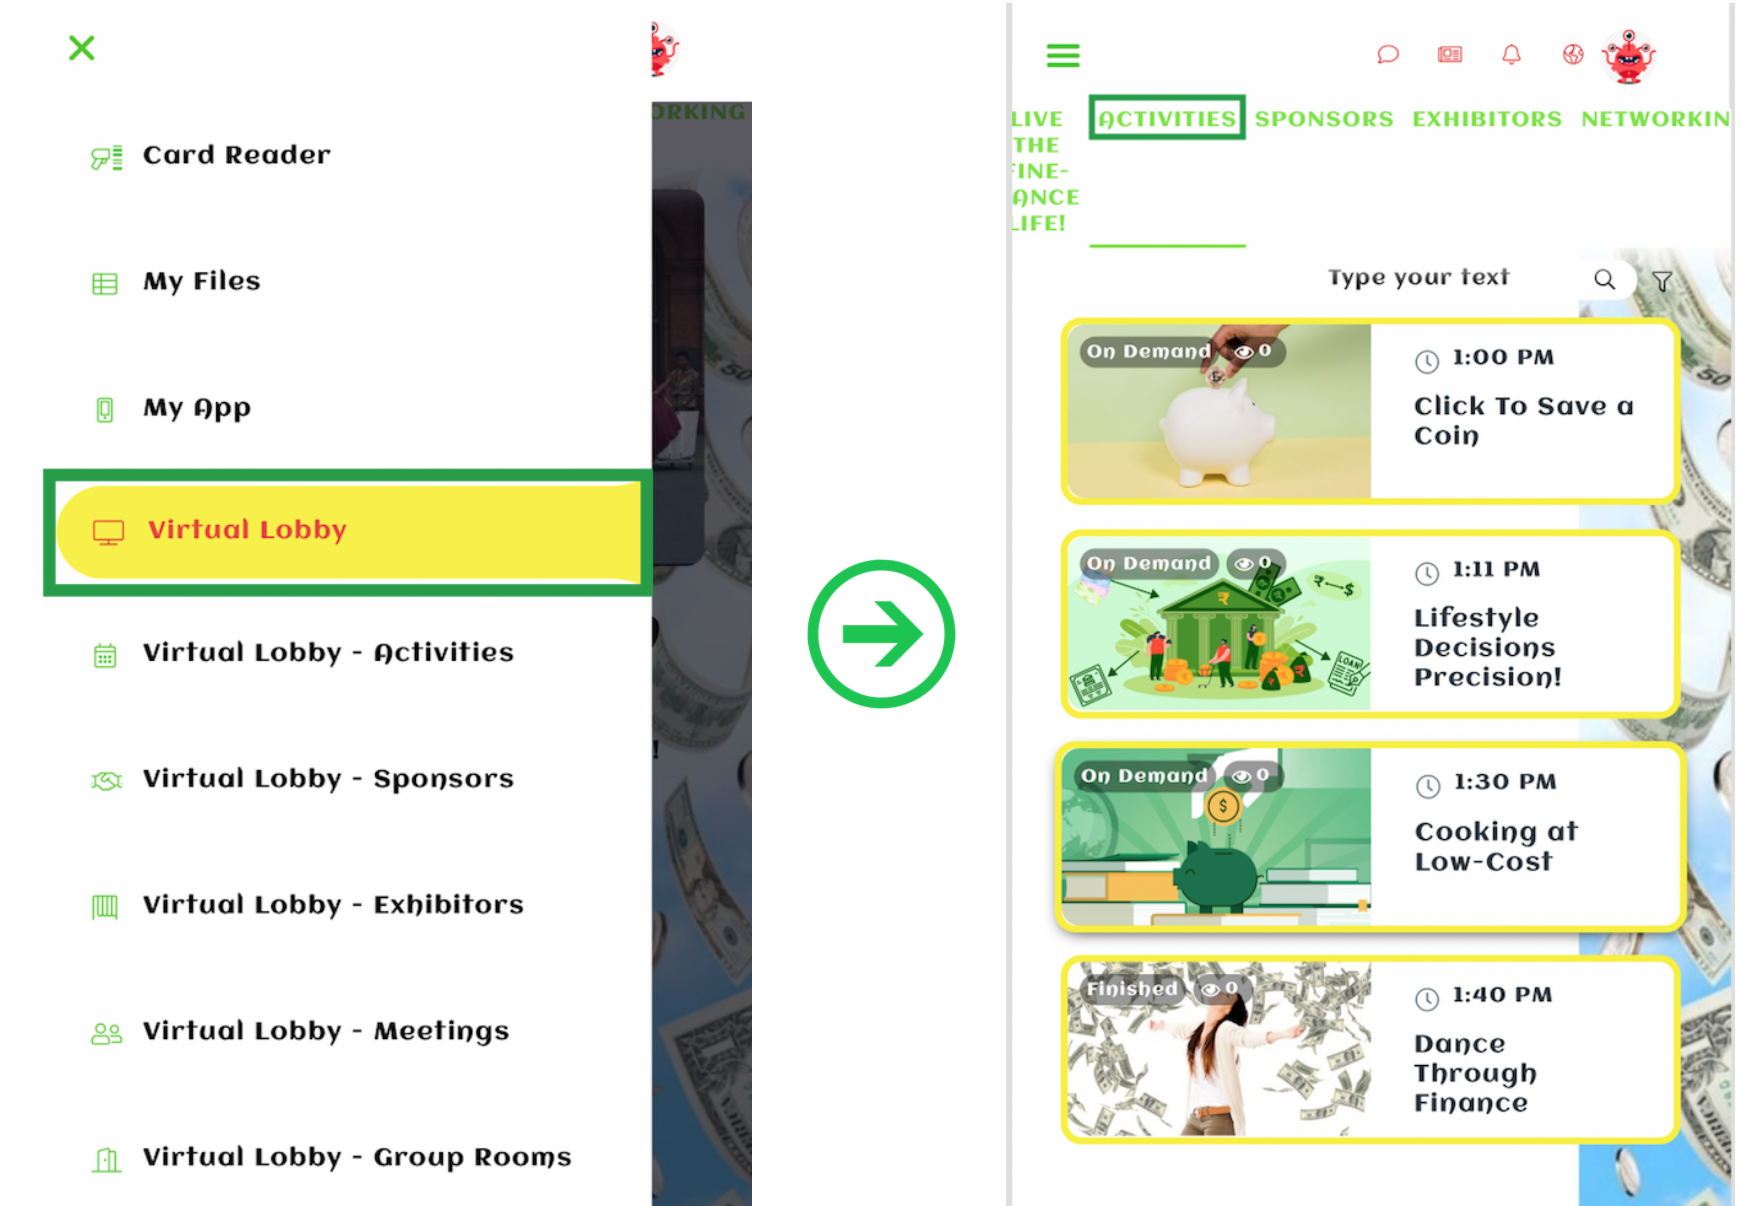
Virtual Lobby - Activities
On this page, you will find all the event's activities so you can choose which one to join.
If the event lasts multiple days, the activities will be separated by dates and depending on the settings, the activity layout types may vary (Small, Medium, Large). For more information, refer to the Virtual Lobby layouts article.
You will also be able to find a specific activity by using the search bar in the top right corner of the screen to write the activity's name.
- Event schedule: All activities from the event will be displayed, even the ones you are not registered in.
- My schedule: It will filter the event activities and show you only the activities you are registered in.
- Tracks: To learn how to create and add tracks to your activities, refer to the Event Tags and Tracks article.
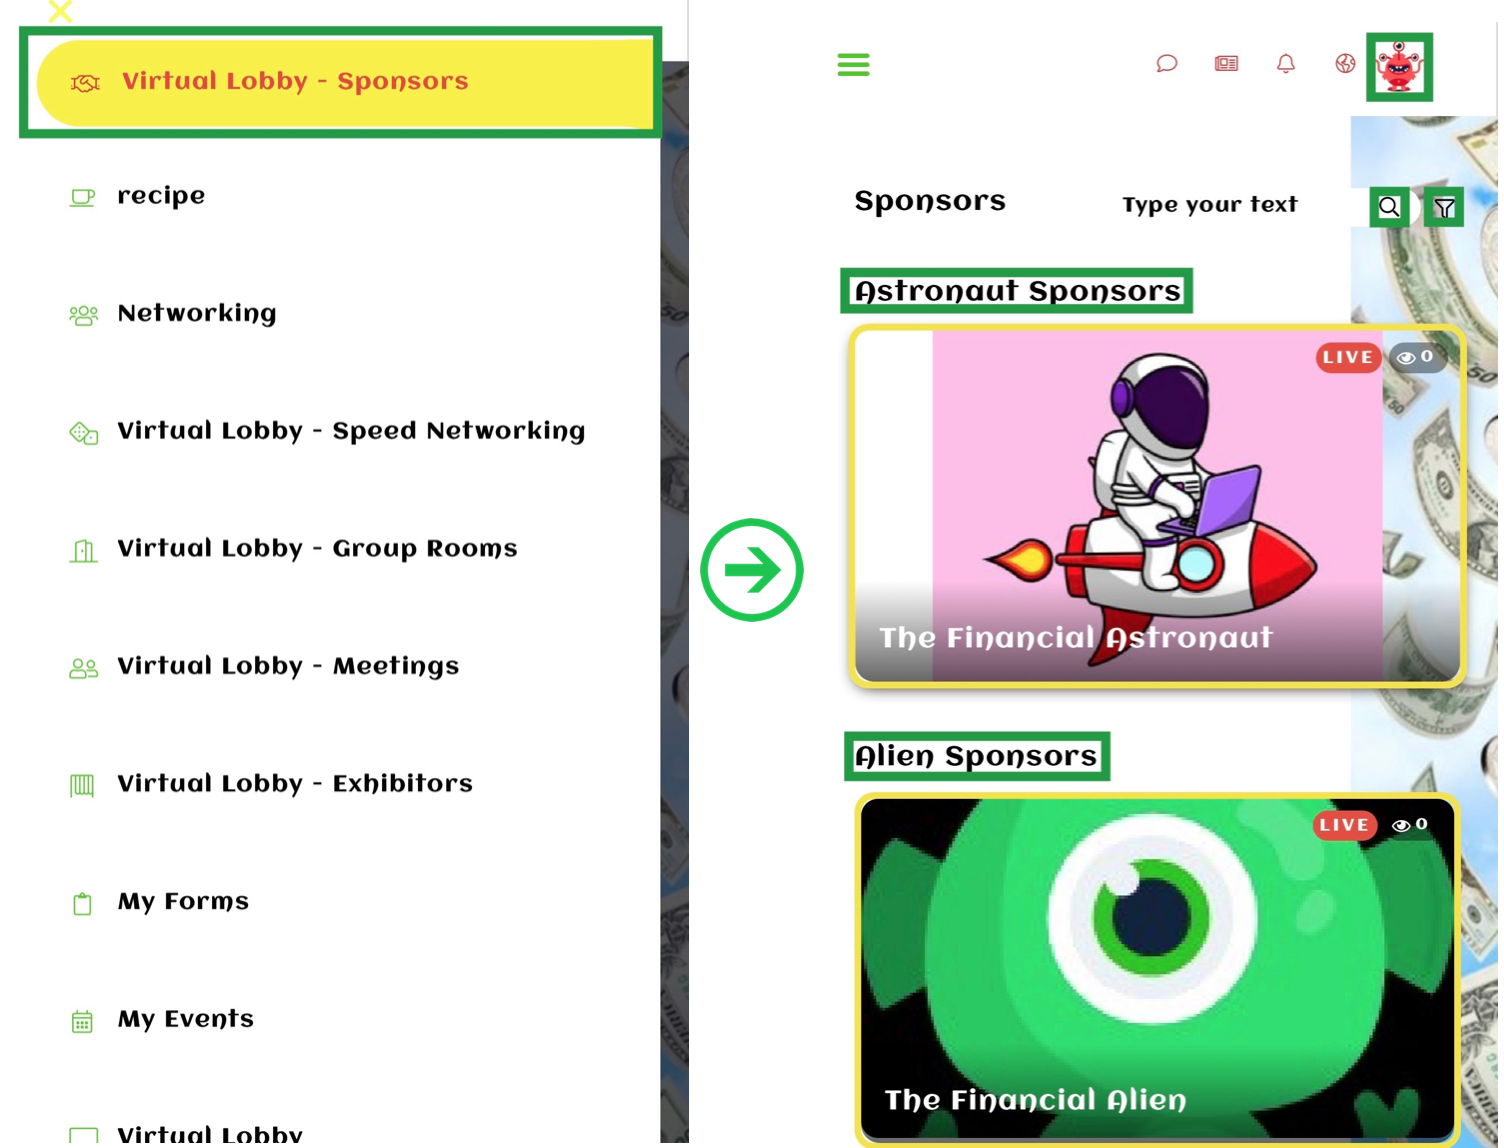
Virtual Lobby - Sponsors
On this page, you will find all the event's sponsors separated by categories.
Click on your chosen sponsor to enter the sponsor's virtual room.
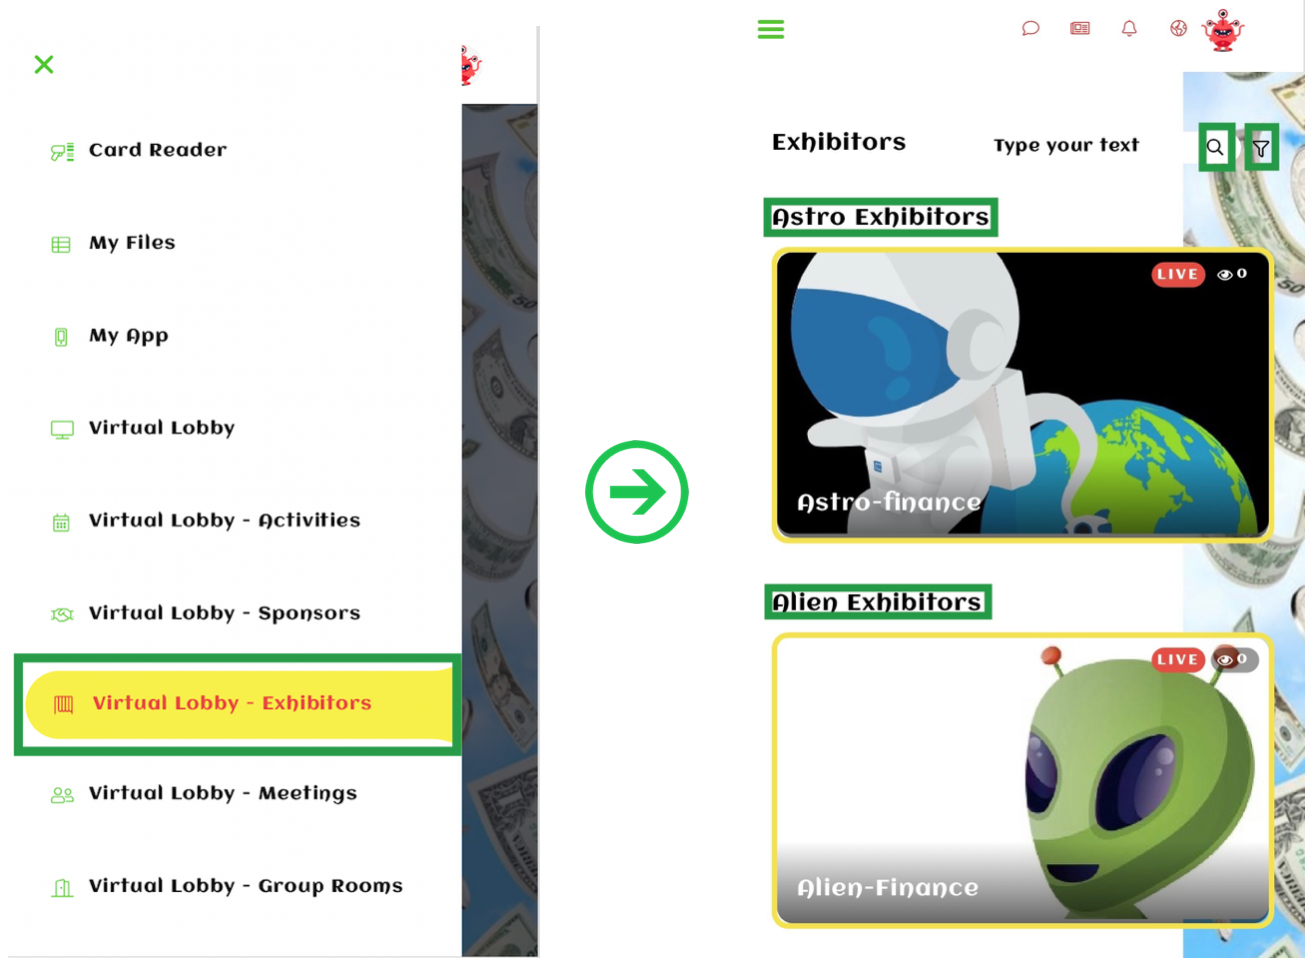
Virtual Lobby - Exhibitors
On this page, you will find all the event's exhibitors separated by categories.
Here you can also search for a specific exhibitor and filter by tags. To learn how to add tags to exhibitors, refer to the Exhibitors article.
Click on your chosen exhibitor to enter the exhibitor's virtual room.
Speakers
You can enable the speakers tab on web app from Settings > tabs. On this page, you will find all the speakers of the event. By clicking on their card, you will find more information on the activity sessions in which they will be speaking as shown below:
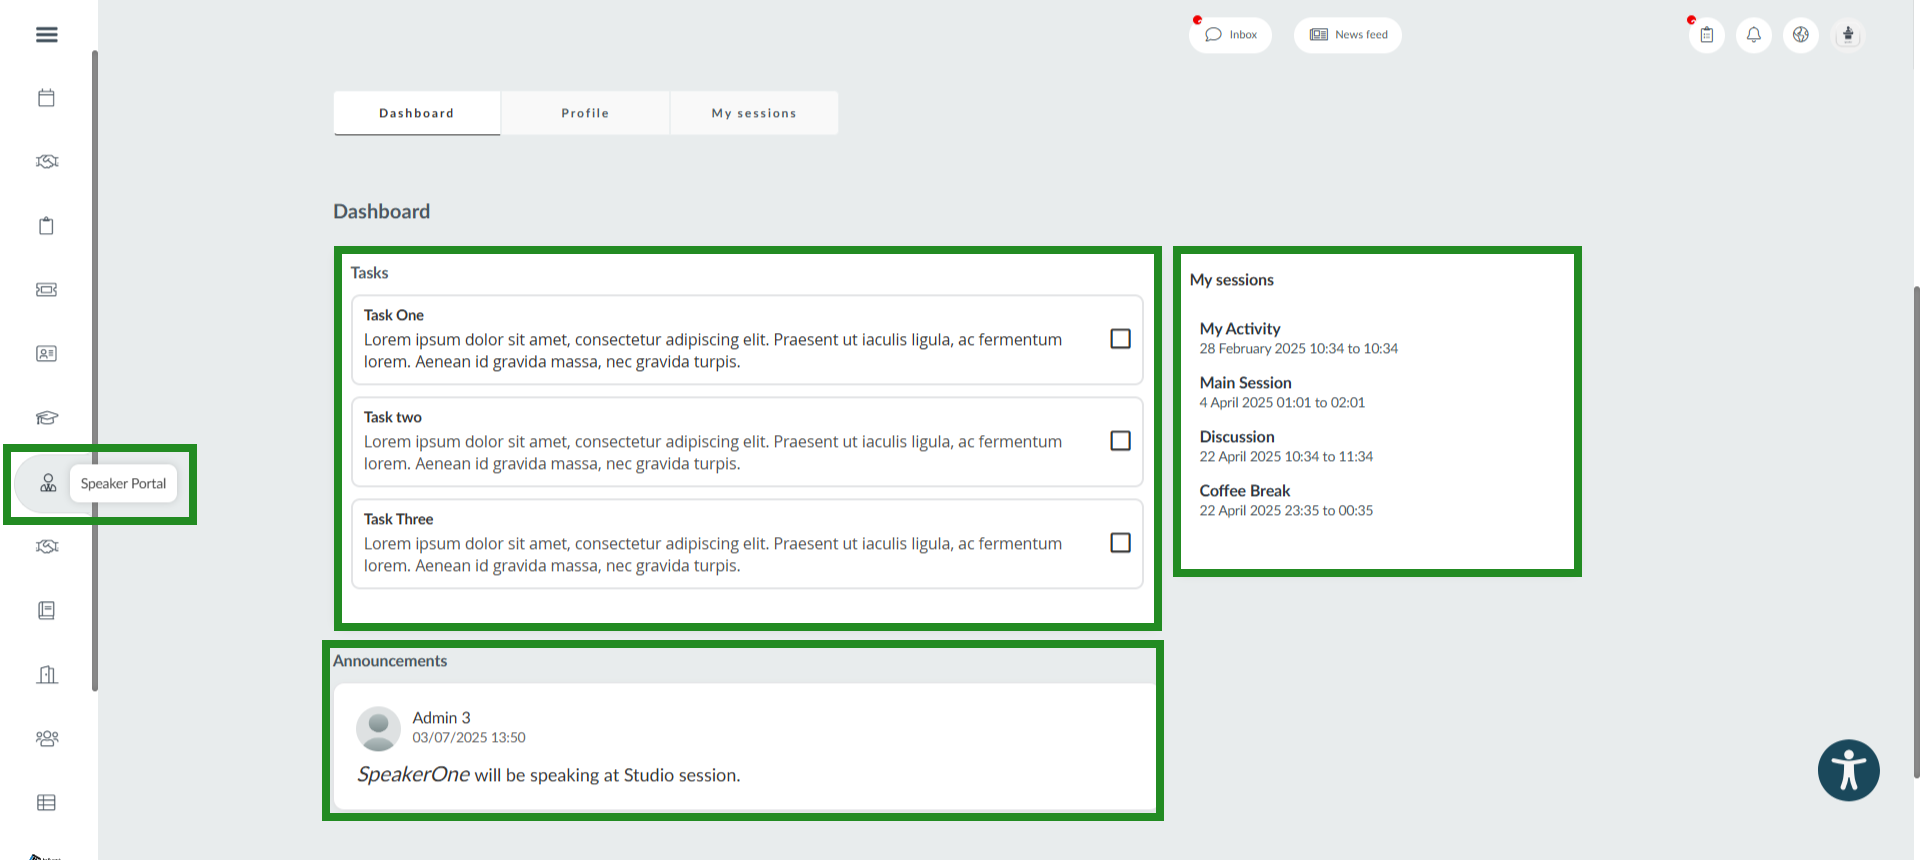
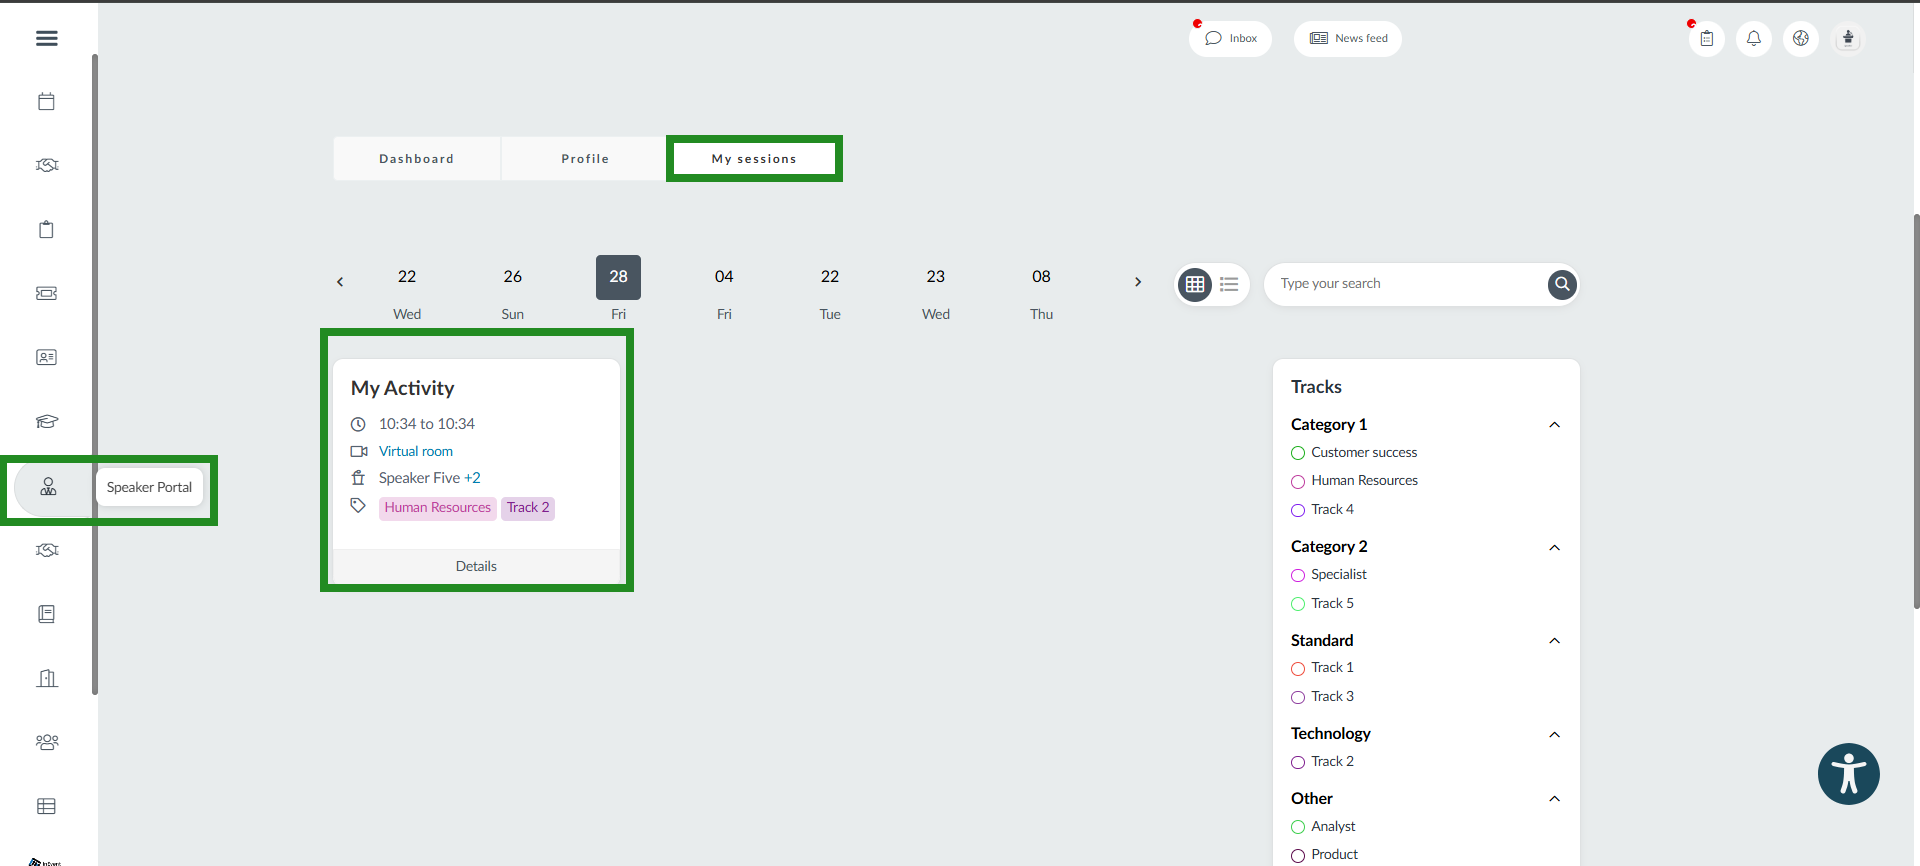
Speaker Portal
You can enable the speaker portal tab on web app from Settings > tabs page. Only linked speakers and presenters can access this tab if it has been enabled.
Speakers and presenters will have access to the speaker's portal on the web app. The Speakers portal will contain a dashboard, Profile and My sessions tab.
- The dashboard is where all speakers and presenters can view important announcements and tasks regarding the event. They will also be able to view a My sessions card, which will display all the activities linked to the speaker/presenter.
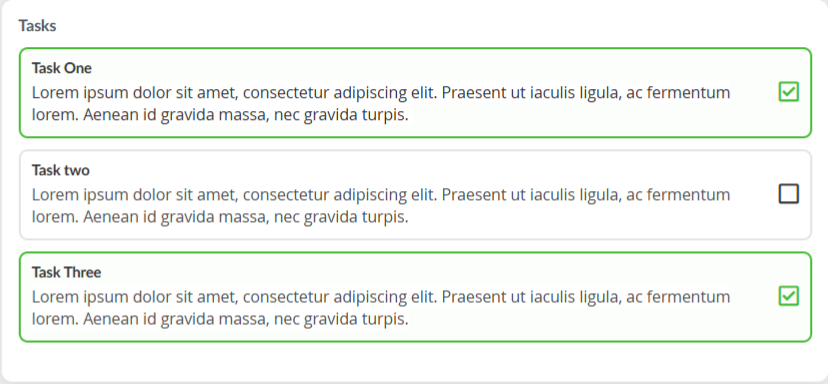
Once a speaker completes a certain task, they will have to click inside the checkbox corresponding to the task for it to marked as complete. The task will turn its card borders green once marked complete as shown below.
- The Profile tab will display speaker or presenter's personal information, social media links, website, tags, and answers to the registration form questions. For more information, refer to our Attendee center article.
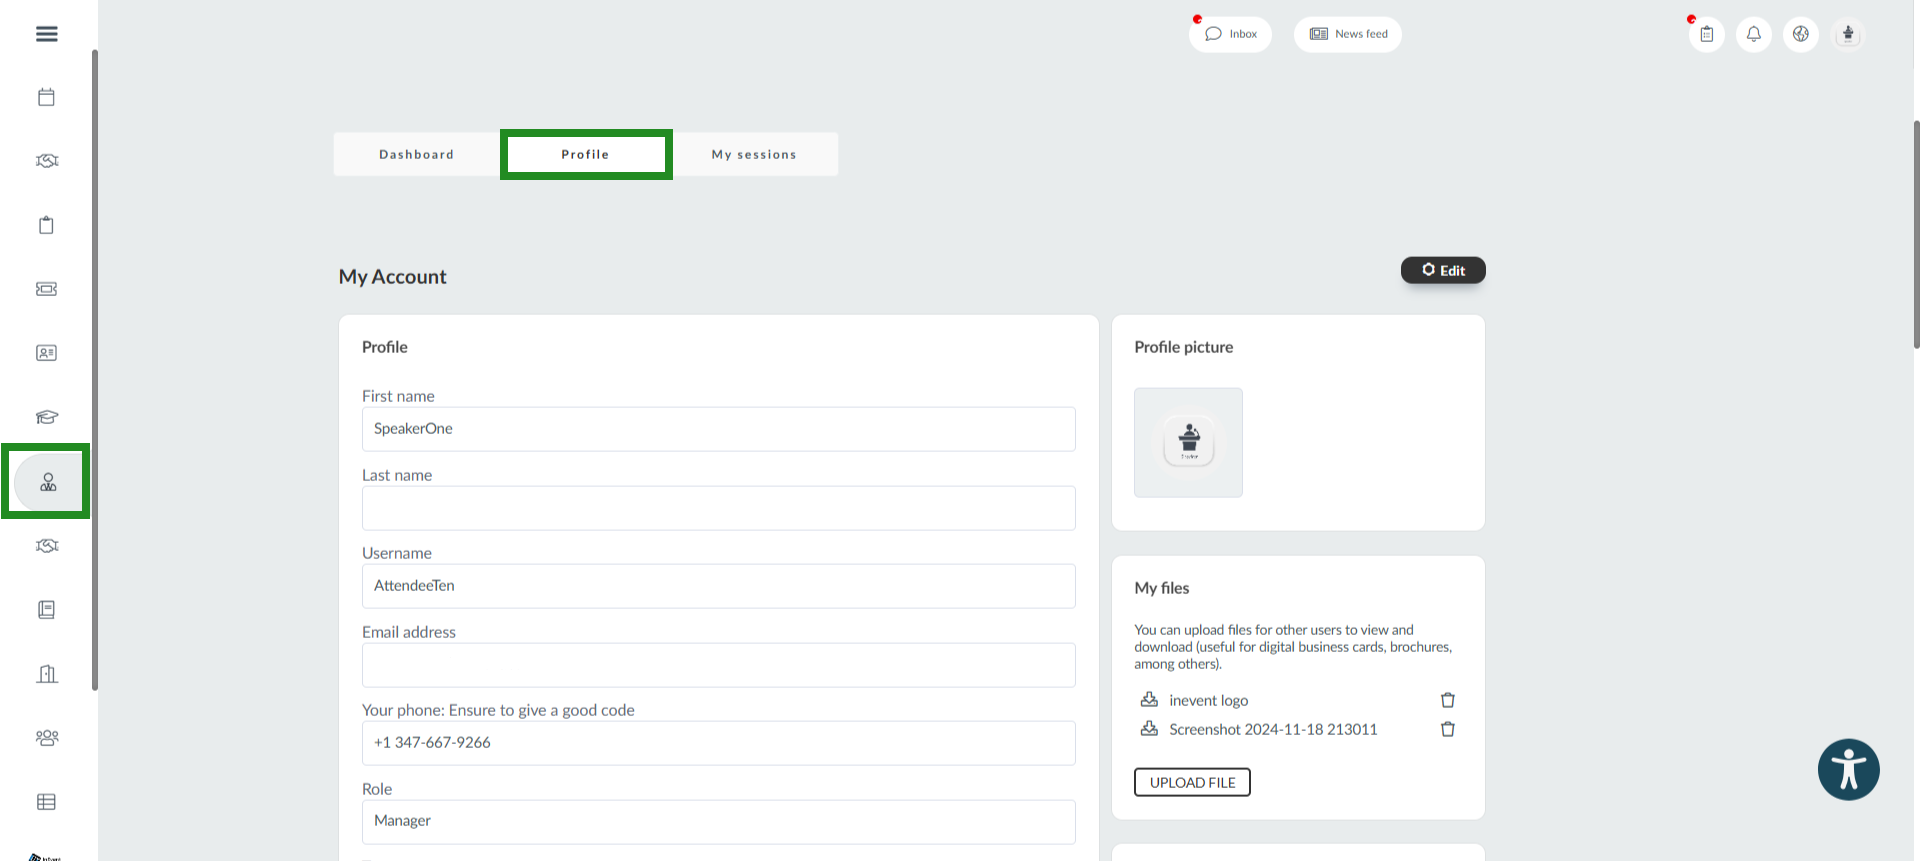
- The My Sessions tab displays all event activities for a Presenter, or all activities linked to the associated Speaker profile. For more information, refer to our My Agenda article.
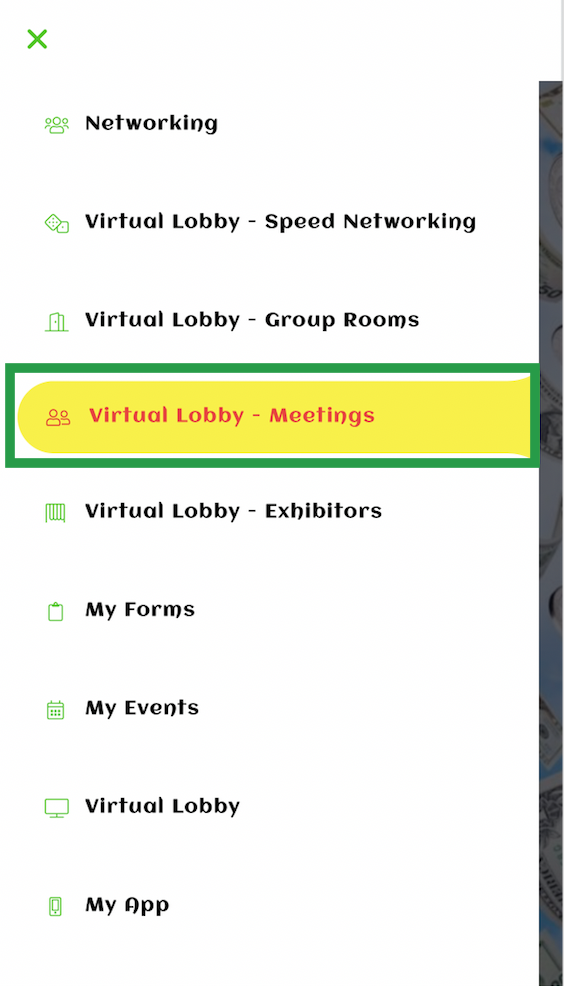
Networking tabs
These include Meetings, Networking, Speed networking and Group rooms.
Meetings
On this page you will find all your scheduled meetings divided by dates.
If you are an event organizer, refer to the Scheduled Meetings: guide for event organizers article to learn how to set up meetings for your participants.
If you are an attendee, refer to the Meetings: guide for participants article to learn how to use the meetings feature.
Networking
On this page you will find all the event's attendees that have set their profiles as visible.
If you click on an attendee's name, a popup window will be opened containing the attendee's personal information, such as company, role, social networks, etc. and you can send a message by pressing the message button inside the attendee box or you can schedule a meeting.
You can mark attendees as favorites by pressing the star in the top right corner of the attendees' boxes. To see the list of favorite attendees, click on My Favorites.
You can search attendees by writing their names on the search bar or filtering by tags. To learn how to add tags to attendees, refer to the Event Tags and Tracks article.
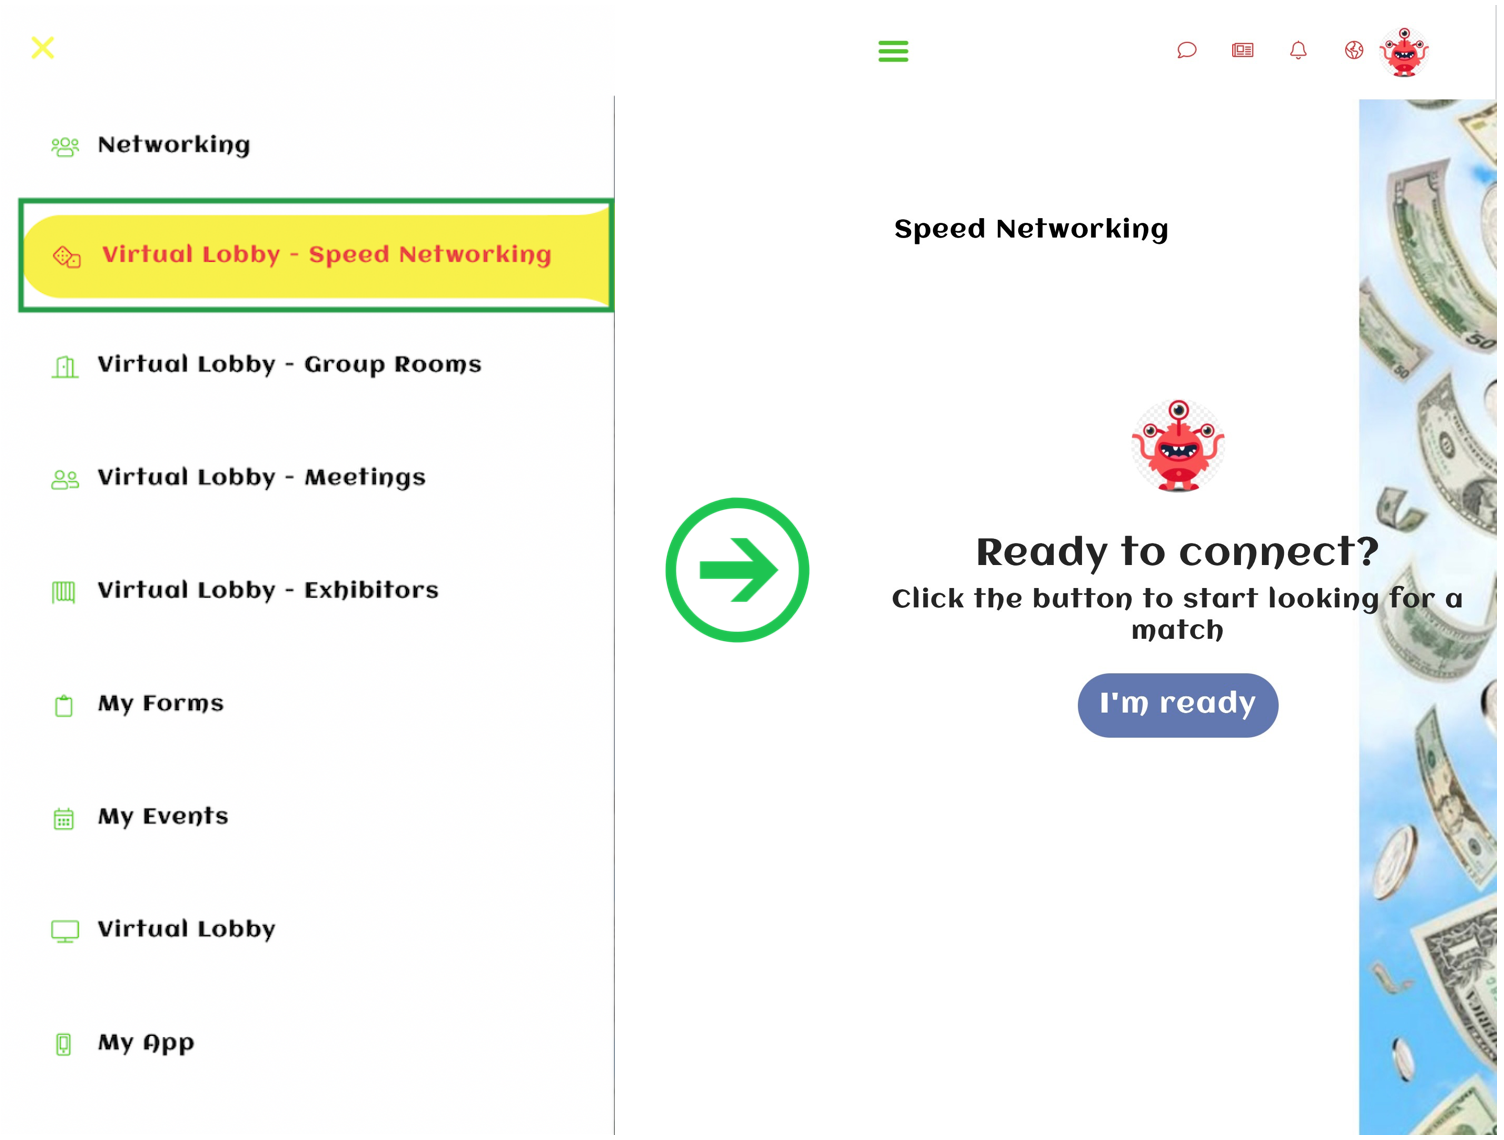
Speed Networking
On this page, you will be able to engage in 1x1 meetings randomly assigned in the Web app.
- If you are an event organizer, refer to the Speed Networking article to learn how to set up the Speed networking tool for your participants.
- If you are an attendee, refer to the Speed Networking article to learn how to take part in speed networking 1x1s.
Group Rooms
On the group rooms page, you will see all the available group rooms at the event displayed in a table layout.
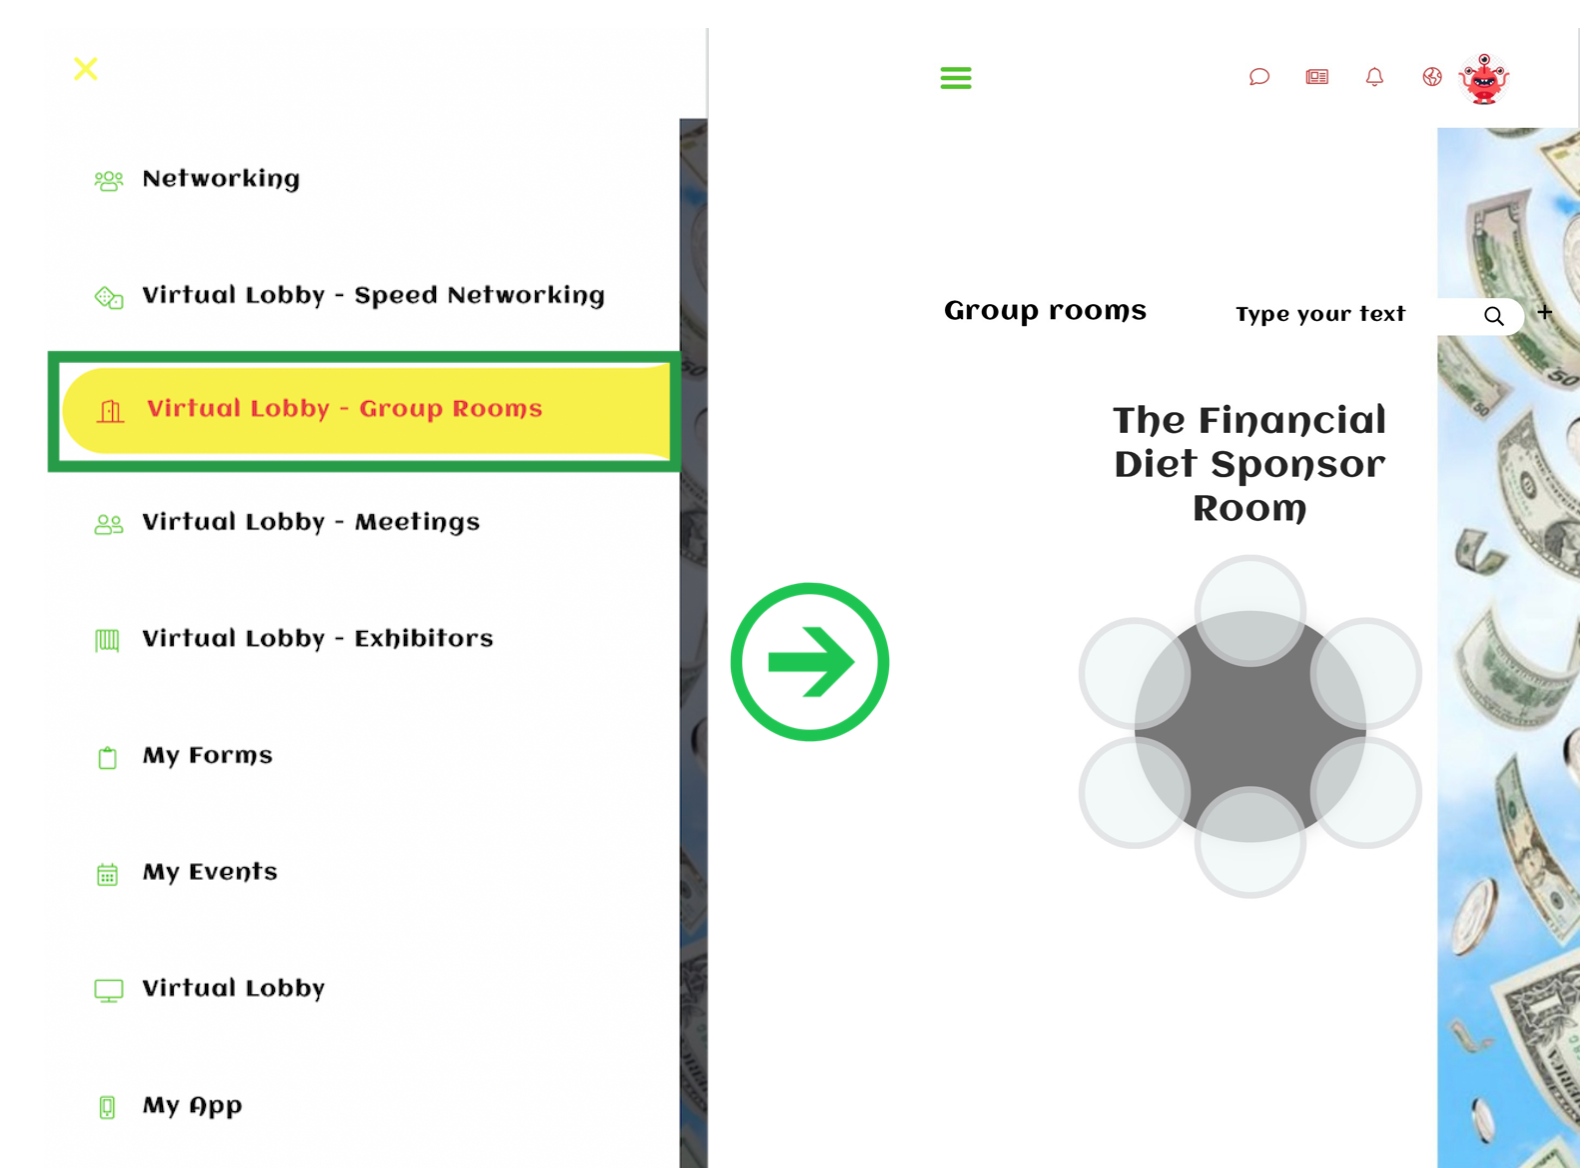
As a participant, you will be able to search for a specific group room by typing the name on the search bar and pressing enter. You can also create a new group room directly from the Virtual Lobby by pressing the + icon and following these steps.
Custom tabs
As an event organizer, you will be able to create a new tab if you include either a link or an image/file. To learn how to create a custom tab, refer to the Tabs article.
If you have created a website for your event, you can embed in the Web app. To learn how to create a website tab, refer to the Tabs article.
The custom tabs will appear on the left panel, where the default tabs are:
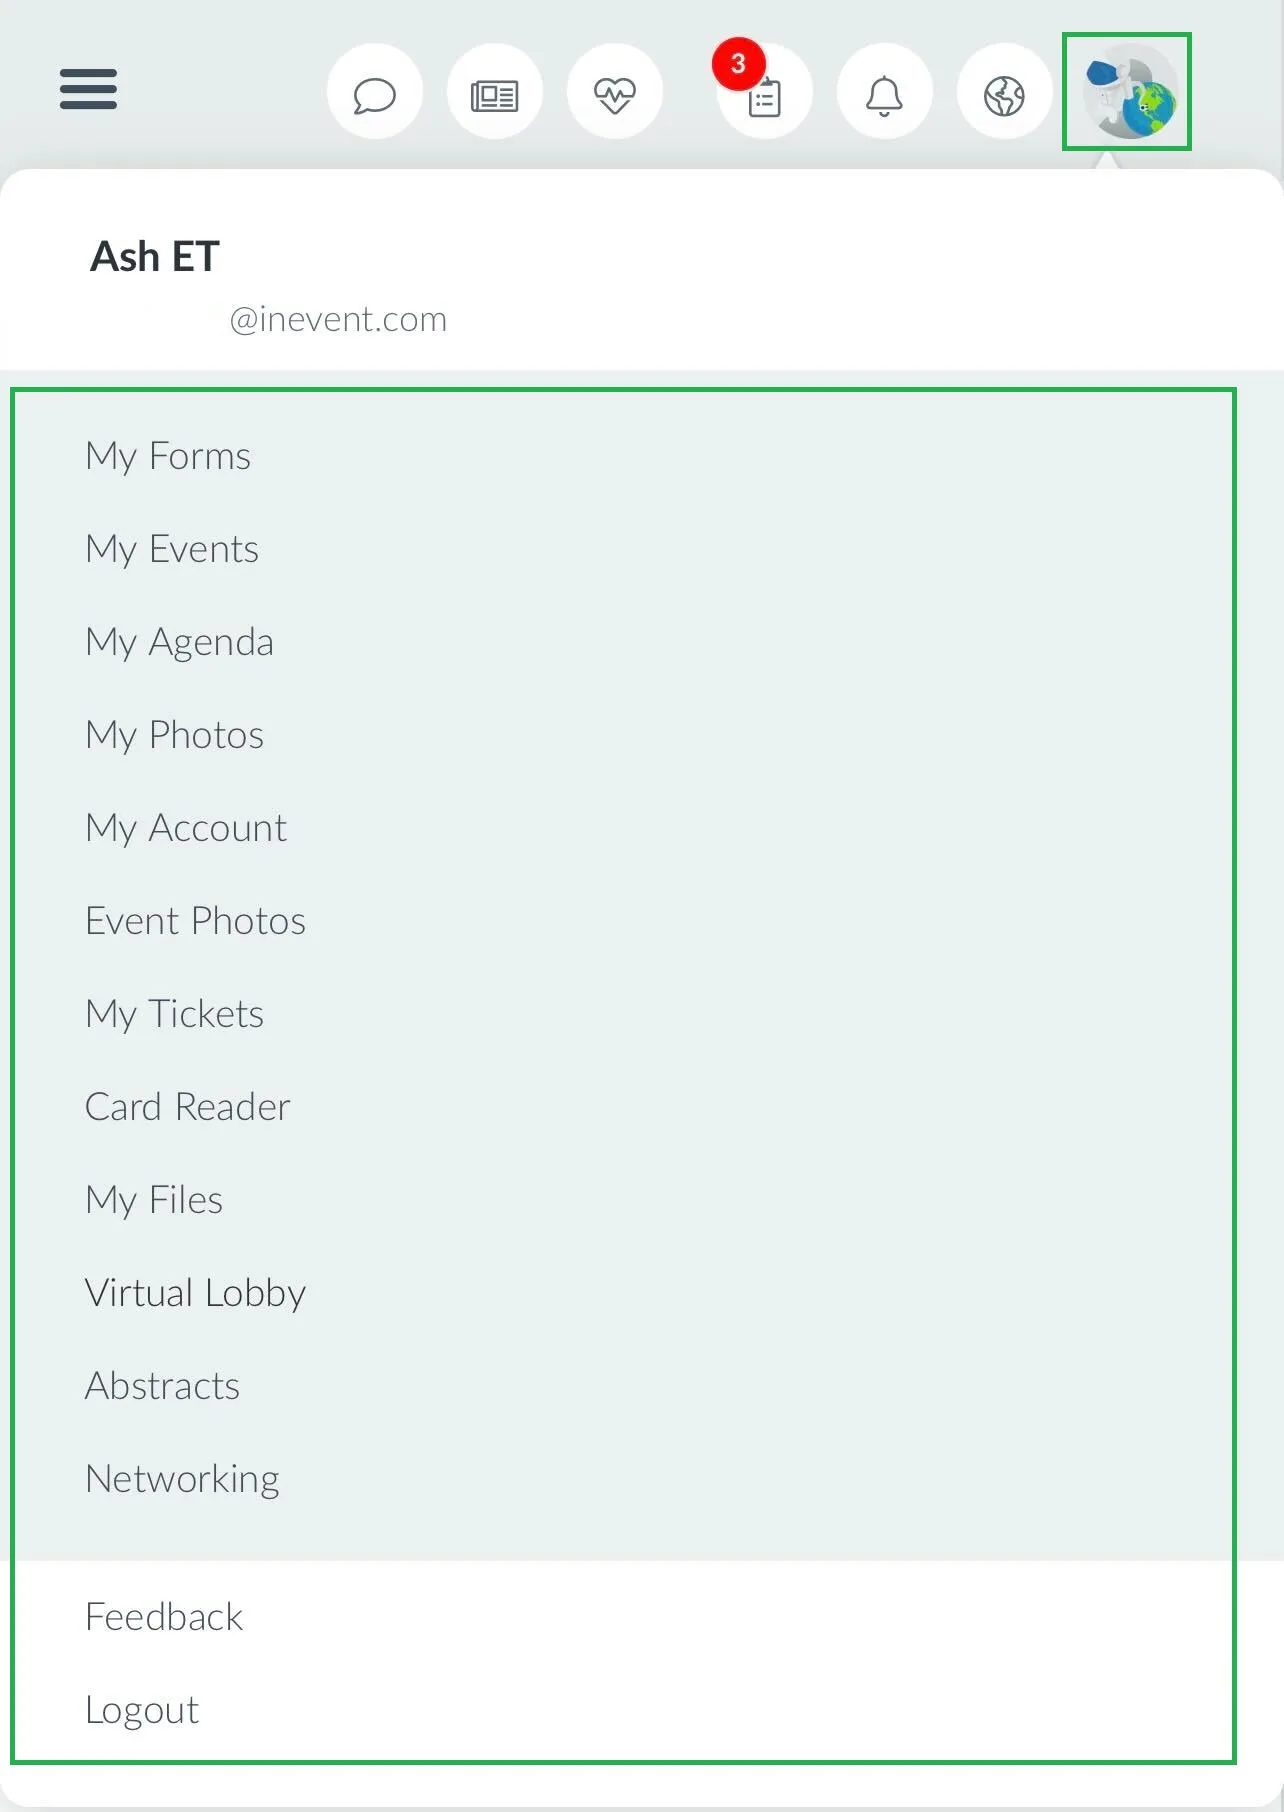
Accessing the Virtual Lobby tabs through your profile button
Participants can also access all the available Virtual Lobby tabs through their profile information. To do so, simply click on your profile picture at the extreme top right of your Virtual Lobby page. The available tabs will appear in the form of a list.
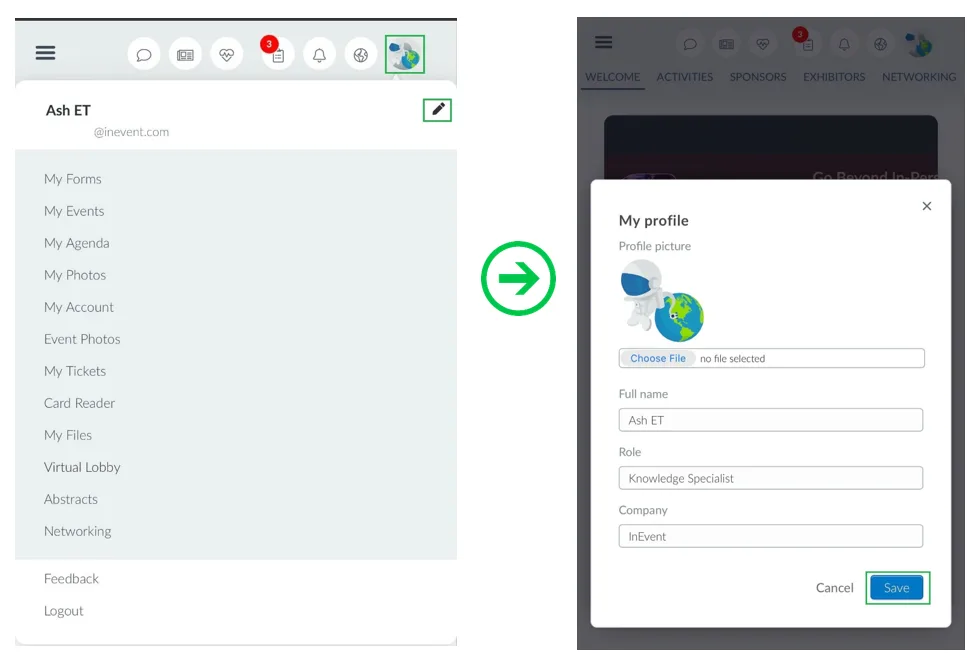
Editing your profile information
As a participant, you can easily update some of your profile information from anywhere in the Virtual Lobby. To do so, click on your profile picture in the extreme top right of the Virtual Lobby page, click on your name, and click the pen icon that appears. A new window will open, allowing you to carry out the following edits:
- Profile picture: Click the choose file button and select a new profile picture from your computer.
- Full name
- Role
- Company
Once you are done, click on Save and your profile will be updated instantly.
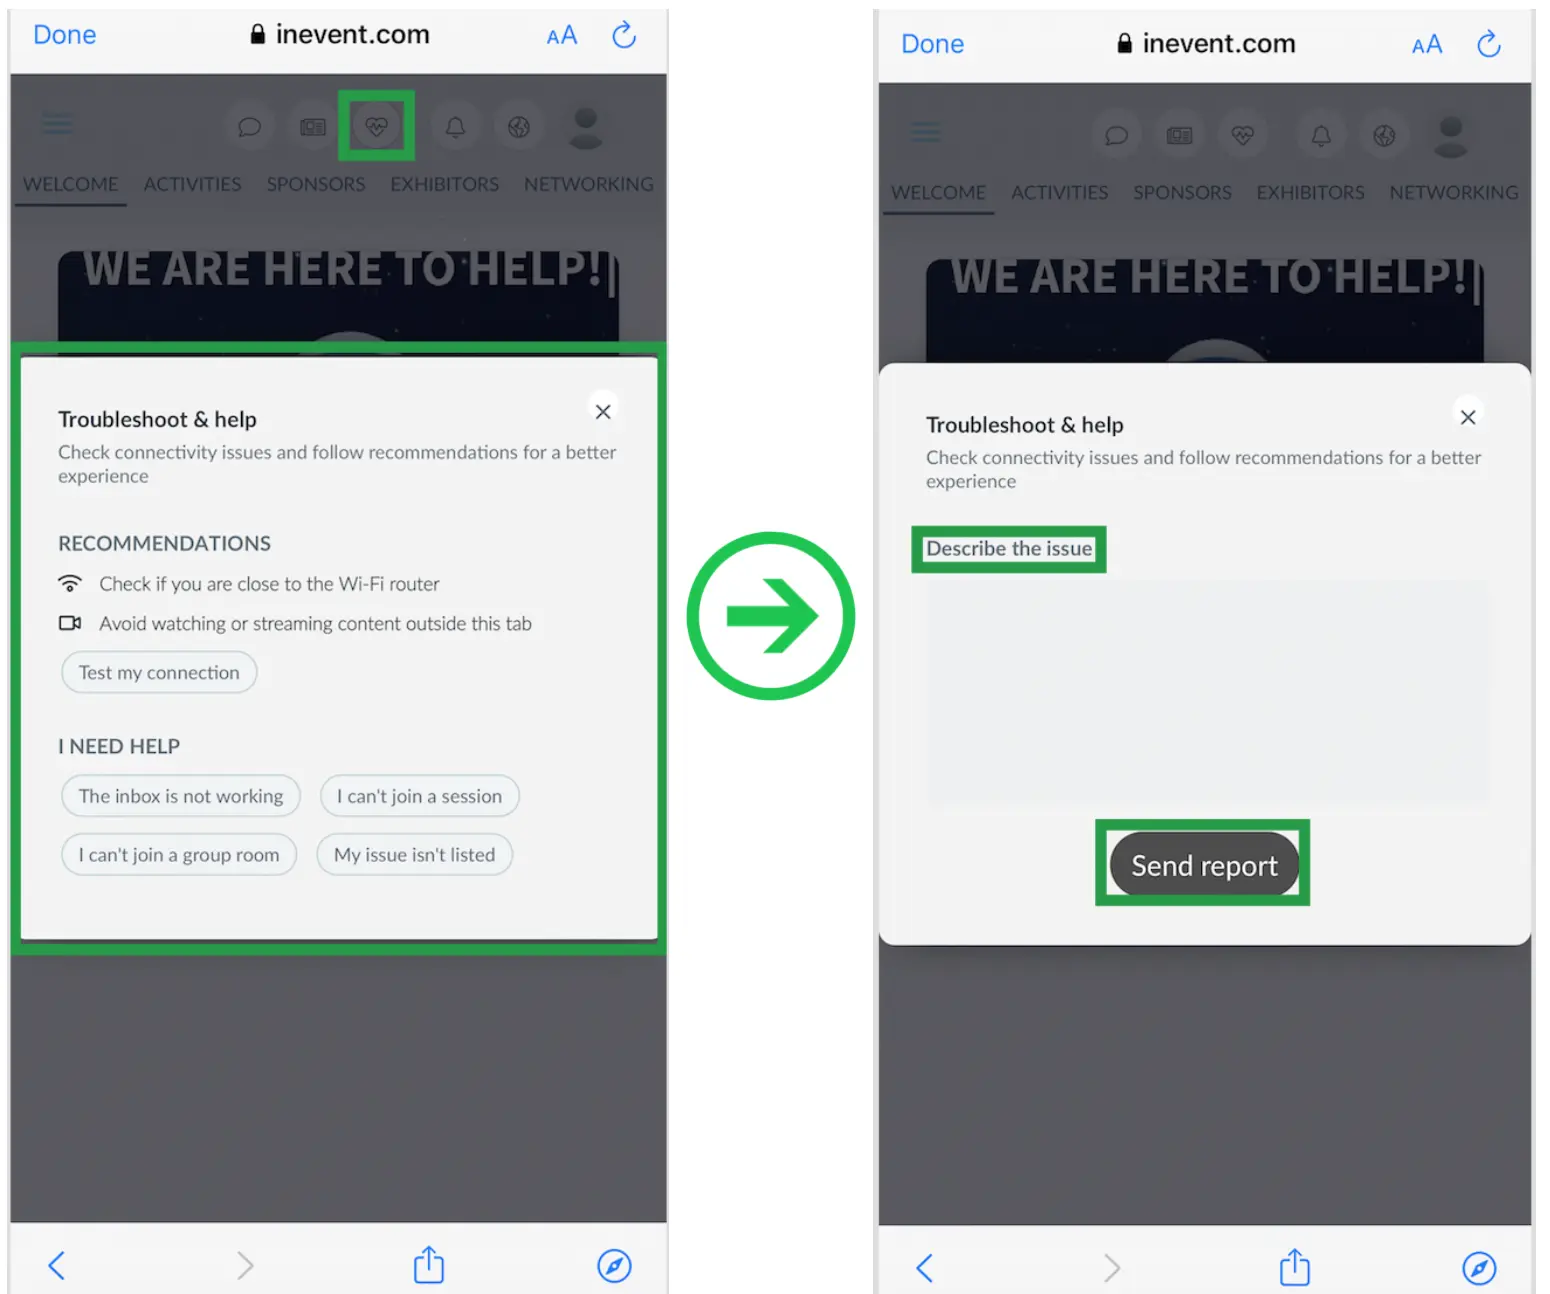
Troubleshooting
The troubleshoot button will always appear at the top right of your screen in the form of a heart icon.
The button triggers a window pop-up that helps you check for issues with your connection by clicking on Test my connection and following recommendations for a better experience. At the bottom of the pop-up window under the I need help section, you can check for the most common errors.
You can also file a report describing the exact issue and send it, the product team will be informed immediately and handle the case accordingly.
When inside the activities, sponsor rooms, breakout room, or any type of session that requires video and audio troubleshooting, some extra options are available to fix the issues straight away as shown in the example below: